

In this guide, you'll learn how to use voice typing in Insertkit, including setting up the desktop app, configuring API keys, and customizing your experience for better accuracy. Let's look at the steps:
Step 1: Install the Desktop App
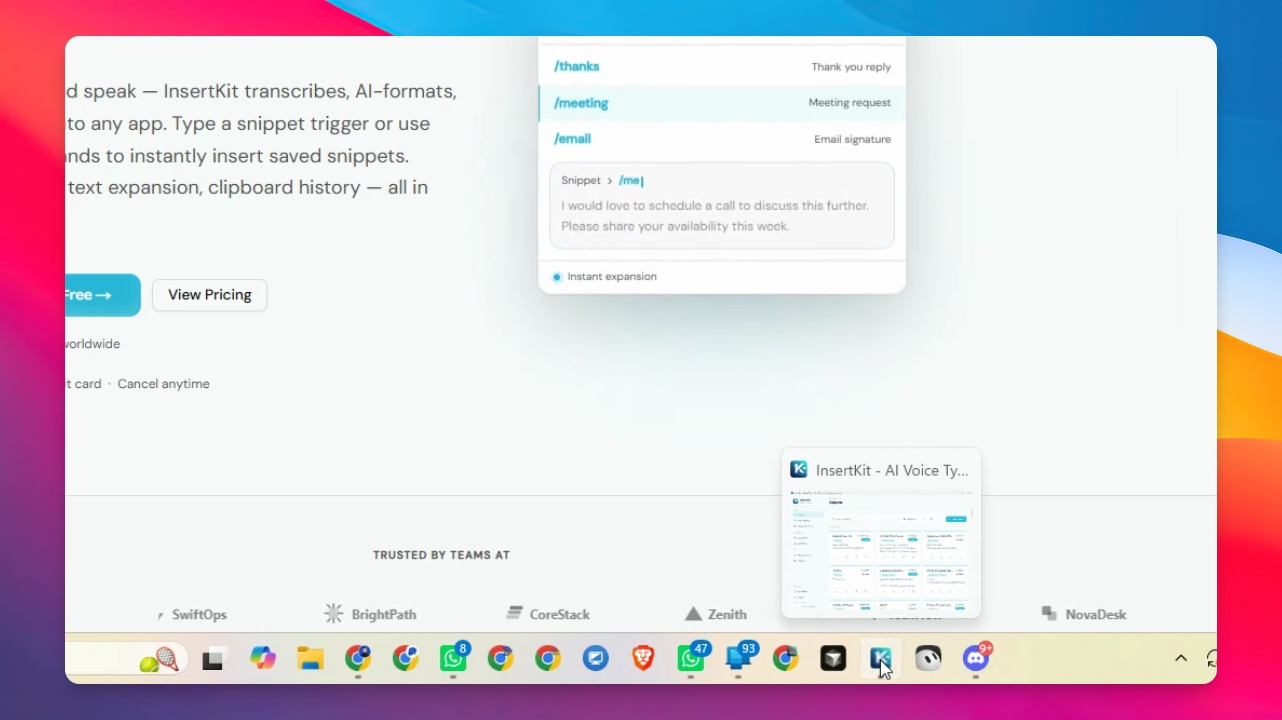
Download the Insertkit desktop application and install it on your computer.
Step 2: Open App and Enable Voice Typing
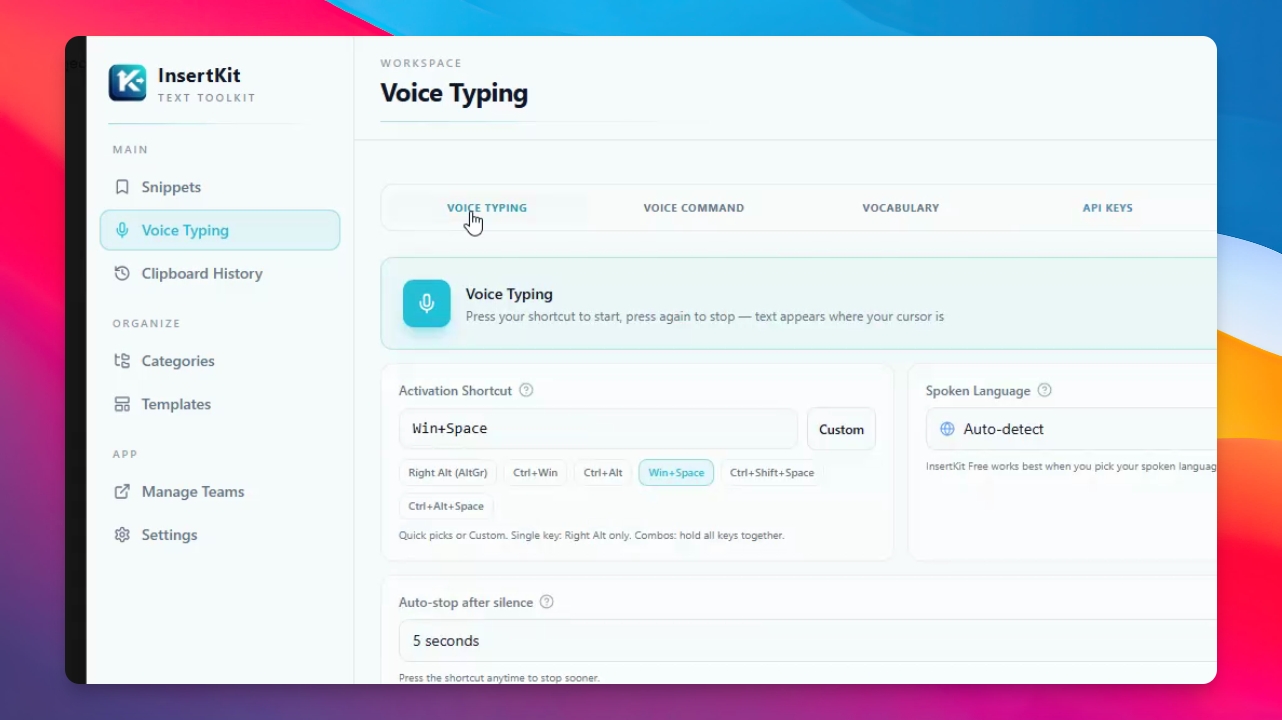
Open the desktop app. In the interface, click Voice Typing to access the feature. Enable voice typing by clicking the toggle switch.
Step 3: Set a Shortcut Key
Set a trigger shortcut for starting voice typing or recording. For example, select Windows + Space and go to the Space engine.
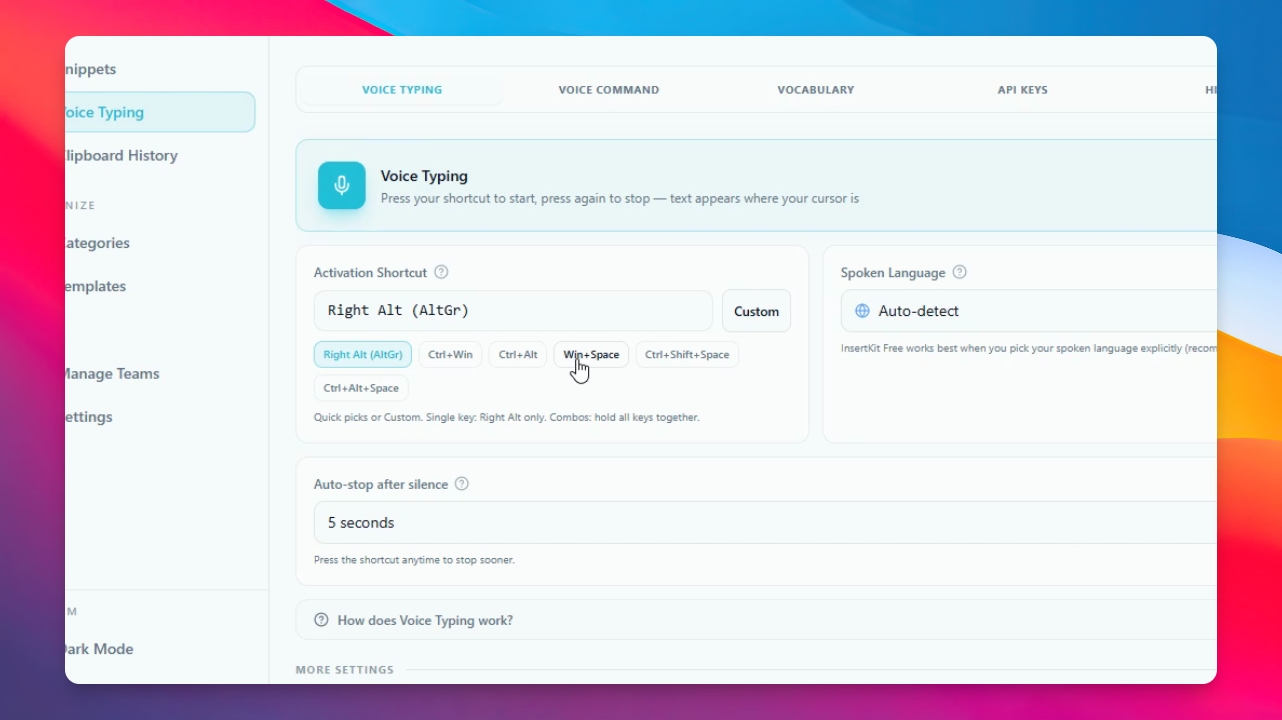
The app may show a default model connected, but for better results, you can set up a free API key.
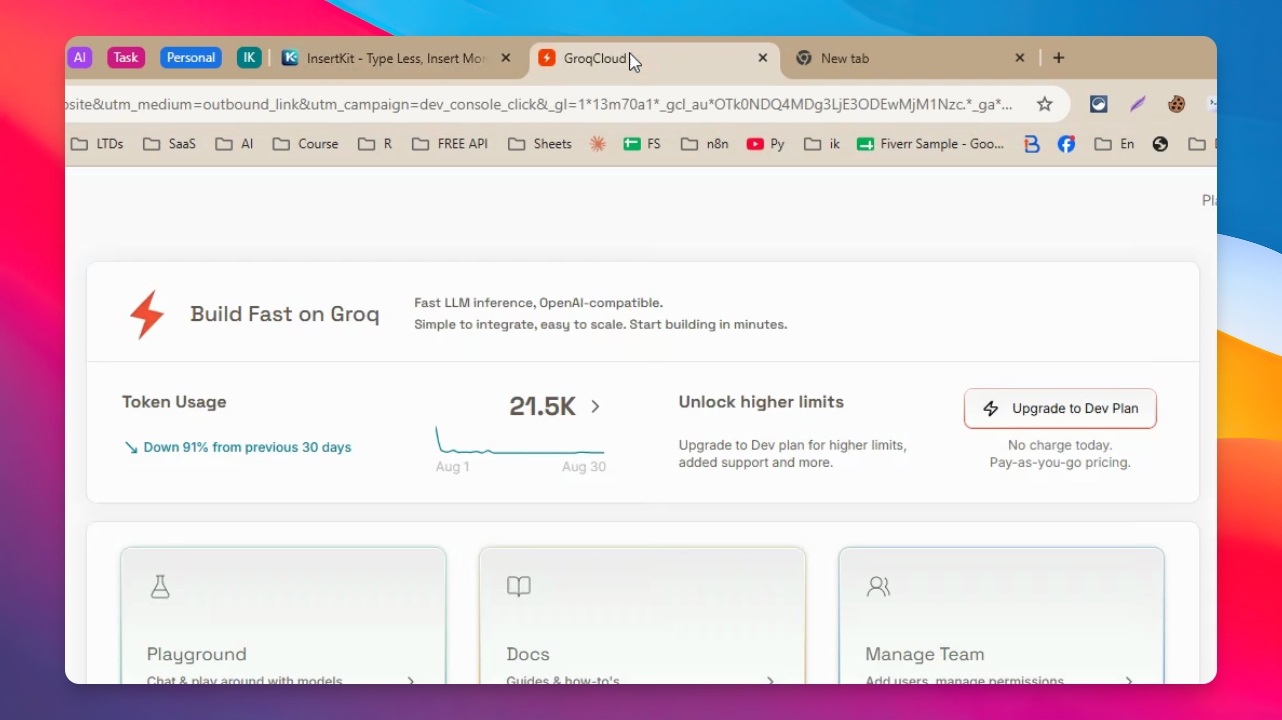
Step 4: Get a Free API Key from Grog
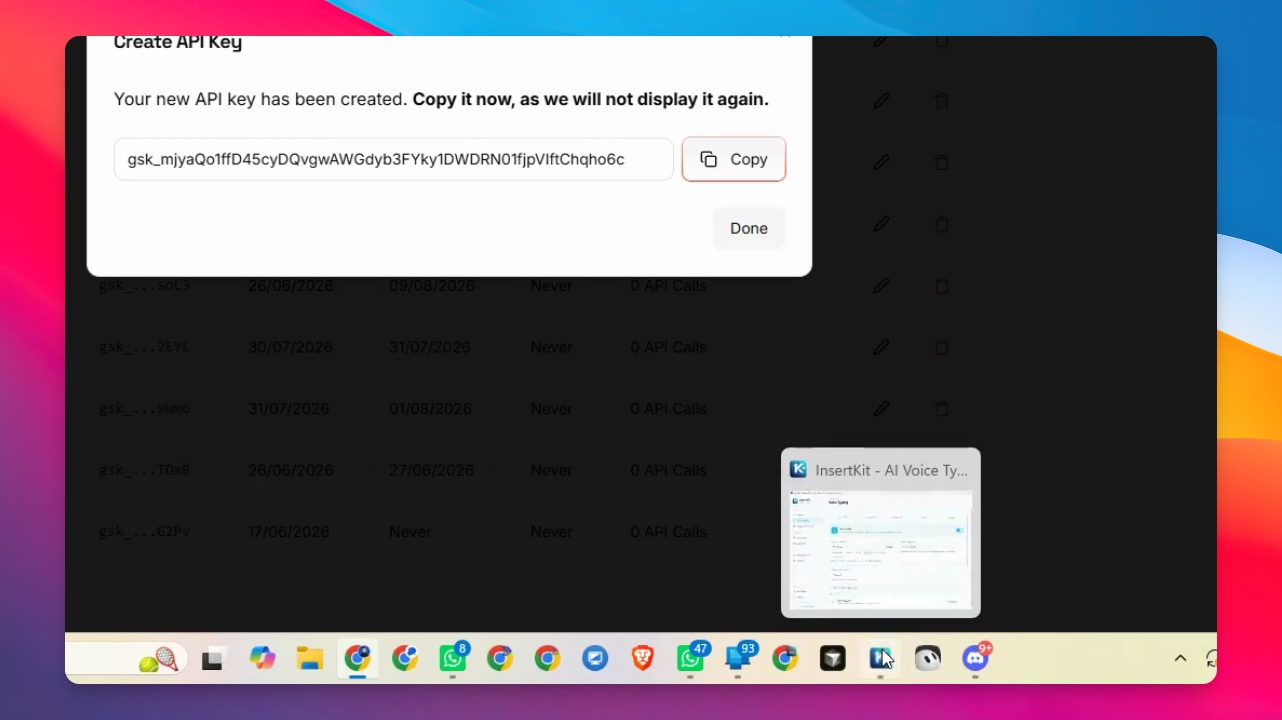
Go to grog.com and create a free account. After registration, click API Key, then Create API Key, and set a name for your key. Click Submit and copy the generated API key.
Step 5: Add API Key to Insertkit
Return to the desktop app. Click API Keys, paste your API key in the field, and click Save. Then, click Sync to apply the changes across your voice typing setup.
Step 6: Configure Voice Typing Engine
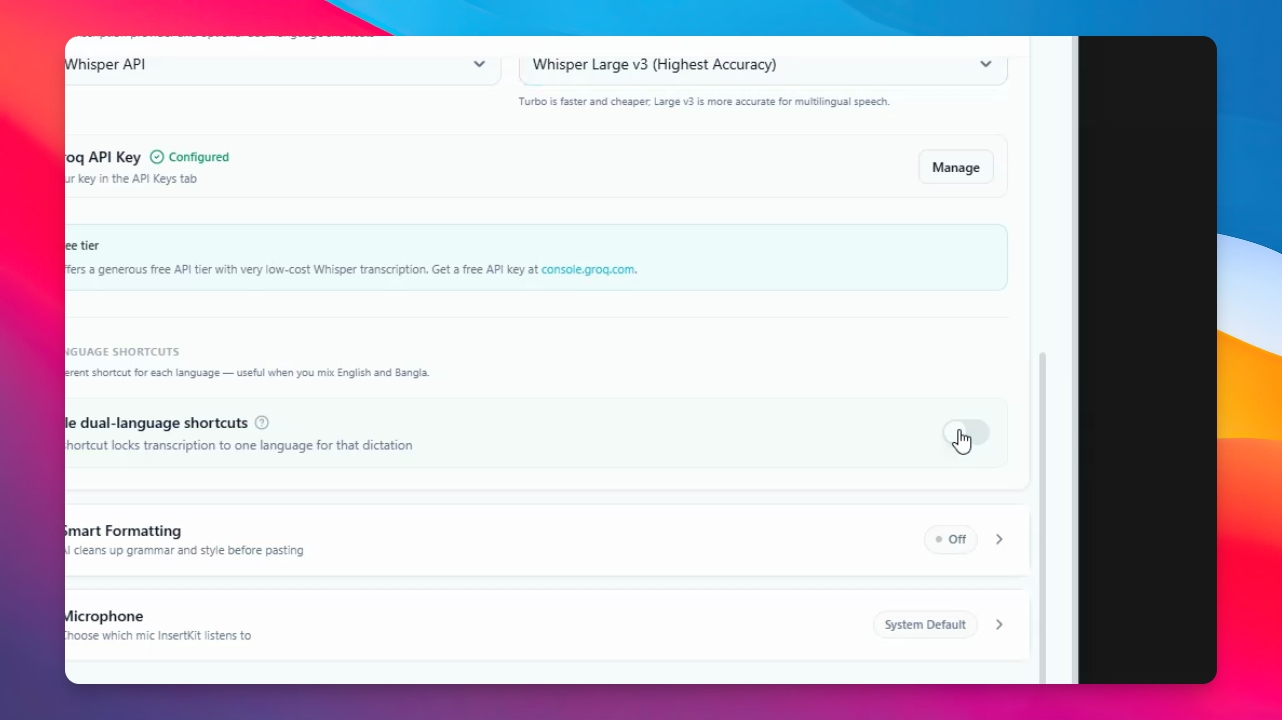
Go to the Voice Typing section. In the SPC engine, select Grok as the provider and choose a model for best accuracy. For highest accuracy, select Whisper large (may be slower). For faster English response, select a turbo model.
Step 7: Set Up Multiple Shortcuts and Languages
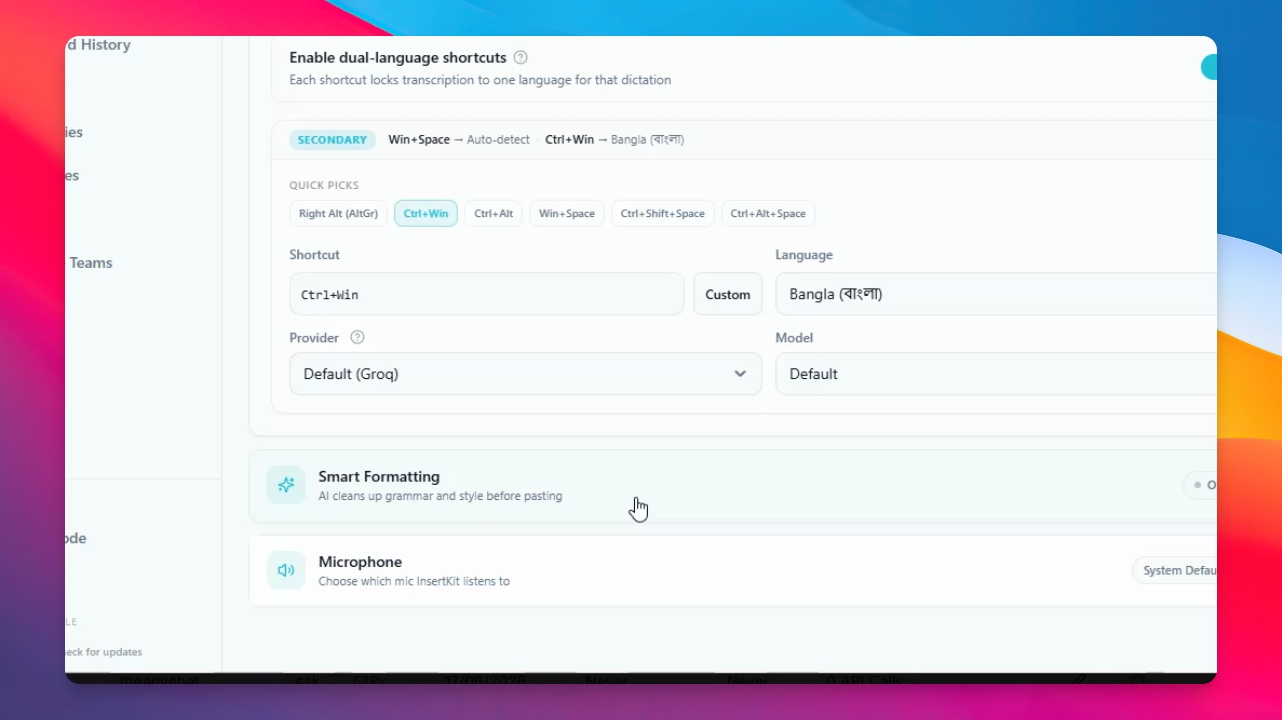
You can add multiple shortcuts for different languages. Enable this option if you want to use another language with a separate shortcut, or keep a single shortcut for one language.
Step 8: Enable Smart Formatting
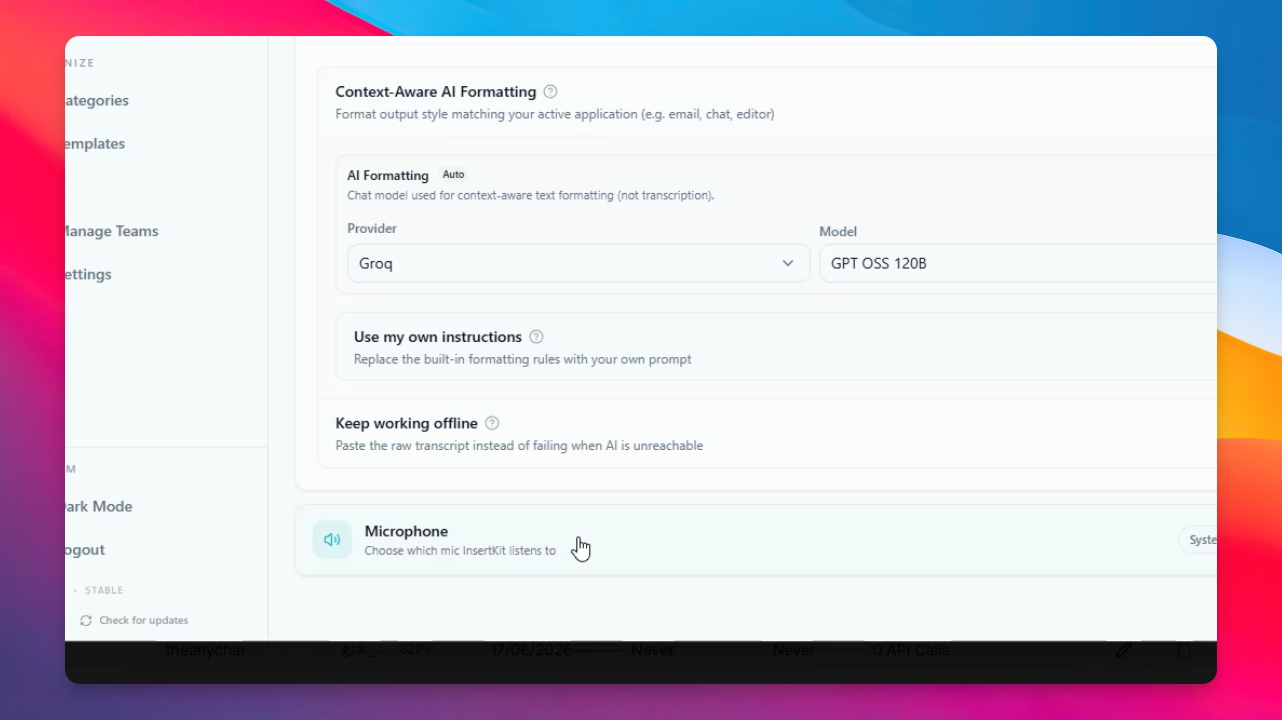
Select your provider, model, and other options as needed. Make sure to enable Smart Formatting for better output. Click to enable it; it will activate automatically.
Once the API key is added, Grok will be detected automatically. You can also change the system formatting prompt or set your microphone preferences in the settings.
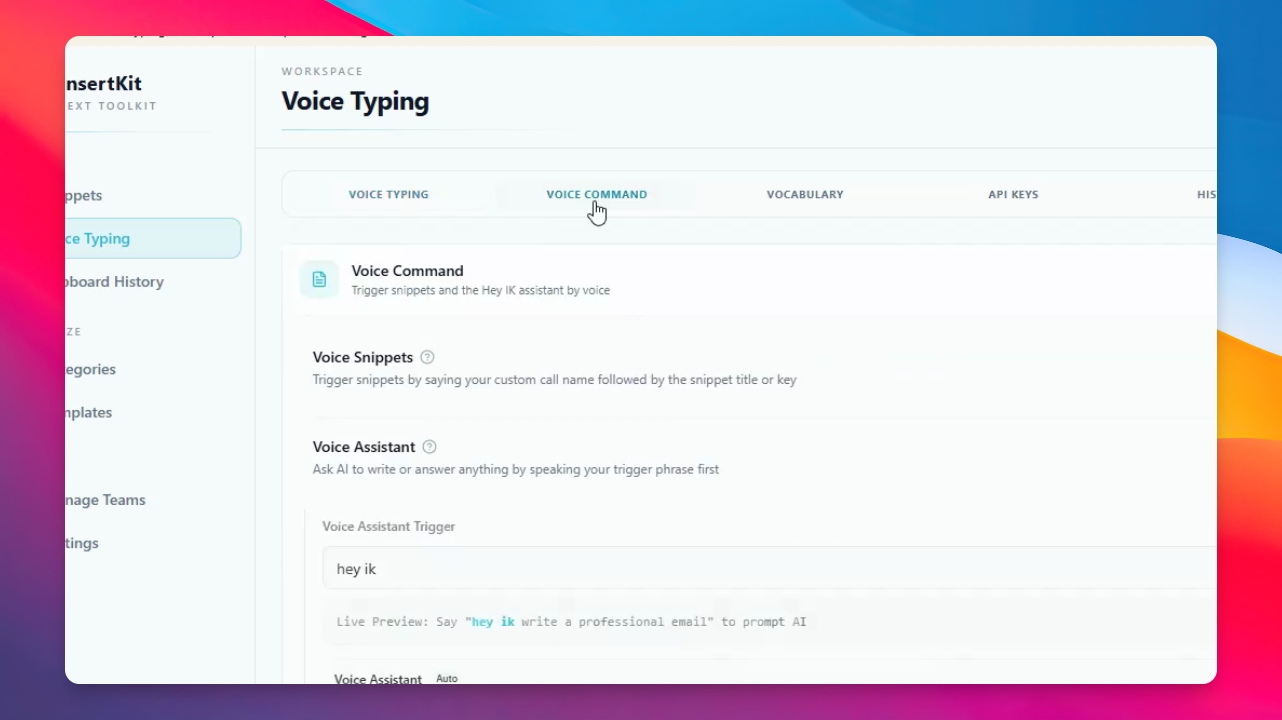
Step 9: Enable Voice Commands and Vocabulary
Go to the Voice Command section and enable it. You can add custom vocabulary or corrections, such as inserting email addresses or specific words.
Step 10: Test Voice Typing
Open a blank Notepad or any text field. Press your shortcut key and start speaking. When finished, press the shortcut again to stop. Your spoken text will appear in the application.
You can now use voice typing in Insertkit anywhere you want. Explore more advanced features in other tutorials and check out the local model option in future videos.