
This guide will show you how to use voice commands in InsertKit to insert snippets and interact with the voice assistant. Let's look at the steps:
Step 1: Open Voice Typing Section
Open your desktop app and navigate to the voice typing section. Then, go to voice command for the first time.
Step 2: Enable Voice Snippet
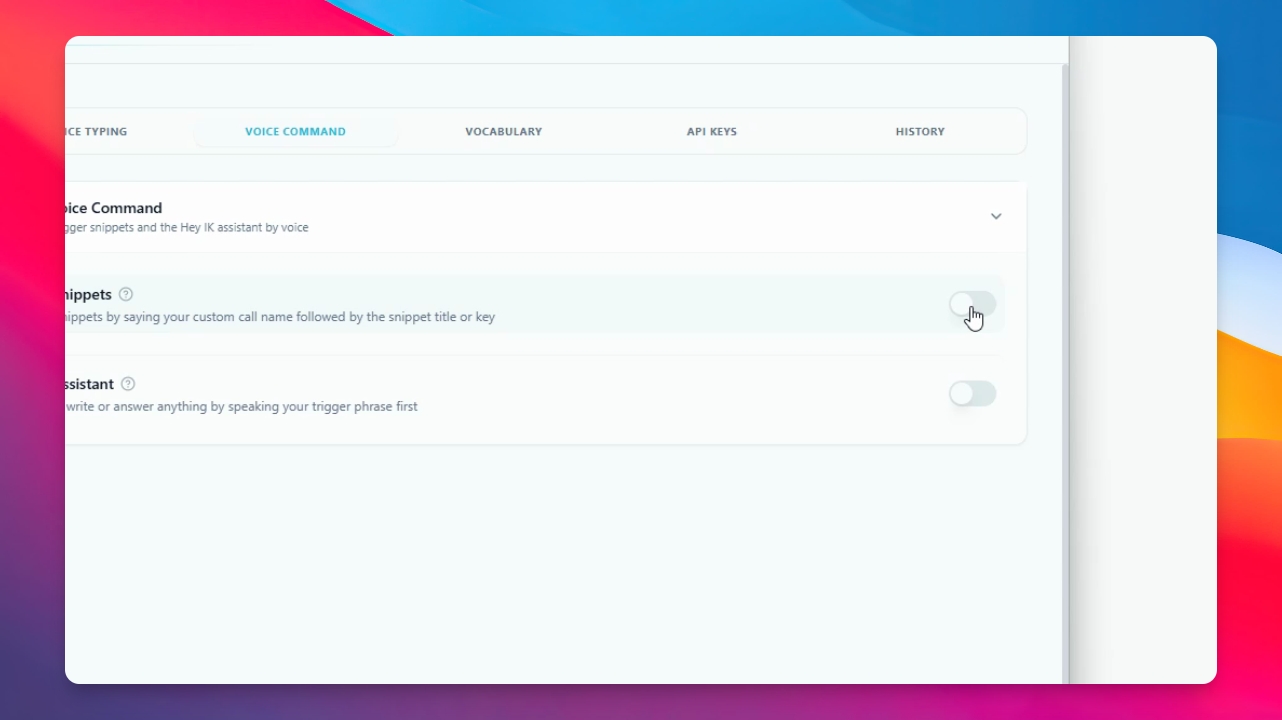
If needed, enable the feature by clicking the toggle for voice snippet.
Step 3: Activate Voice Snippet
Click the voice snippet toggle to turn it on.
Step 4: Enable Voice Assistant
Enable the voice assistant from the same section.
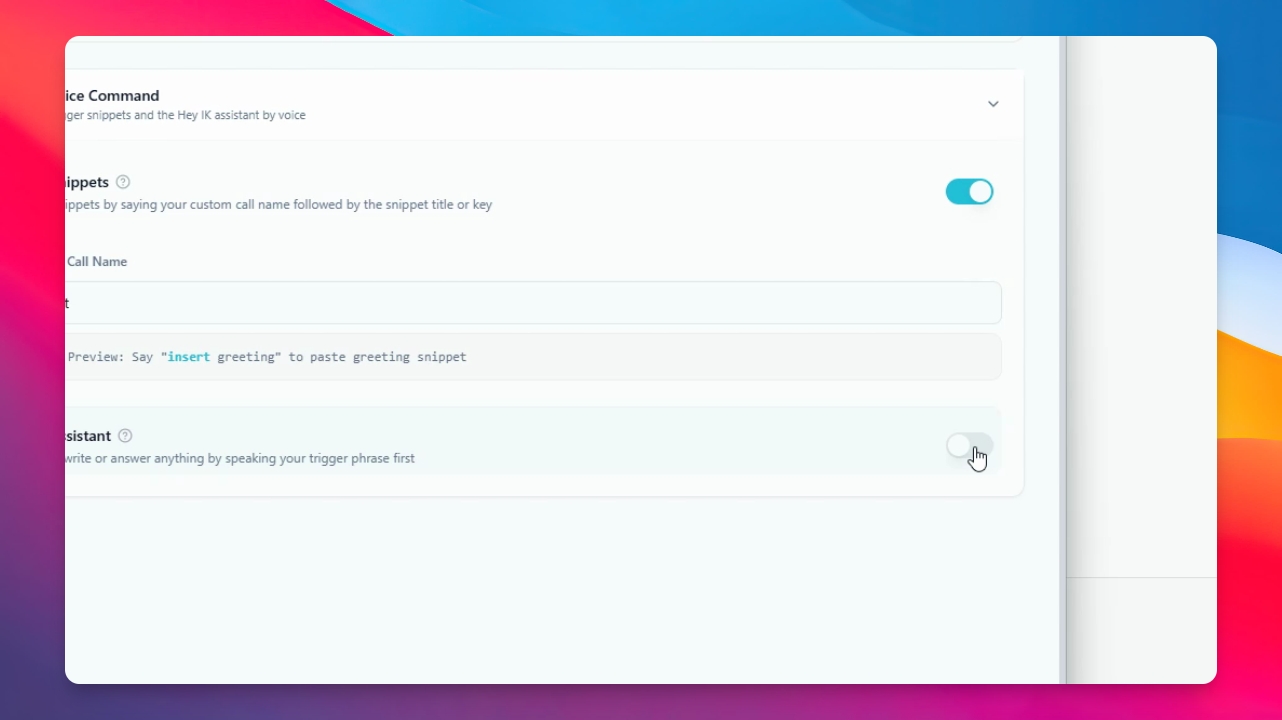
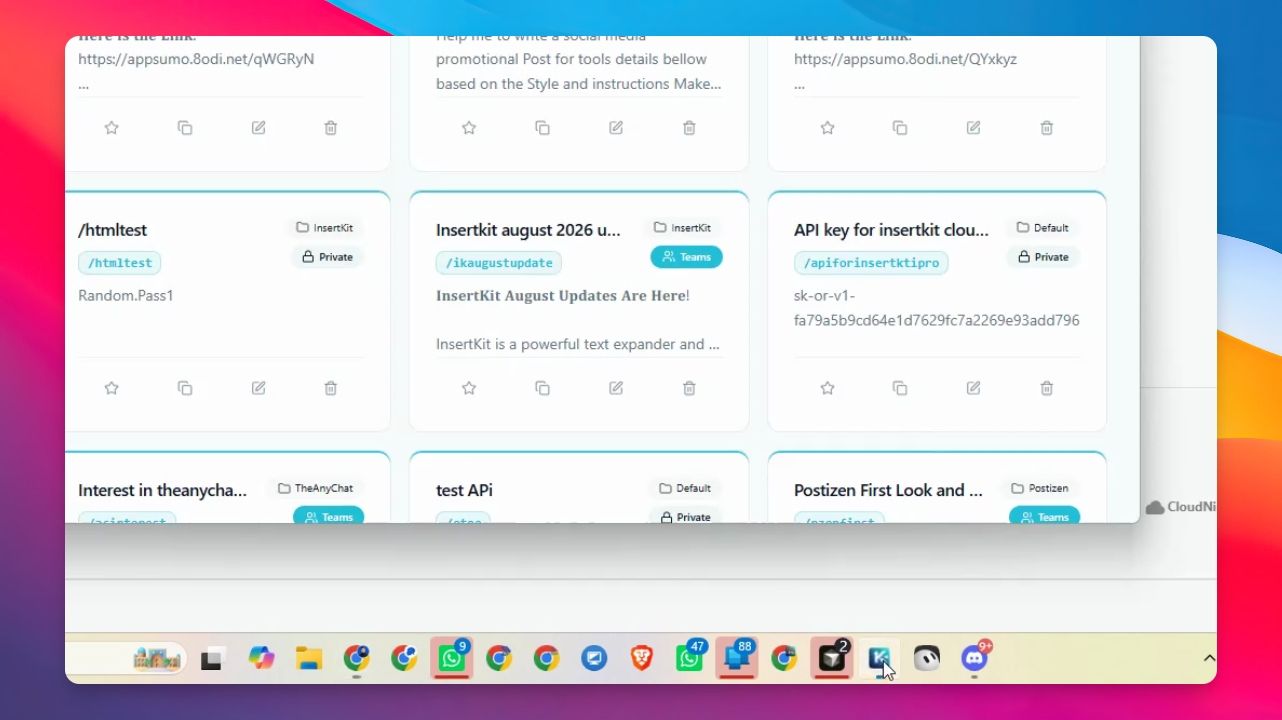
The voice snippet allows you to insert your saved snippets using voice commands. Each snippet has a title and a trigger. To insert a snippet, say insert followed by the snippet's title or trigger.
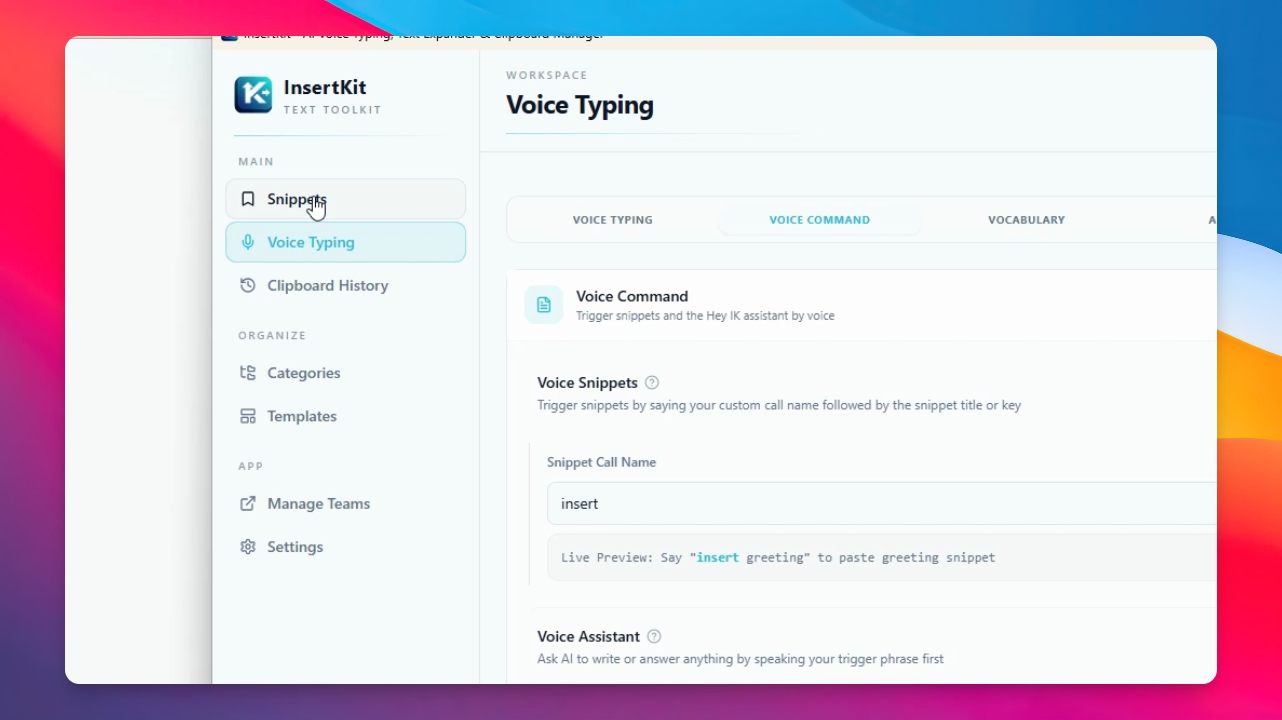
The voice assistant works like ChatGPT. You can activate it by saying hey ik, followed by your prompt. For example, you can ask it to write a follow-up message or a social media post. Both the activation phrase and prompts can be customized.
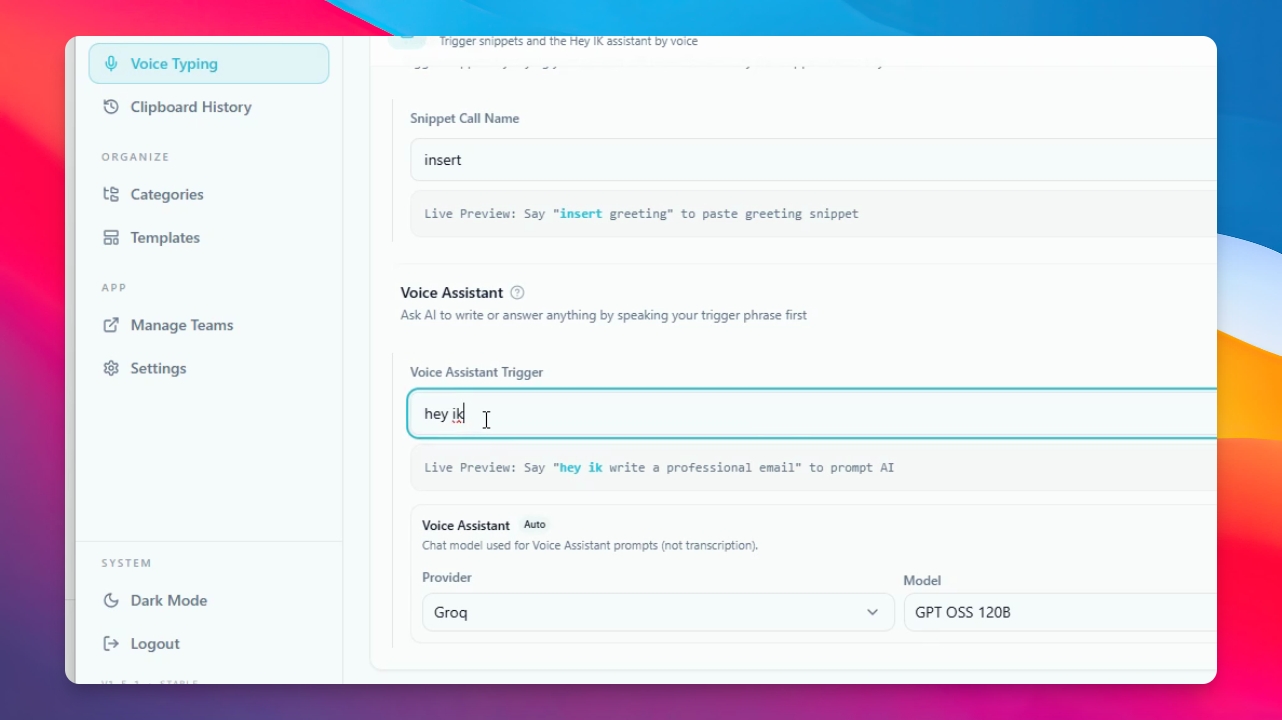
Step 5: Change Model or Provider
You can change the AI model or provider by selecting the options available in the app.
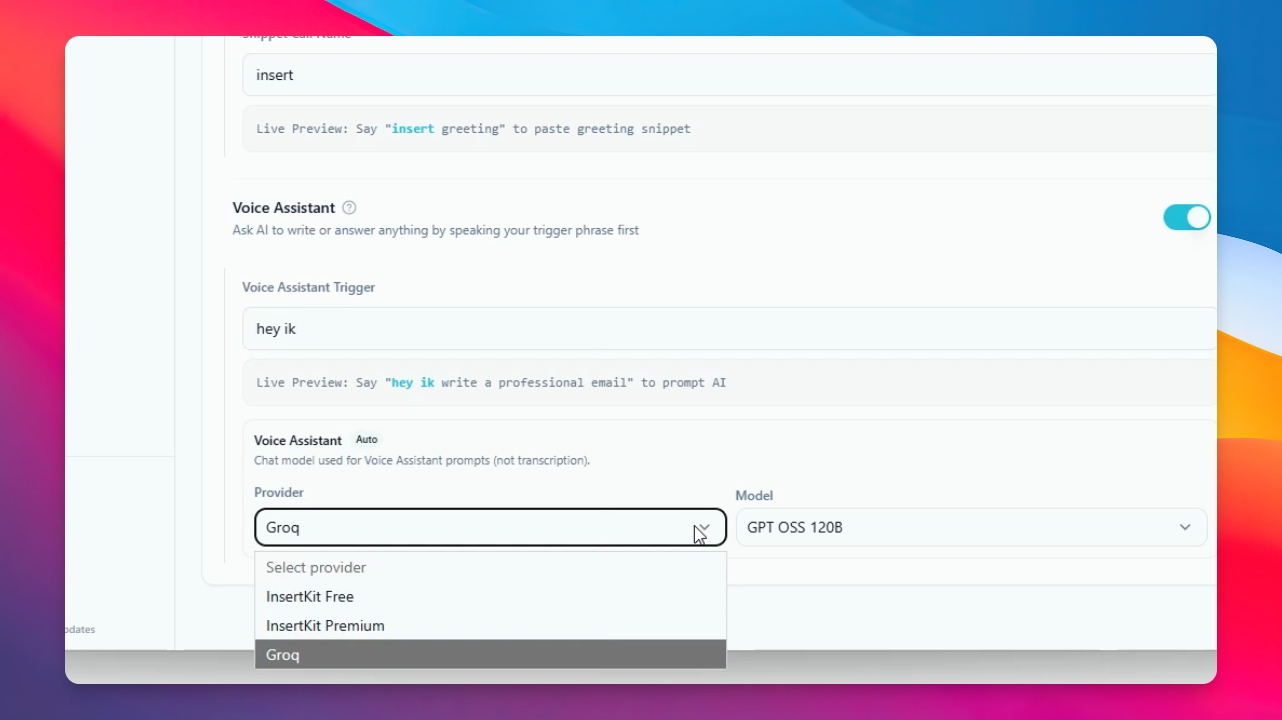
Step 6: Start Voice Typing
Open a blank notepad or your desired text editor. Press your voice typing or voice dictation shortcut key (for example, Windows + Space). Start speaking, and click the shortcut again to stop recording.
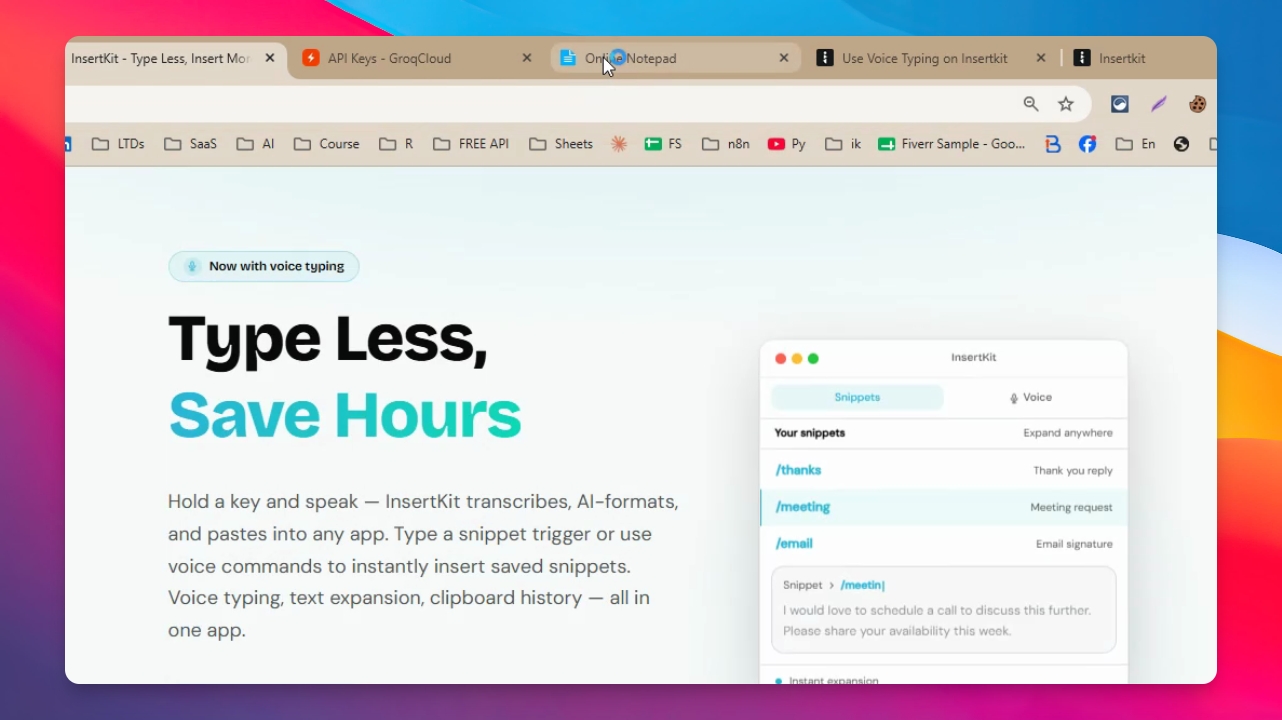
Step 7: Insert a Snippet with Voice
Say a command like insert all social media links. The corresponding snippet will be inserted if it exists in your saved snippets.
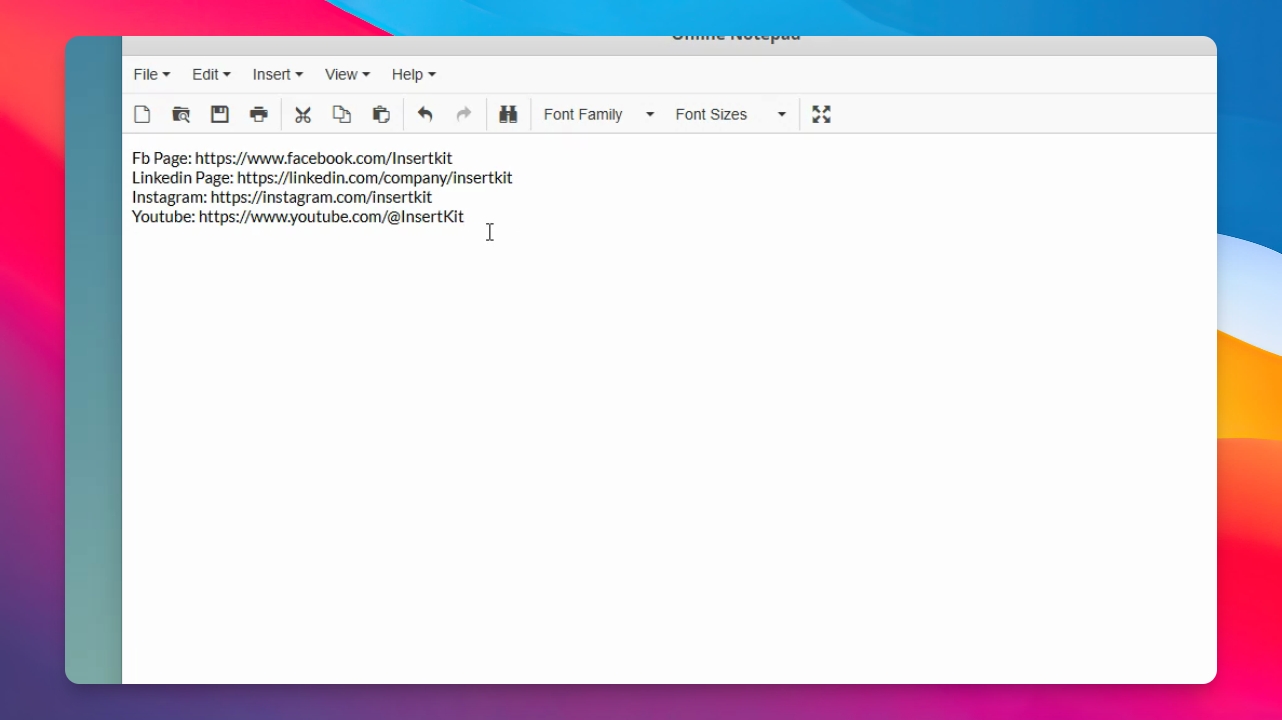
Step 8: Use Voice Assistant for Content
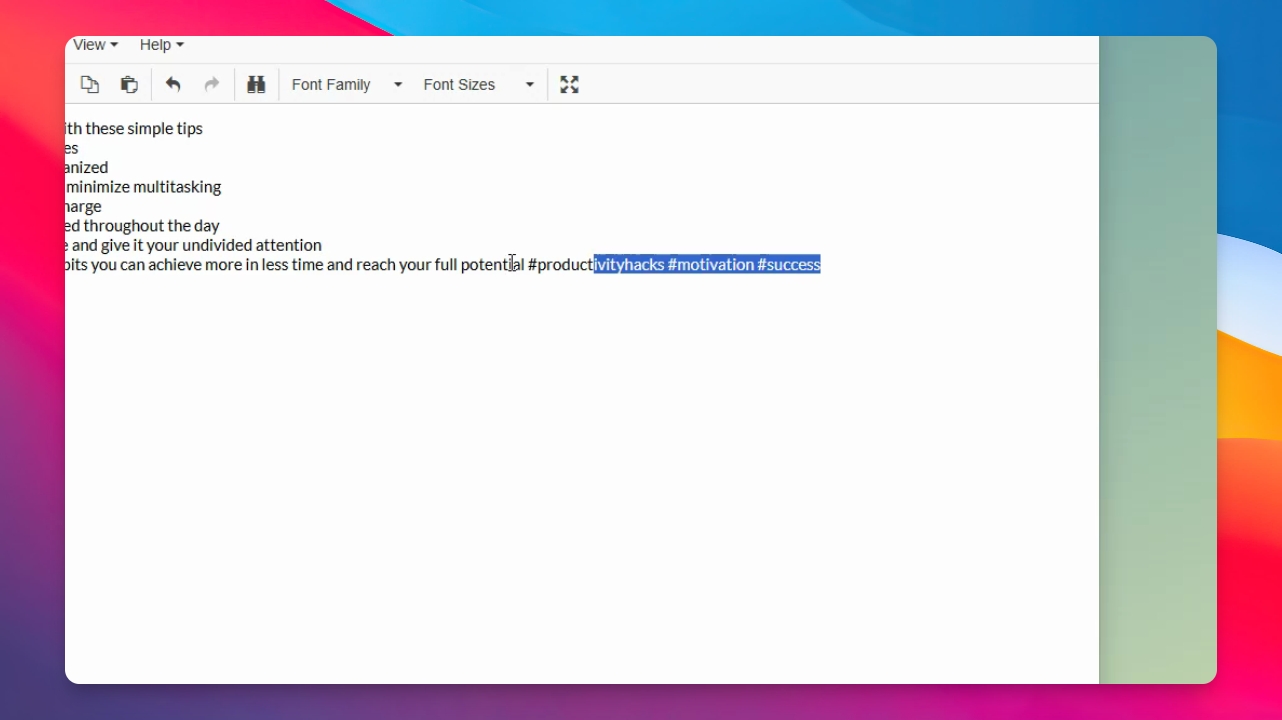
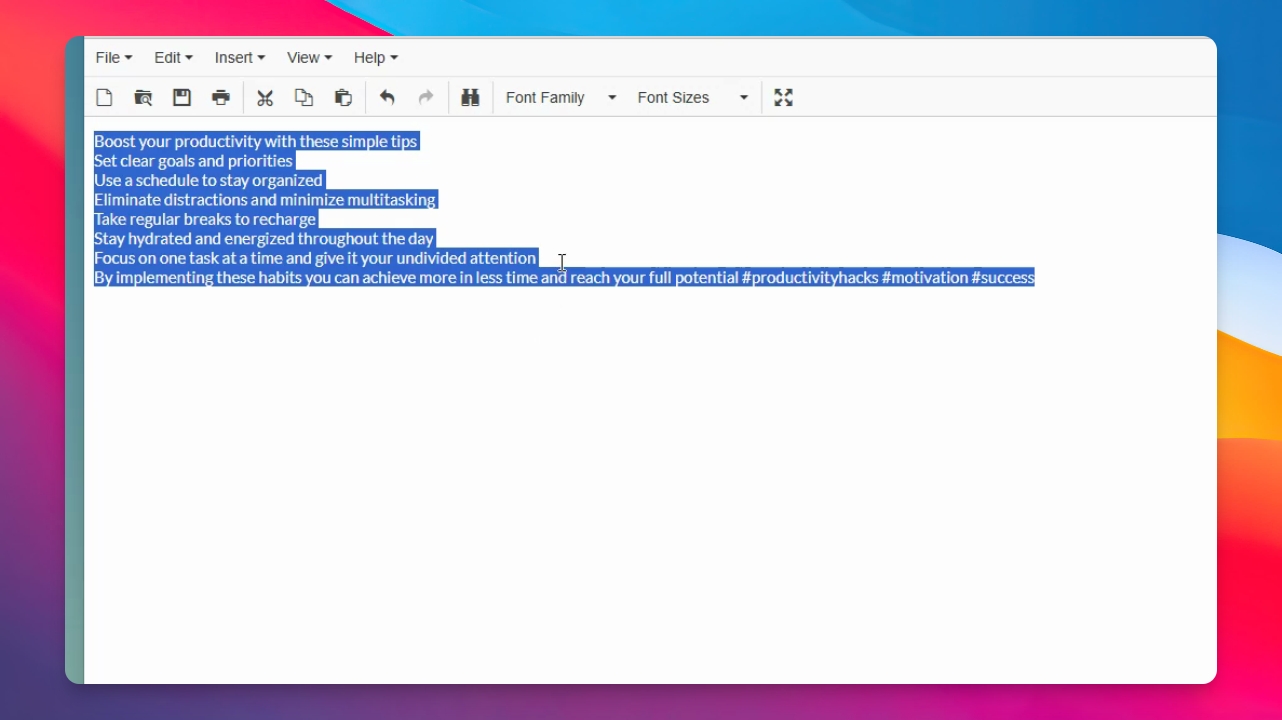
Say hey ik followed by your prompt, such as write a short social media post about how to boost your productivity. Stop the recording, and the assistant will generate and insert the content.
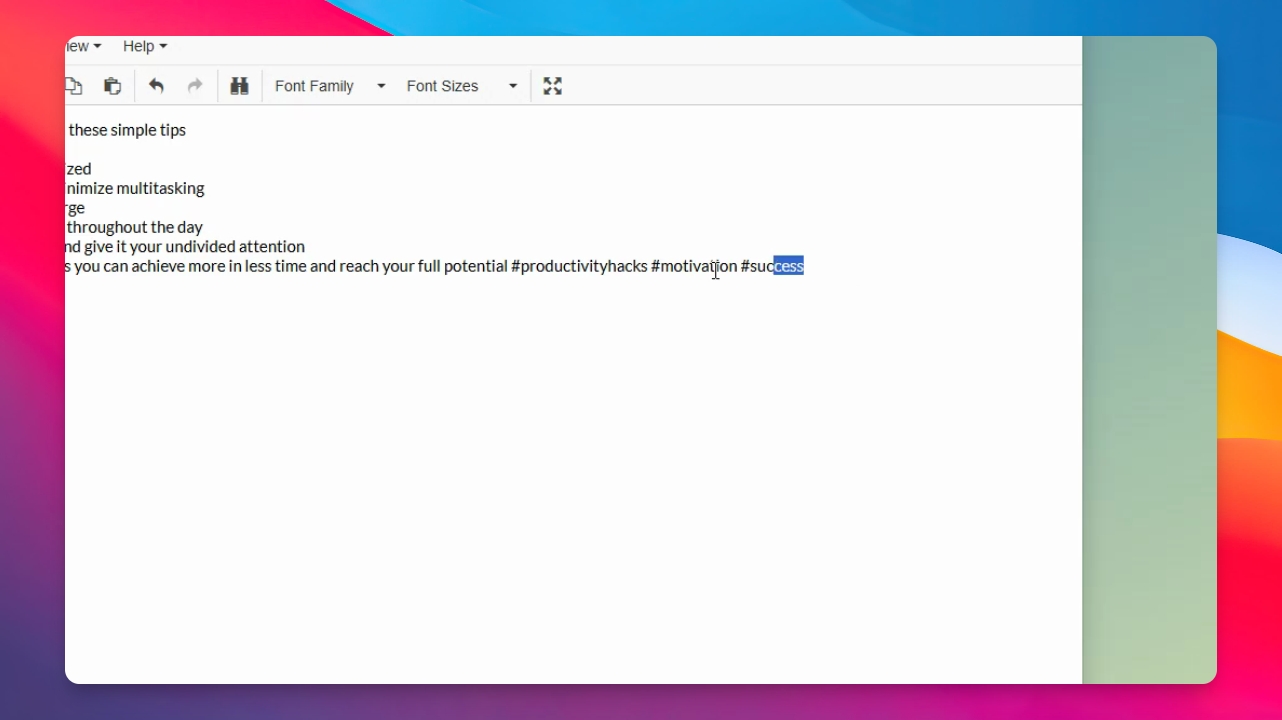
You can prompt the assistant with any request, and it will generate and insert the content for you.
Now you should understand how to use voice commands and the assistant in InsertKit.