
This guide will show you how to use voice typing with our Chrome extension. Let's look at the steps:
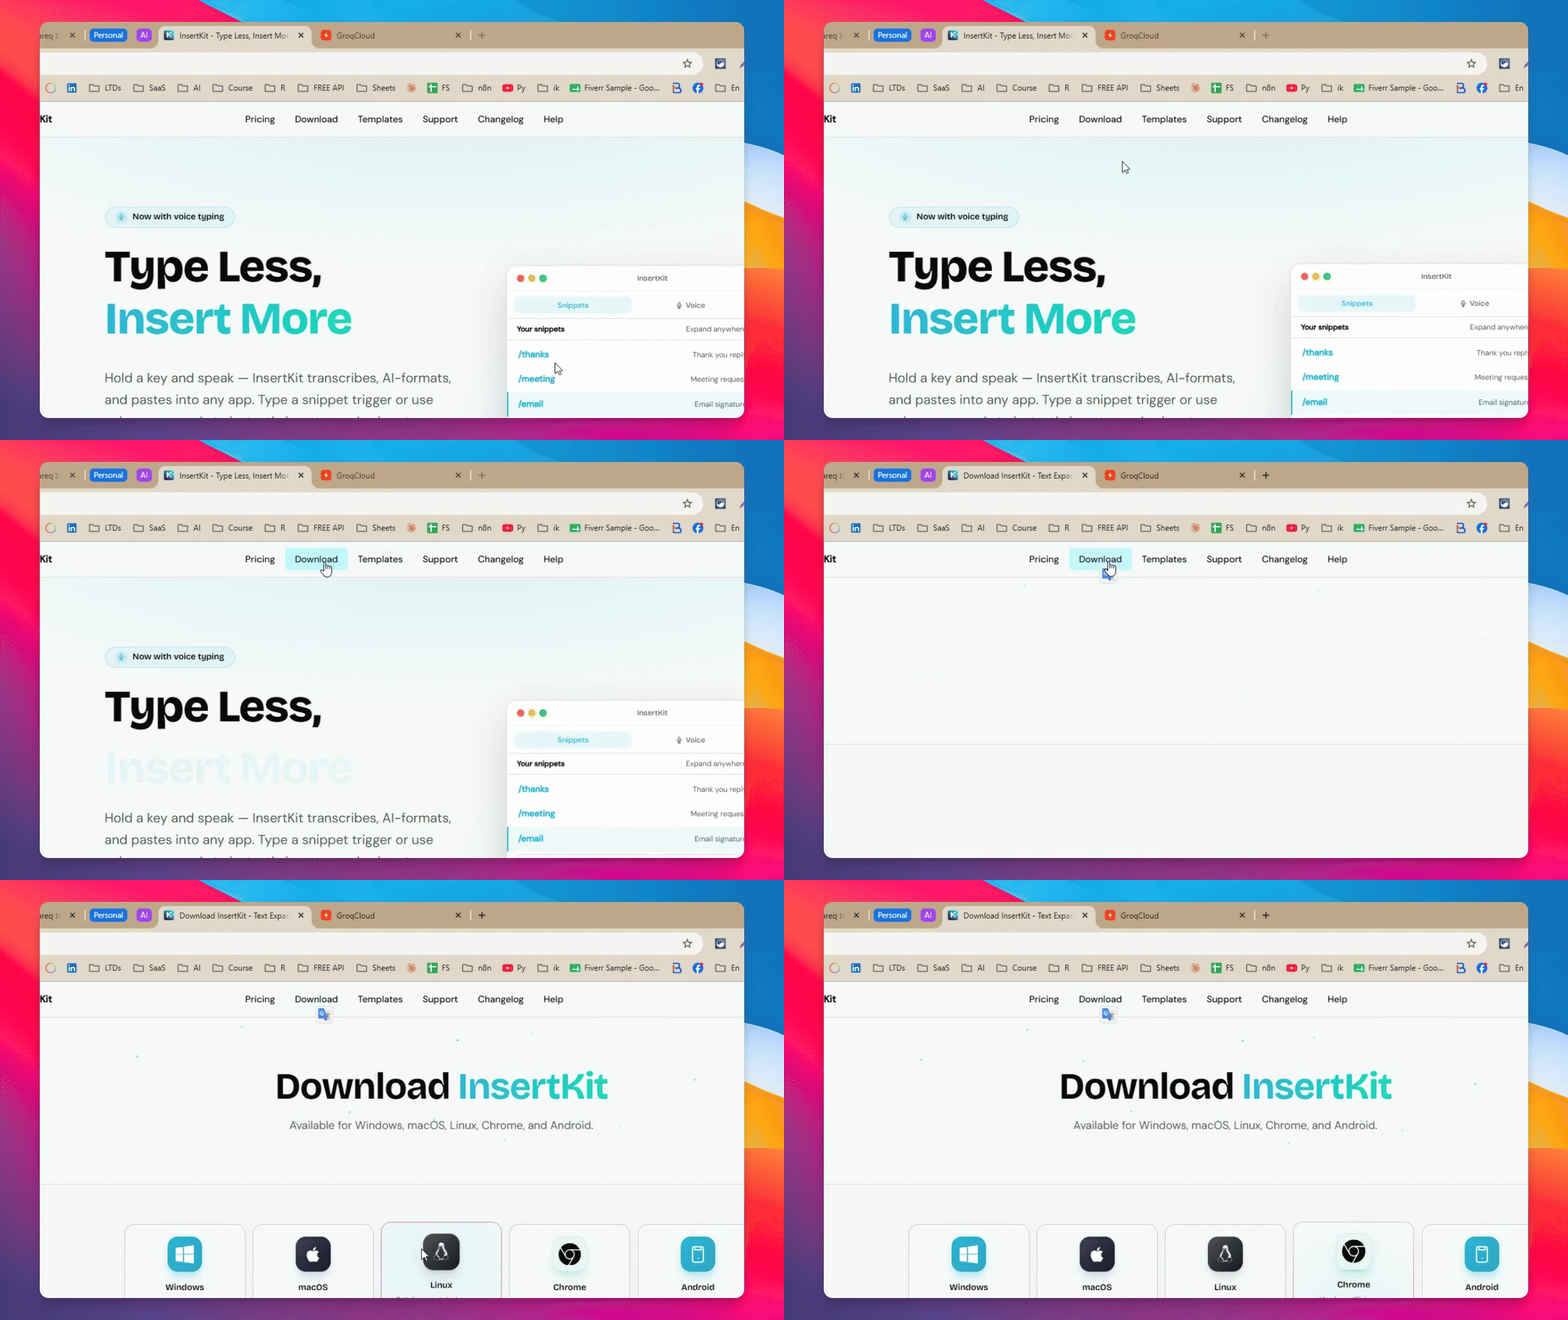
Step 1: Add Extension to Chrome
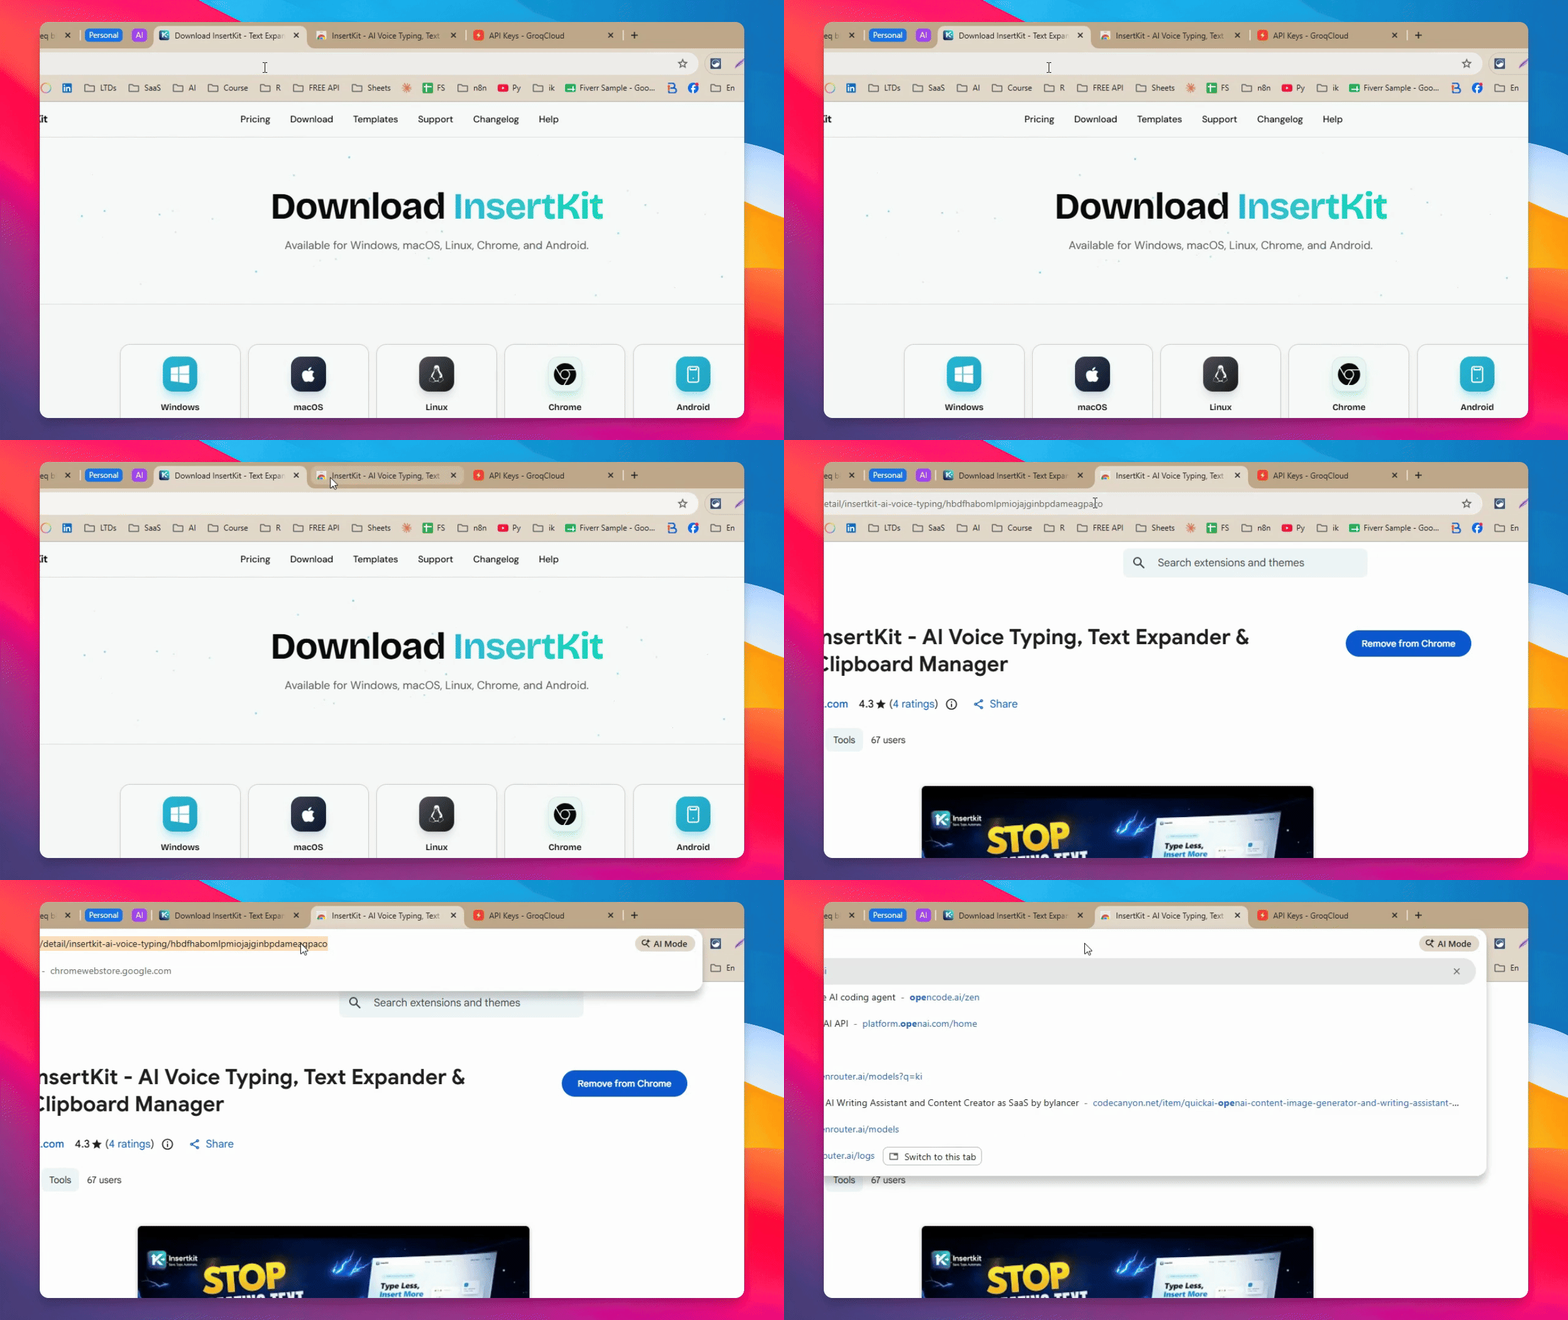
Go to the download section and click Add to Chrome. This will take you to the Chrome extension page. Click Add to Chrome again to install the extension. Once installed, you can pin it for easy access.
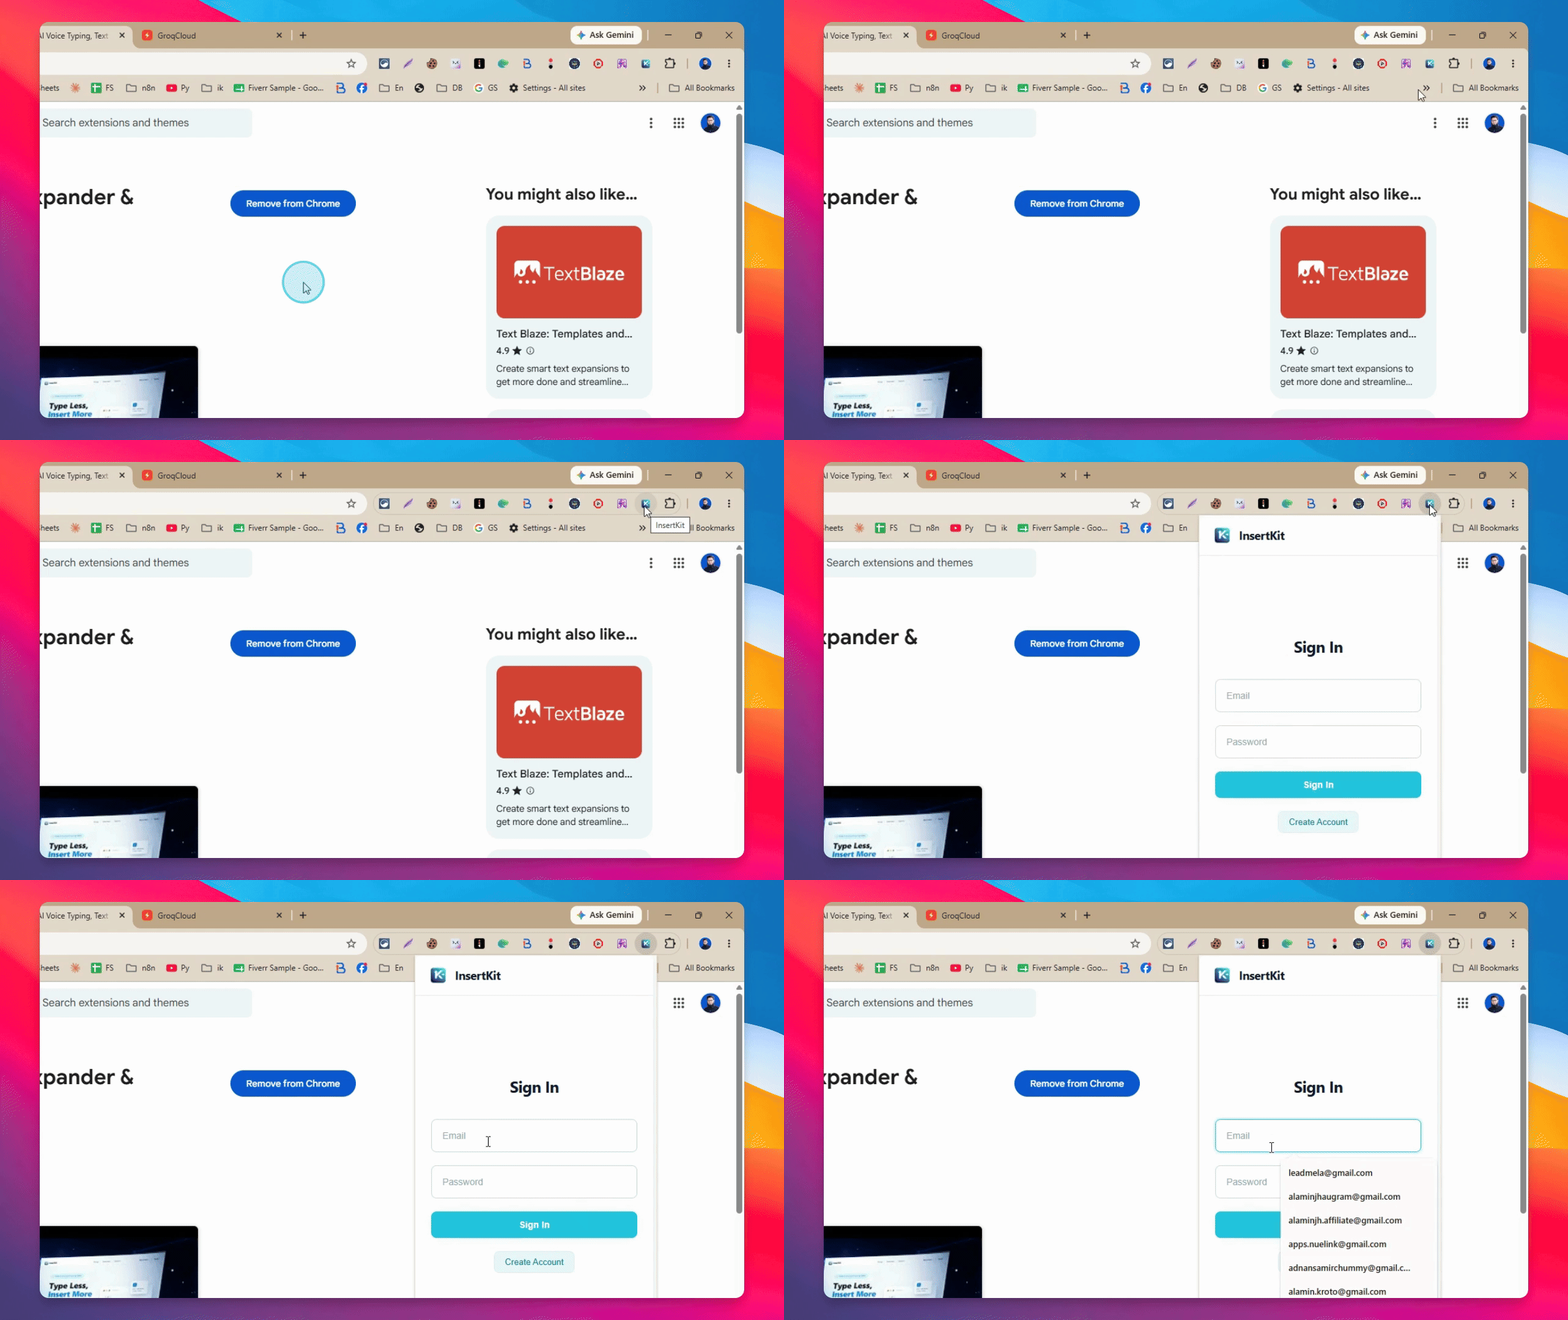
Step 2: Log In to Your Account
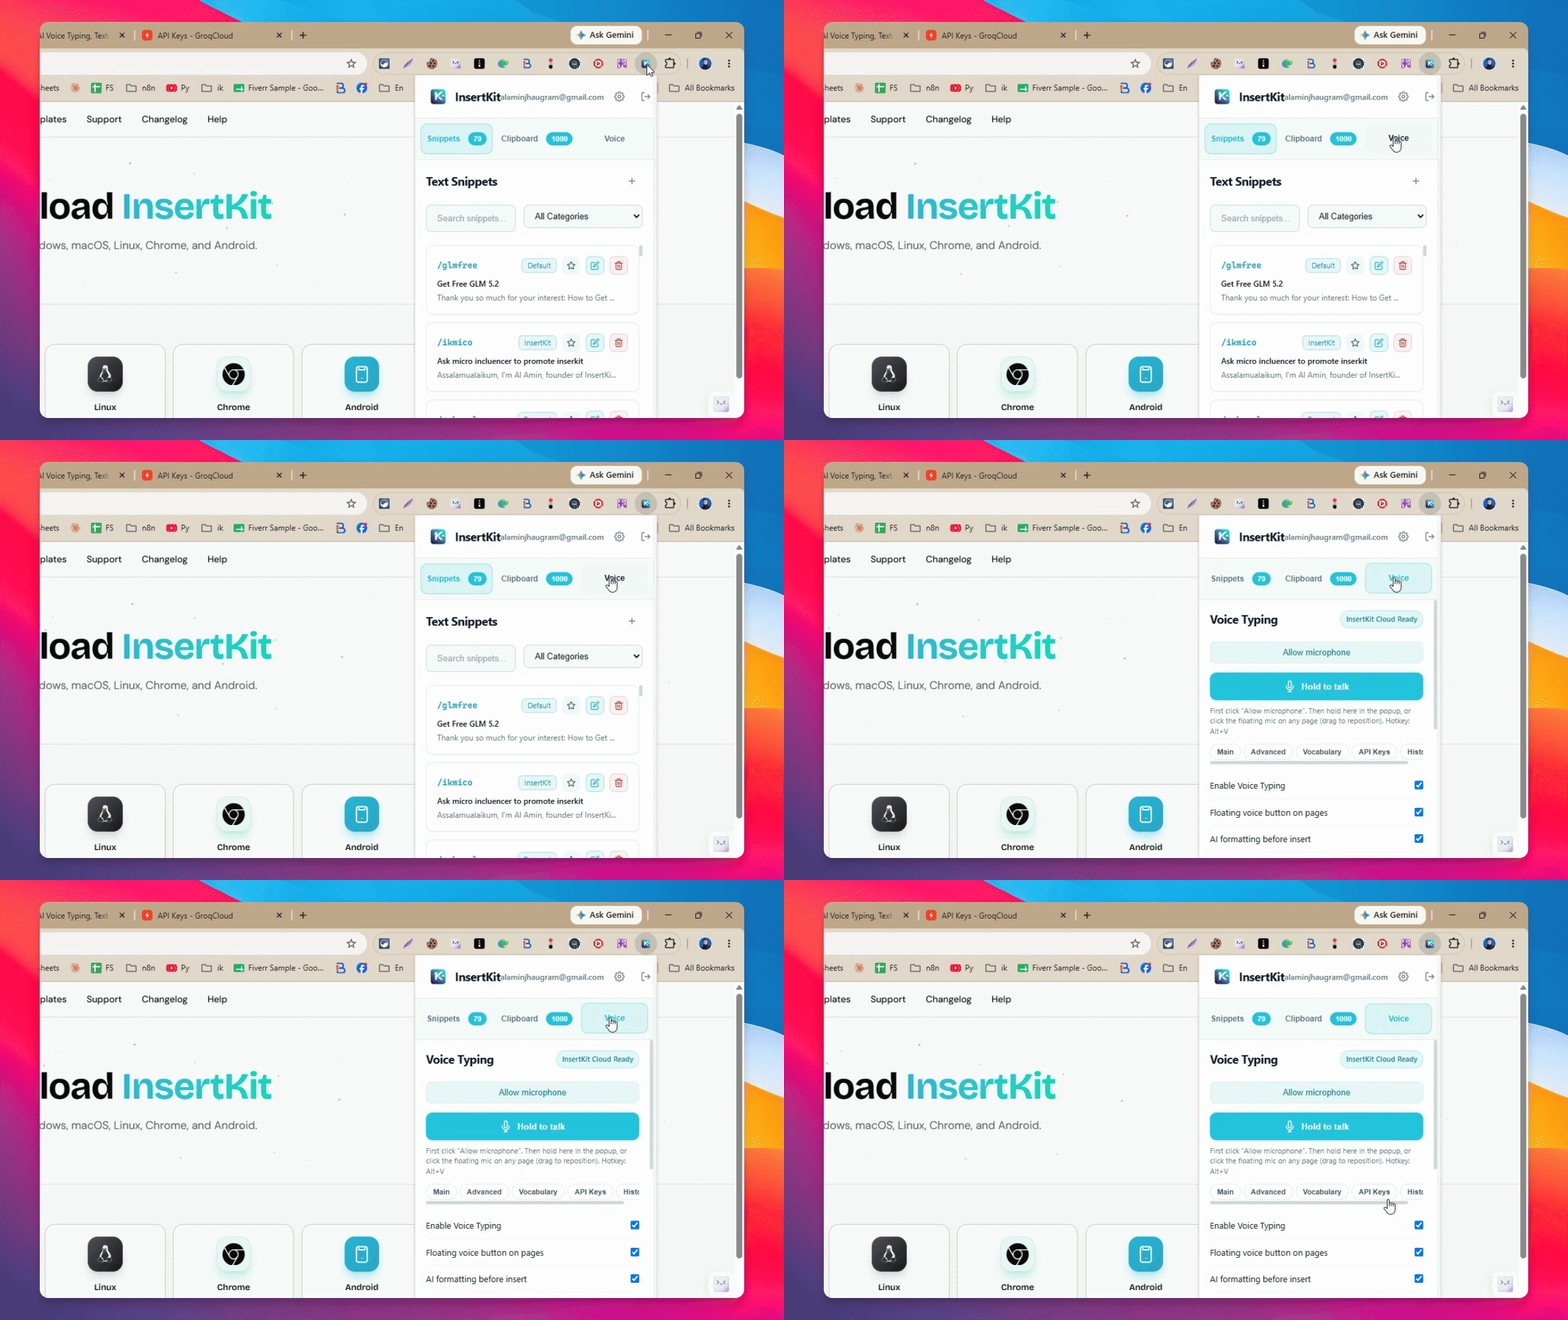
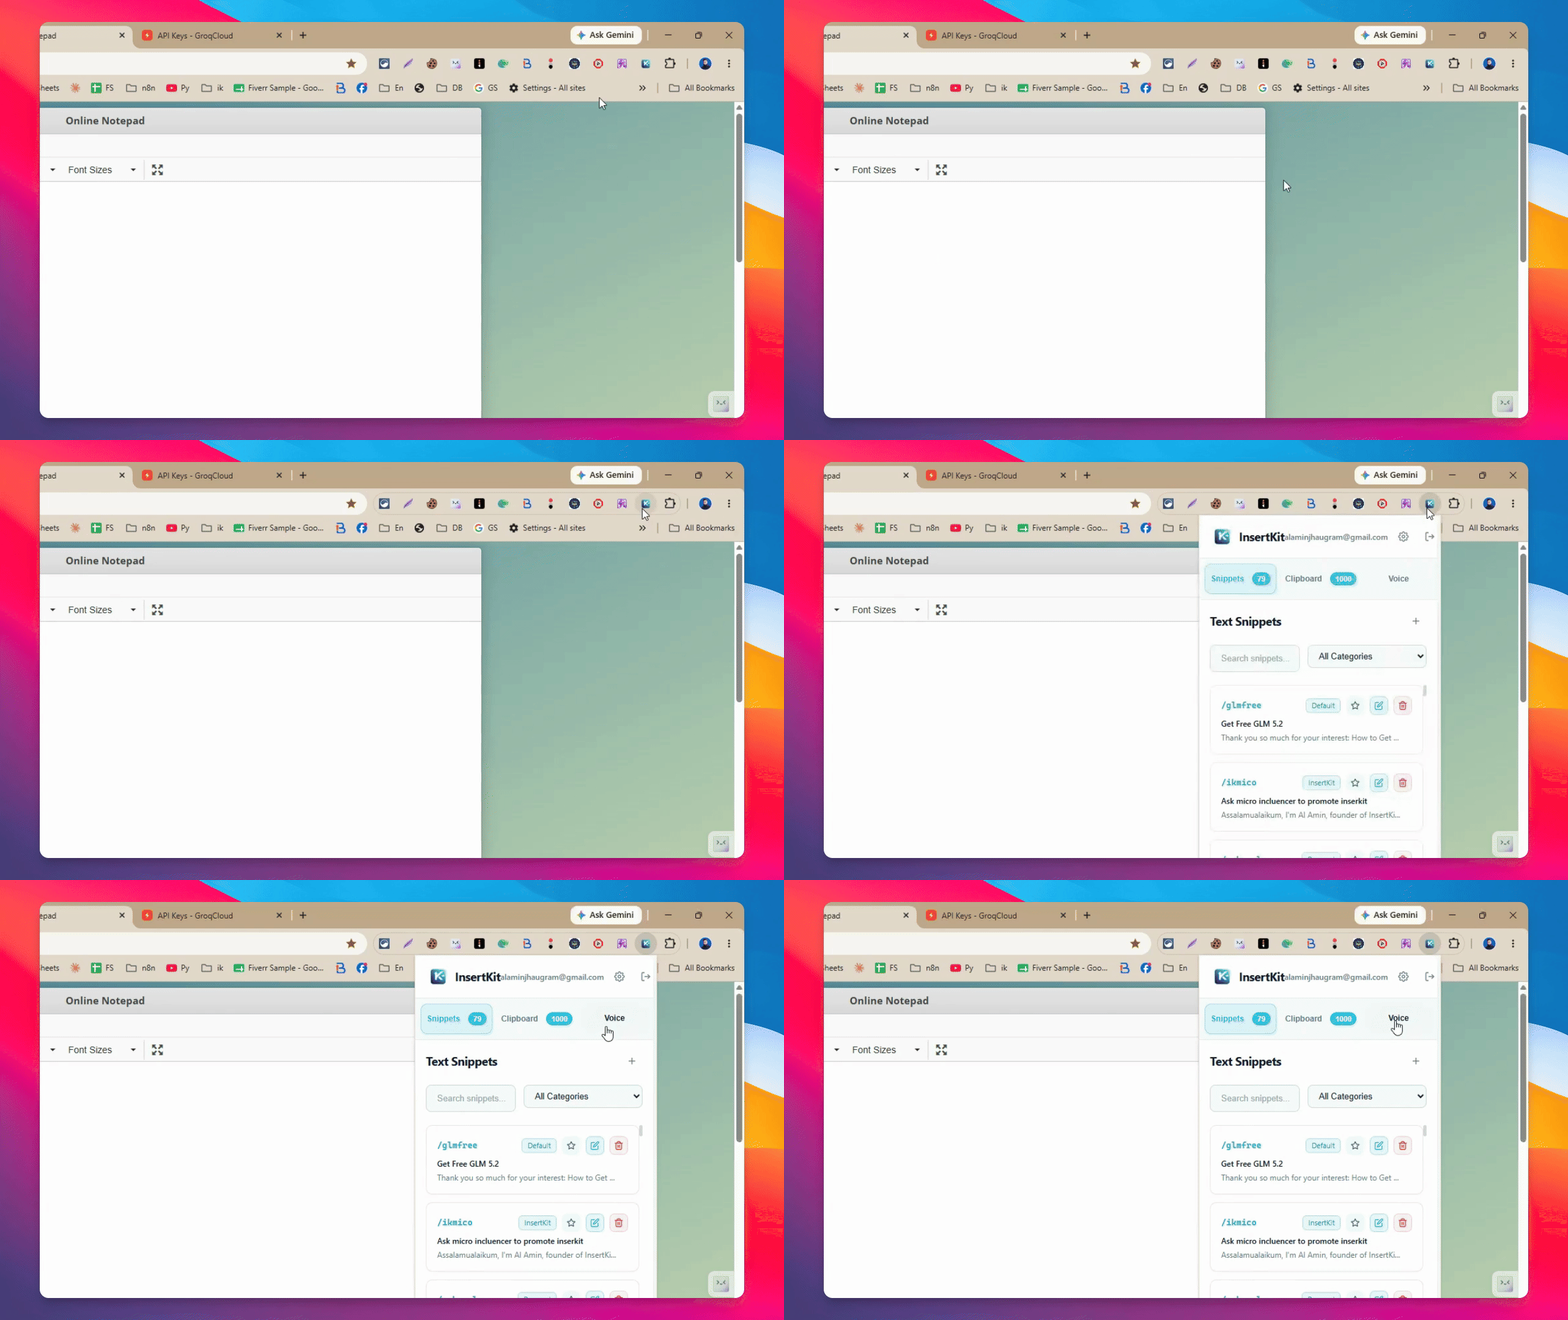
Click the extension icon and log in to your account. Then, go to the voice section.
Step 3: Connect Your API Key
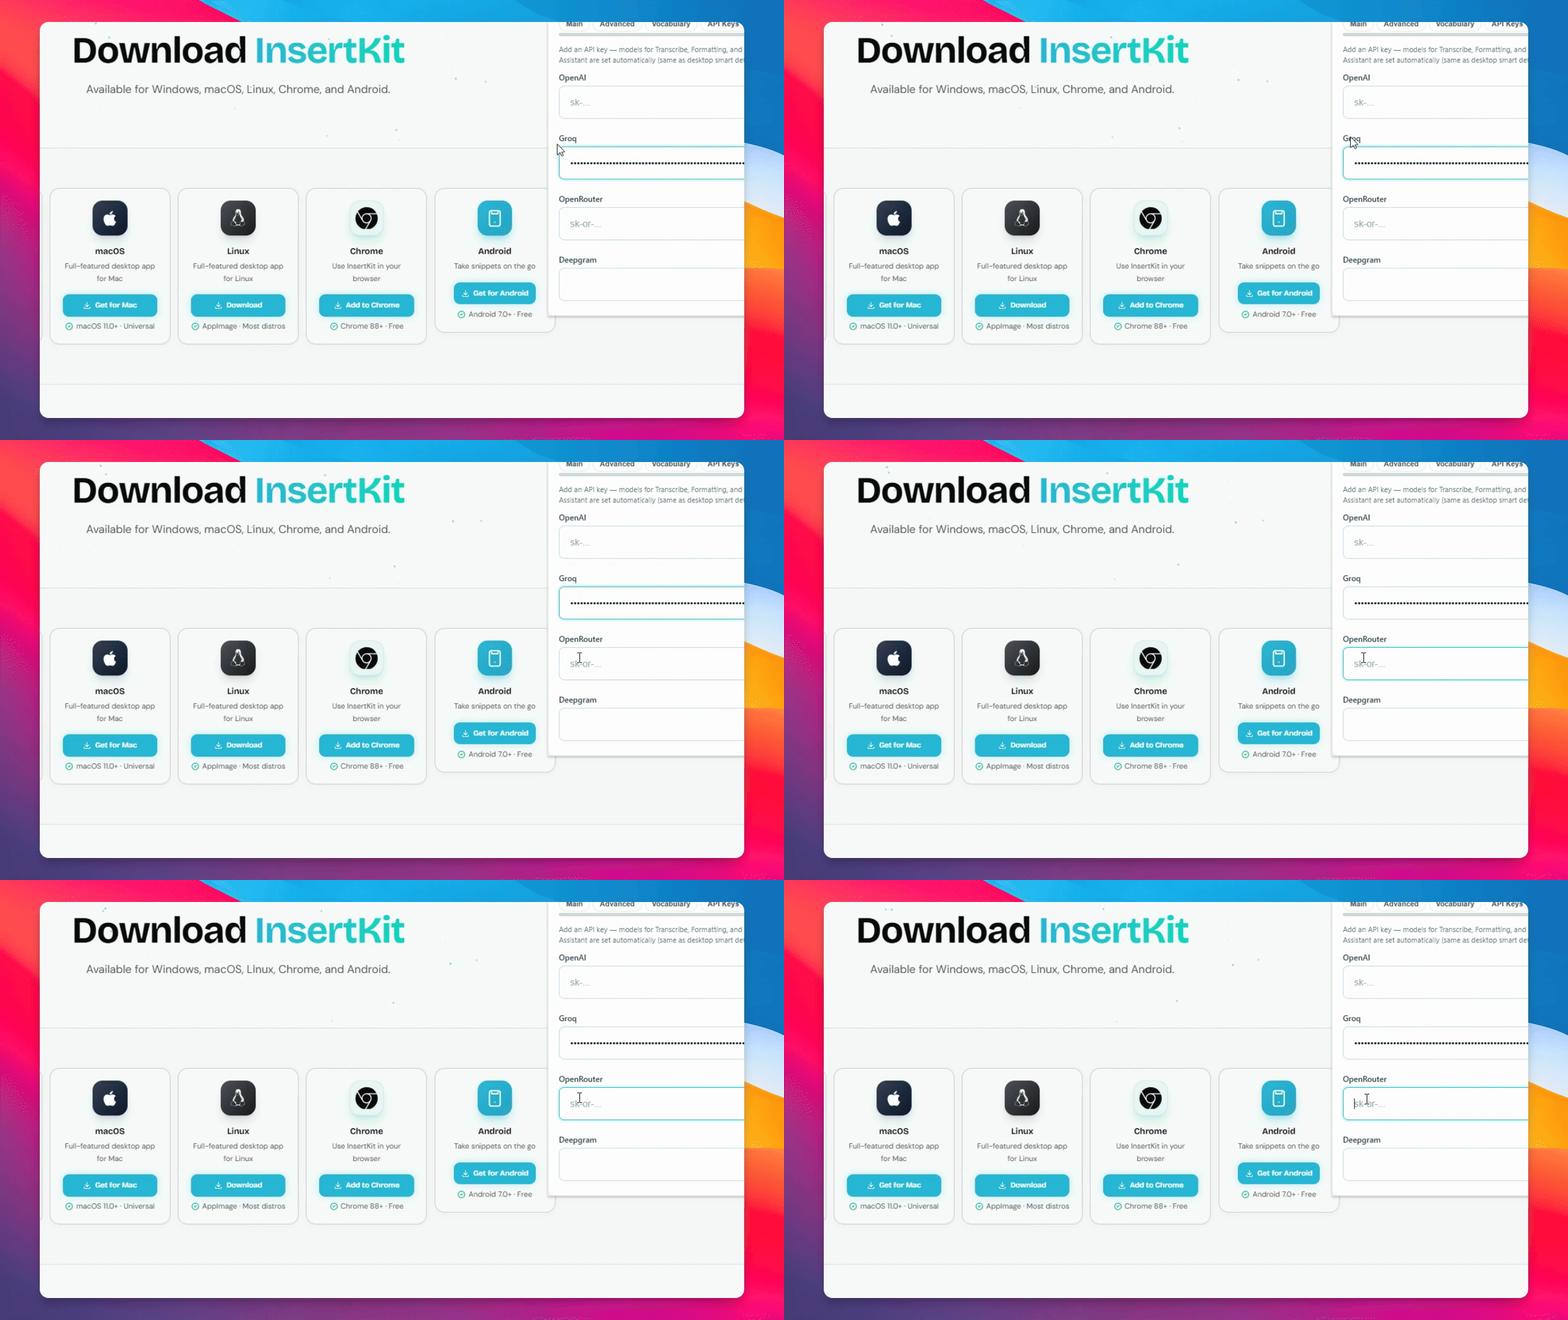
You will see an option to connect your API key. Go to the API key section. For this guide, we will use Groq. Go to groq.com and create an account. After creating your account, find the API key option, click it, then click Create API key and name your key. Click Submit to generate your API key. Copy the key and return to the extension.
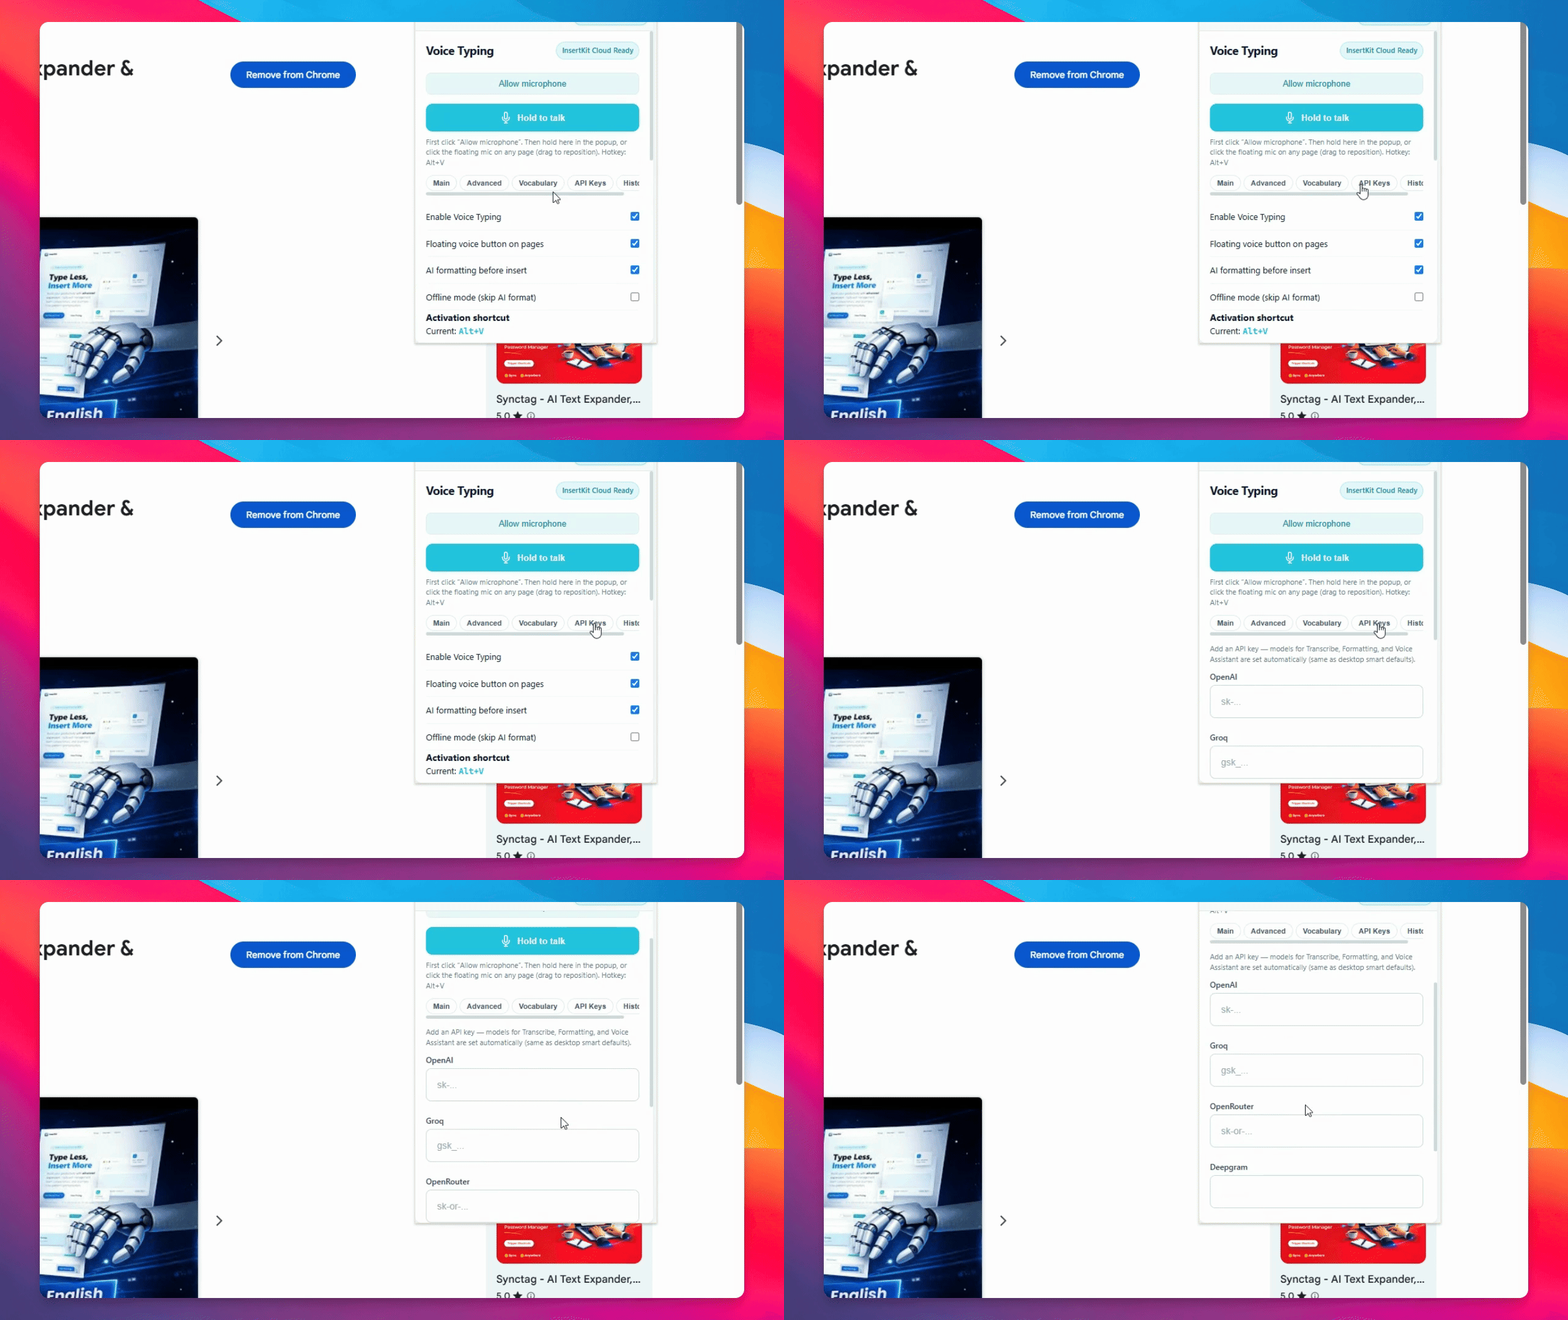
Step 4: Add API Key to Extension
Click the extension icon, go to the Buy section, and click API key. Paste your API key here.
Step 5: Explore Main Options
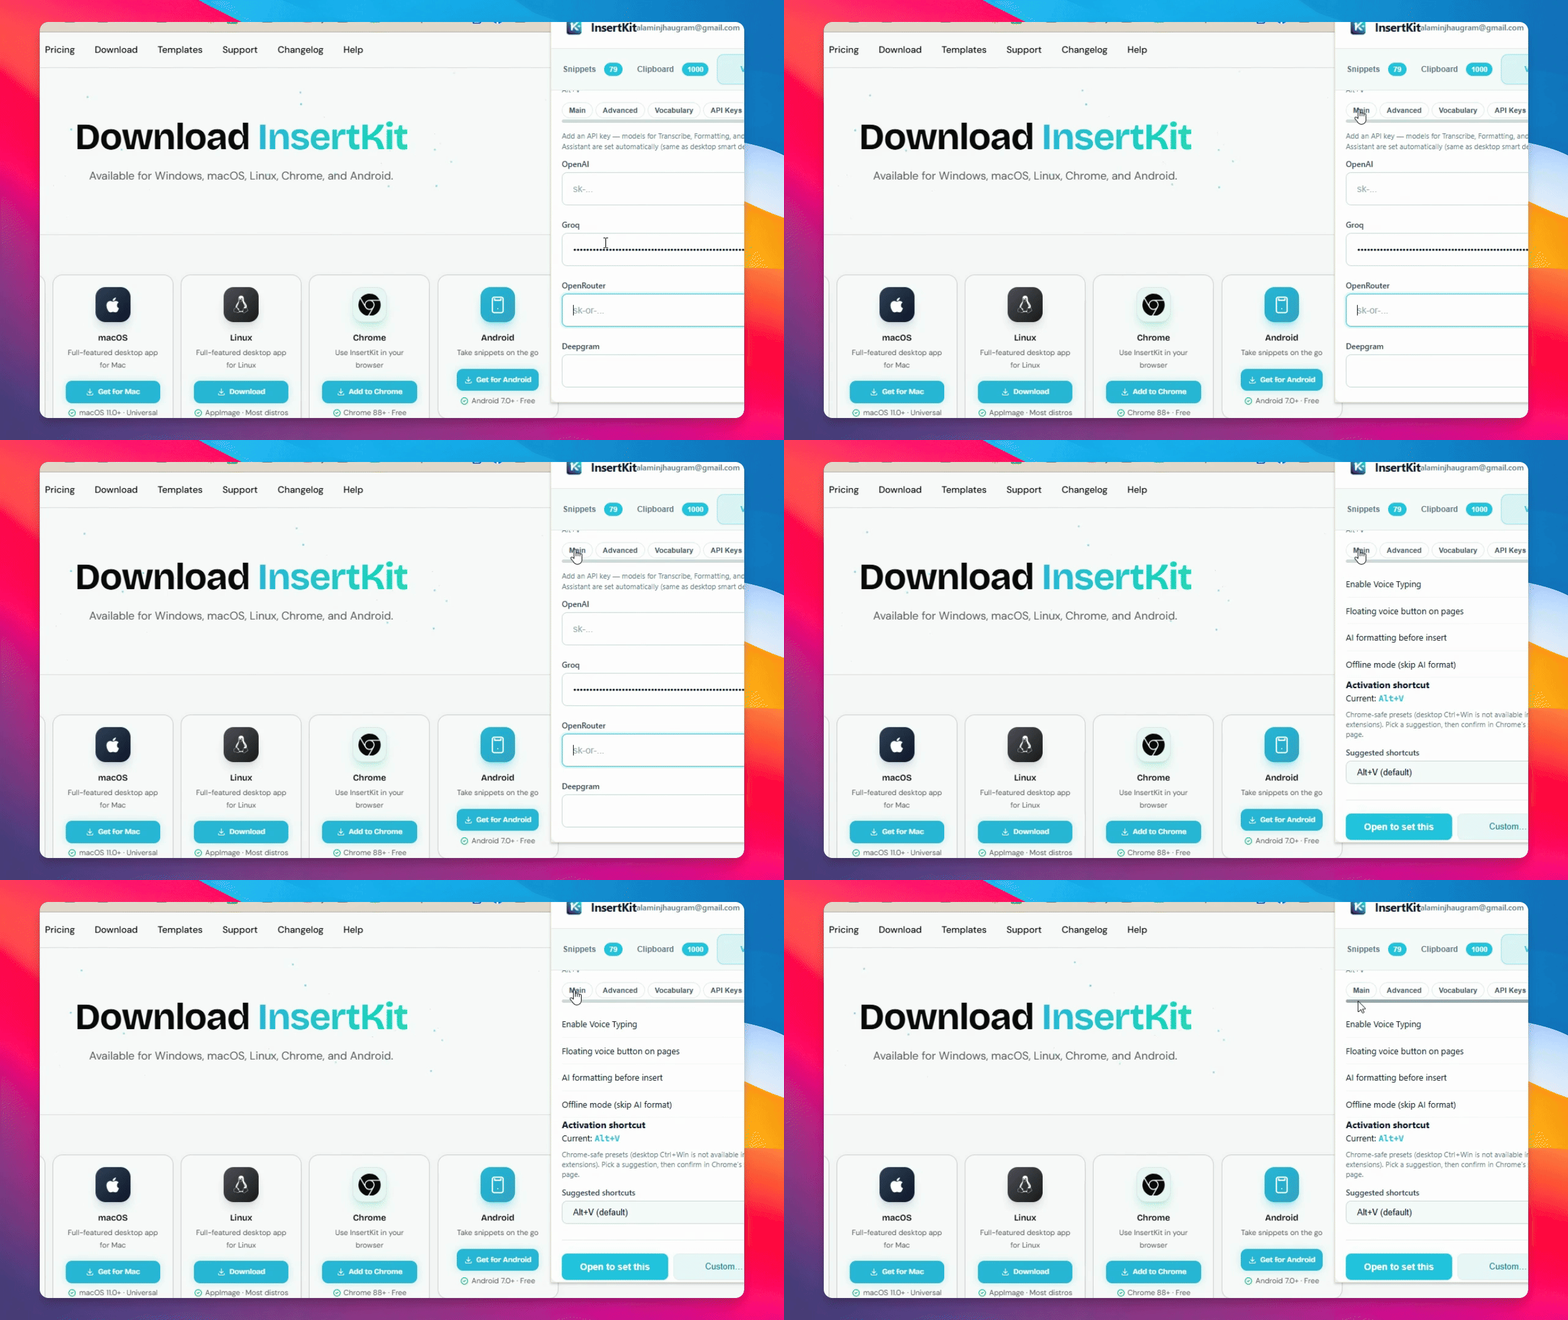
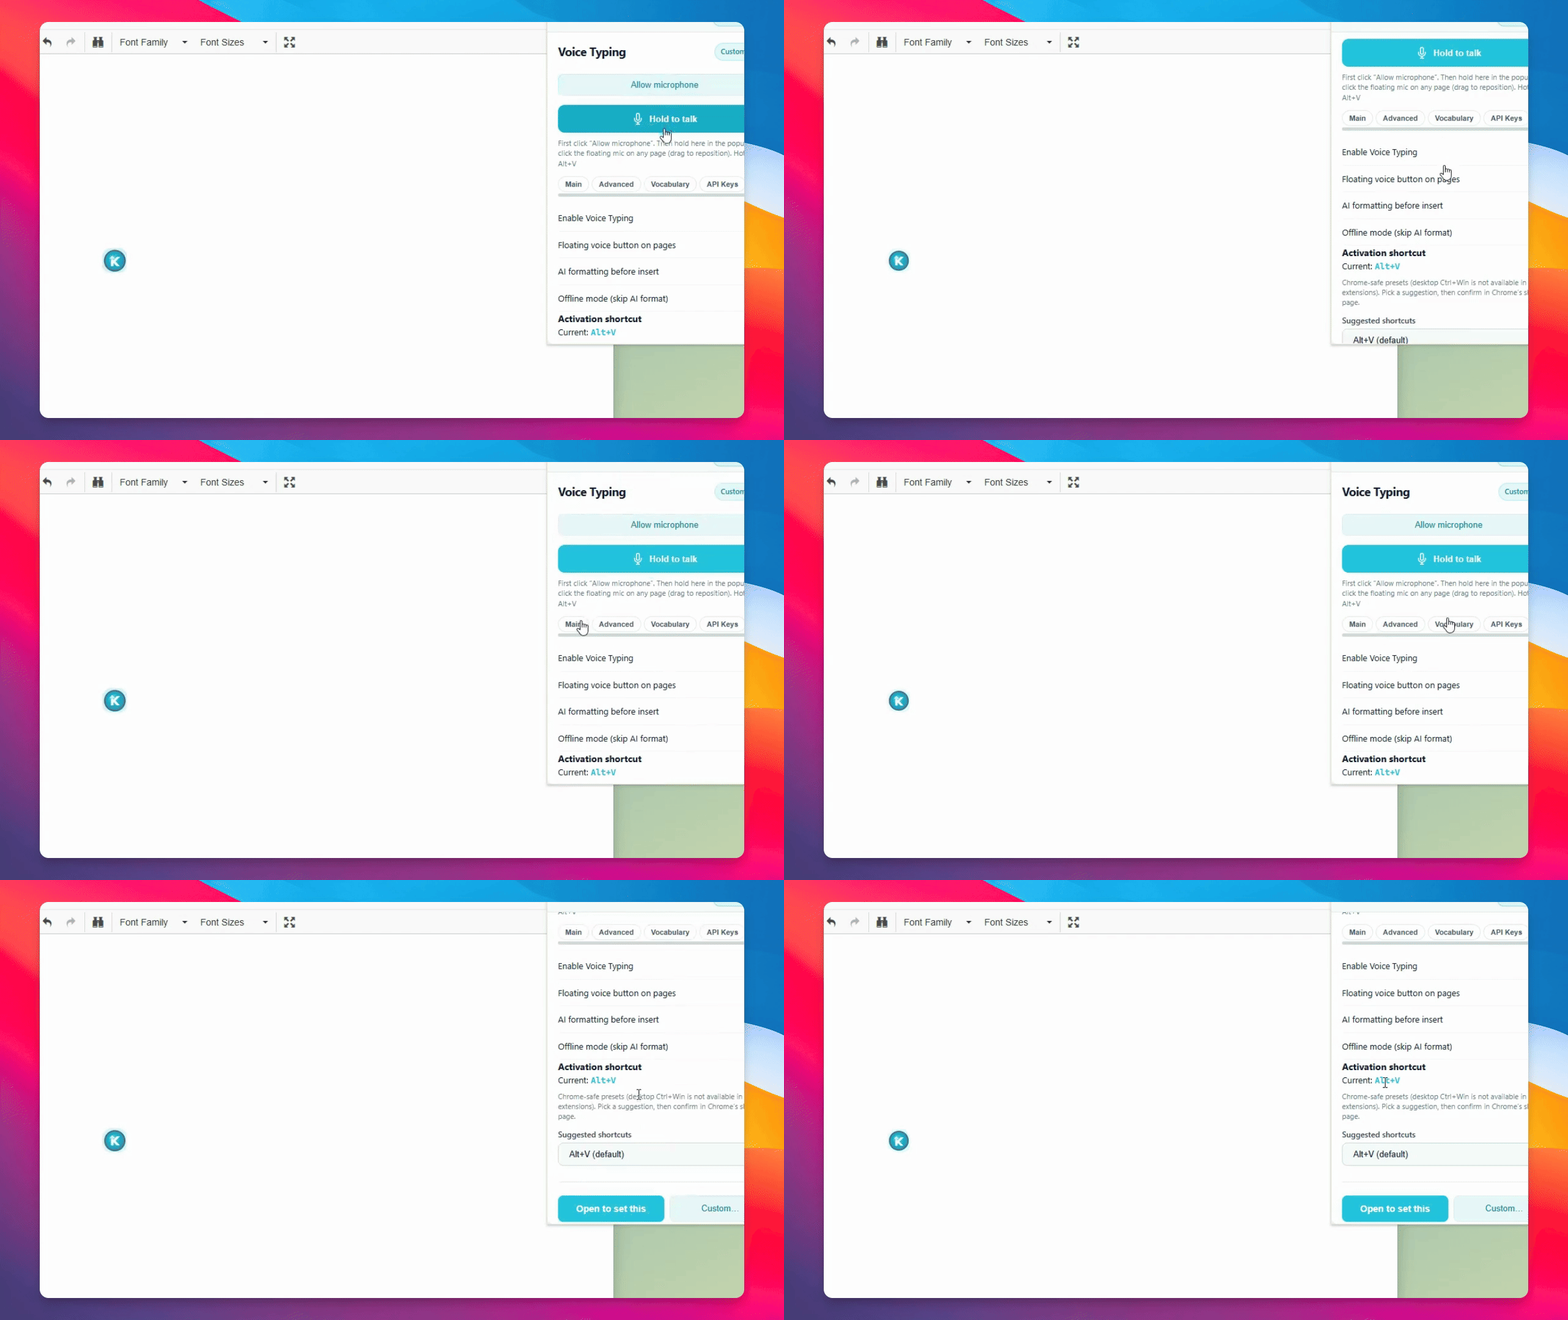
Go to the main section. Here, you will find various options to control the extension, including a default shortcut key. The default shortcut is Alt + V to start and stop voice recording and transcription. You will also see options for a floating icon and advanced settings.
Step 6: Test Voice Typing
Open a notepad or text editor for testing. You will see the floating icon, which you can drag anywhere on the screen. You can also disable it from the settings if you prefer.
Step 7: Use Shortcut to Transcribe
Use the shortcut key (Alt + V) to start recording your voice. Click Alt + V again to stop and transcribe your voice into text. You can also change the shortcut key if needed.
Step 8: Set Custom Shortcut Key
To set a custom shortcut key, click the extension icon, go to the voice section, then main. Find the custom option and set your preferred shortcut key for all actions.
If you have any questions or face any problems, feel free to ask for help.