
This guide explains how to add custom vocabulary and corrections in the desktop app for voice typing. Let's look at the steps:
Step 1: Open Voice Typing Section
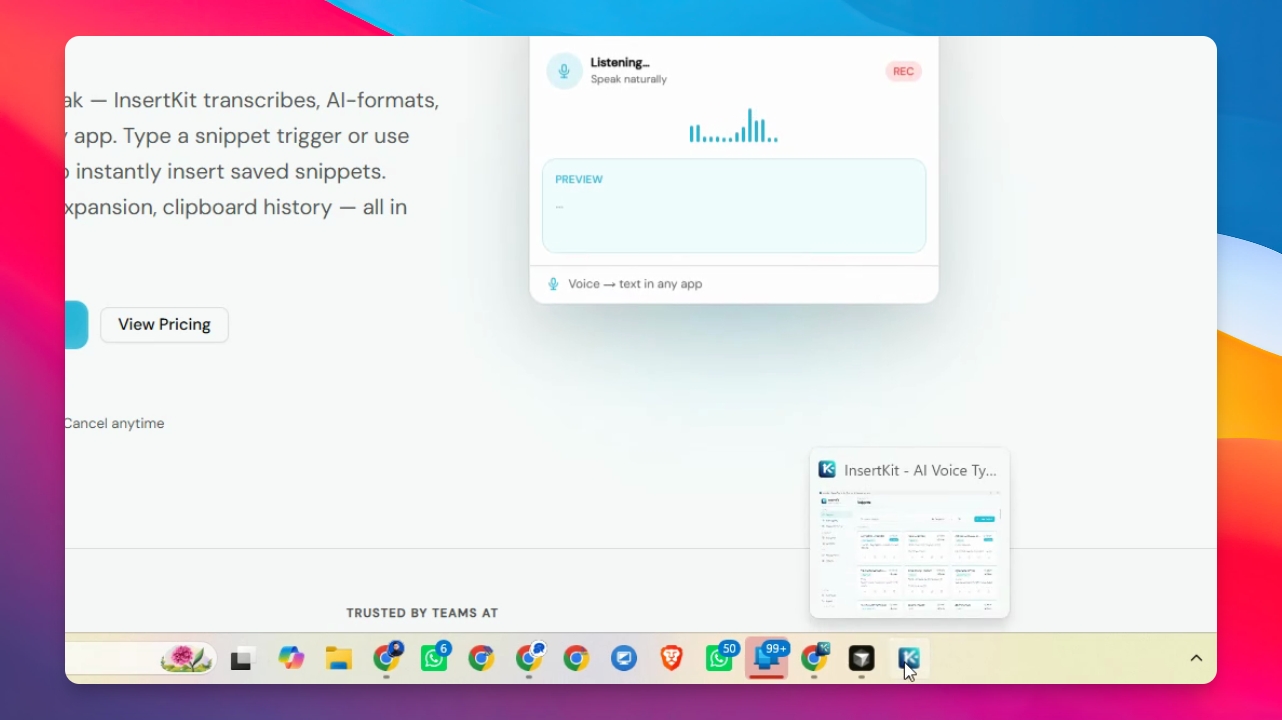
Open your desktop app. Go to the voice typing section and click Vocabulary.
Step 2: Choose Add Words or Add Correction
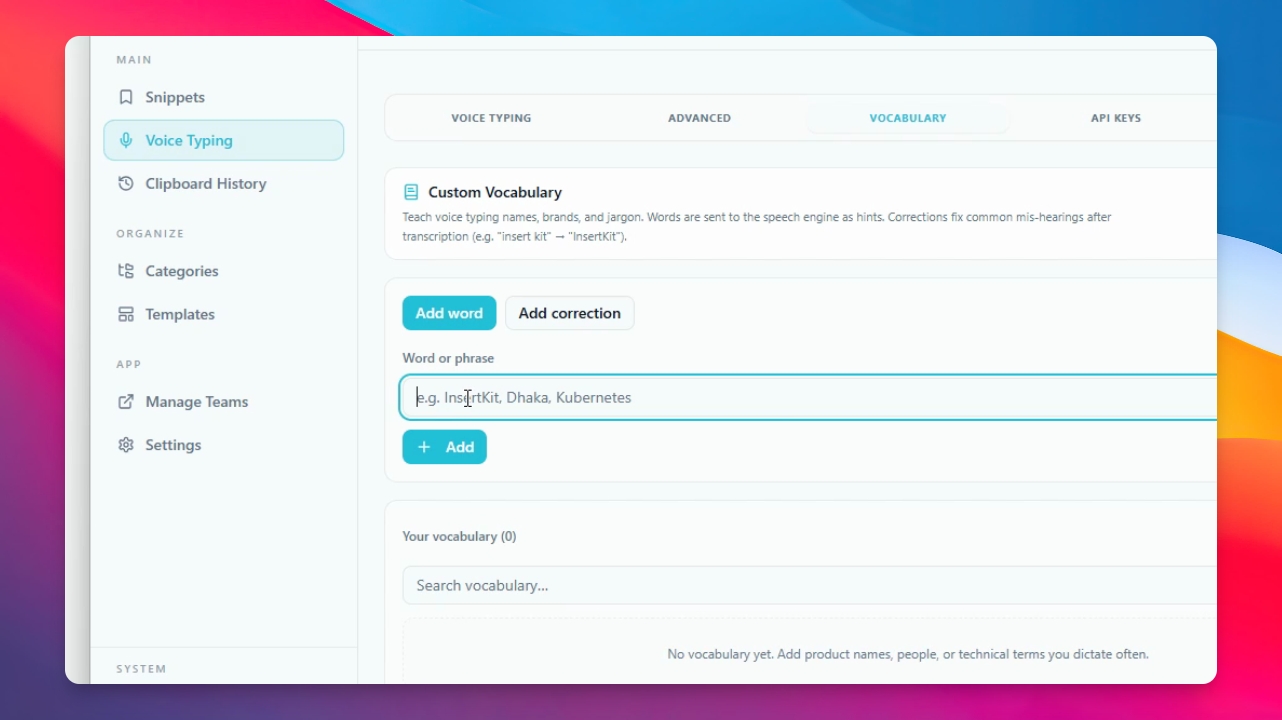
You will see two options: Add words and Add correction.
Step 3: Add a Word
To add a word, enter the word directly in the field and click Add. The word will be added to your vocabulary list.
Step 4: Add a Correction
Click Add correction. You will see two fields: one for your input and one for the desired output. Enter your input and output, then click Add to save the correction.
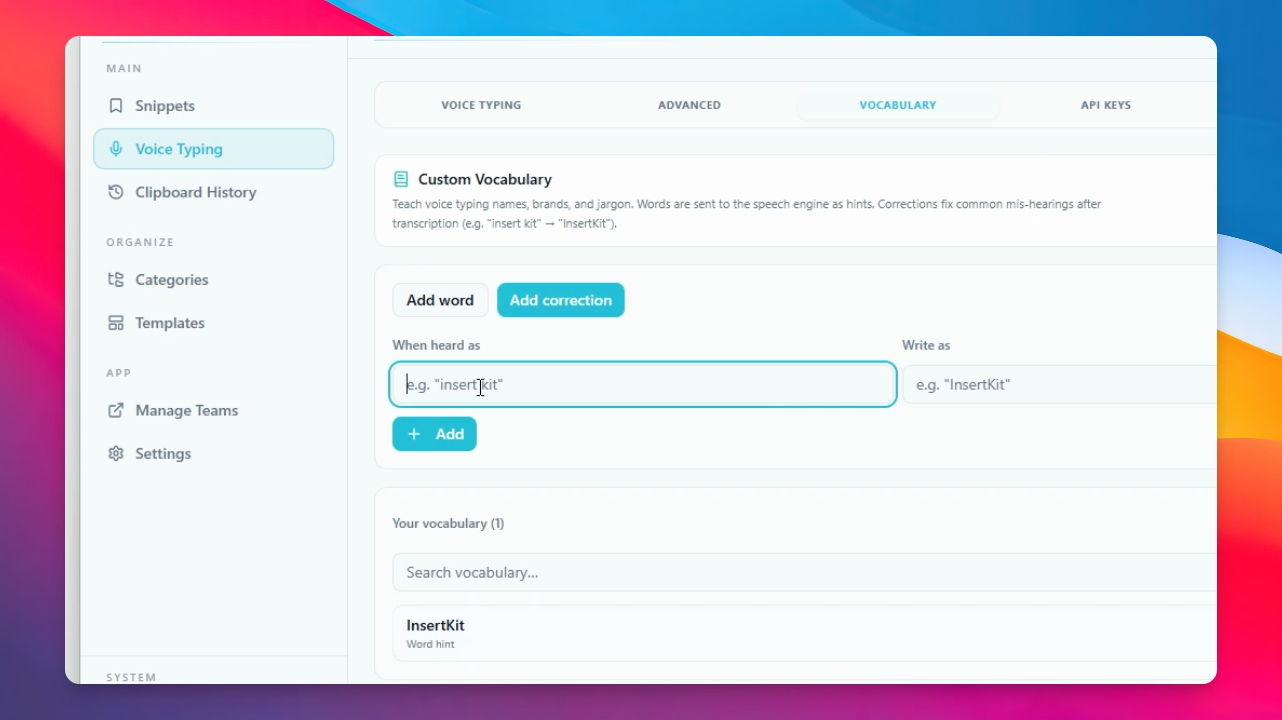
You can continue adding custom vocabulary and corrections as needed.
Step 5: Set Primary Language
Ensure your primary language is set to English or is auto detected for the vocabulary to work correctly.
Step 6: Test the Vocabulary
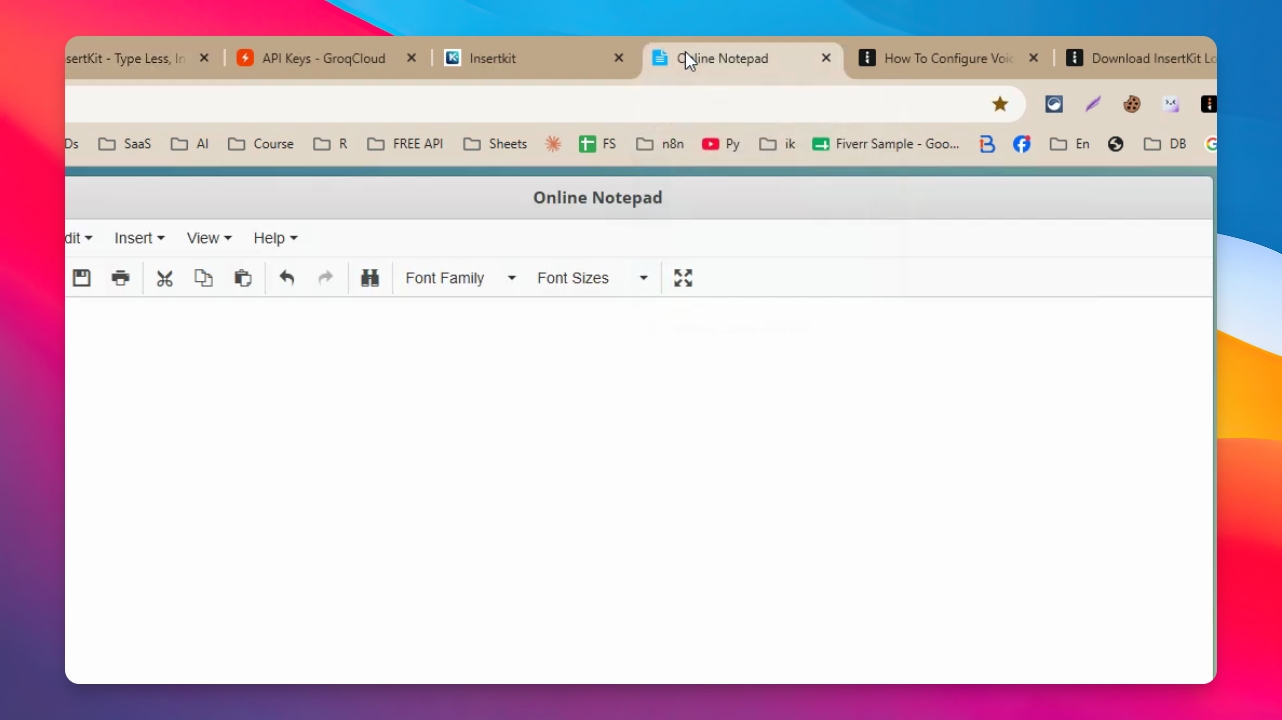
Open a text box, such as Notepad. Use your shortcut key (like the right Alt key) to activate voice typing and try out the words or corrections you added. Speak your custom vocabulary and verify that it is inserted as expected.
Now you know how to use the custom vocabulary system in the desktop app.