
This guide will show you how to use voice typing in the desktop app, including setup and using third-party APIs for improved performance. Let's look at the steps:
Step 1: Download the Desktop App
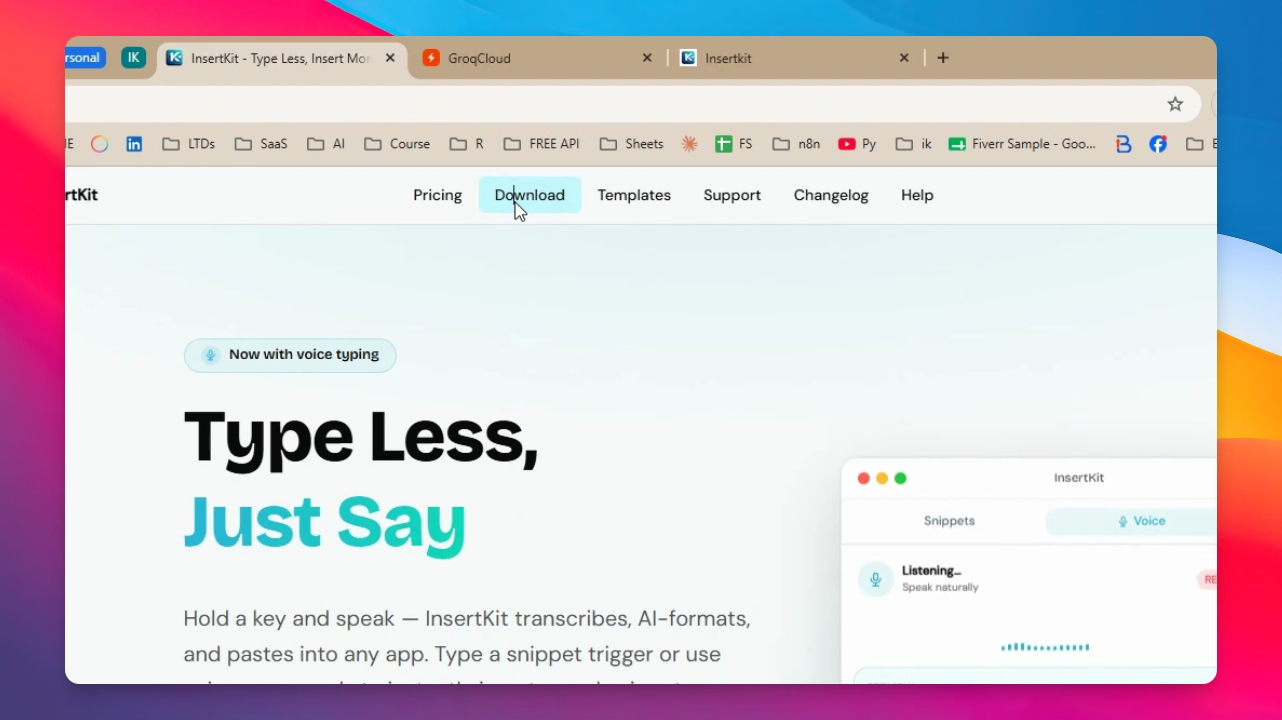
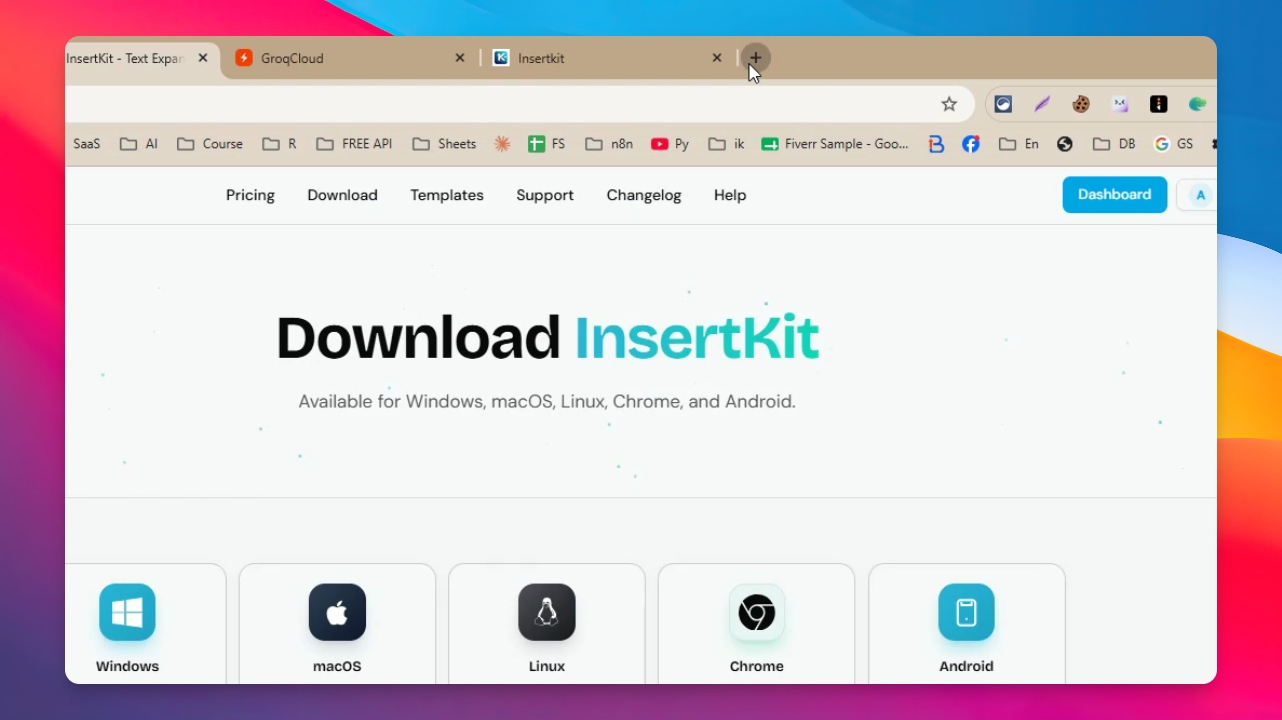
Download the desktop app from the official website. Go to the Download section and click Download here to start the download.
Step 2: Install and Open the App
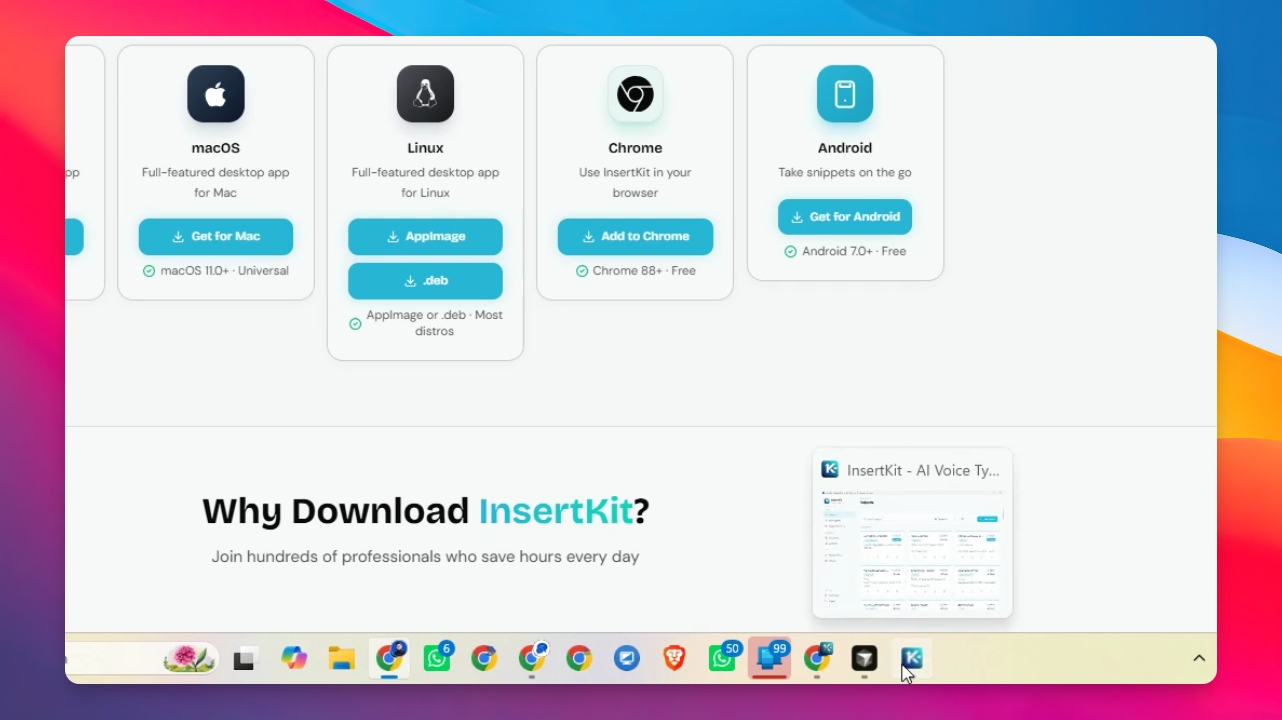
After the download completes, install the app and open the desktop application.
Step 3: Log In to Your Account
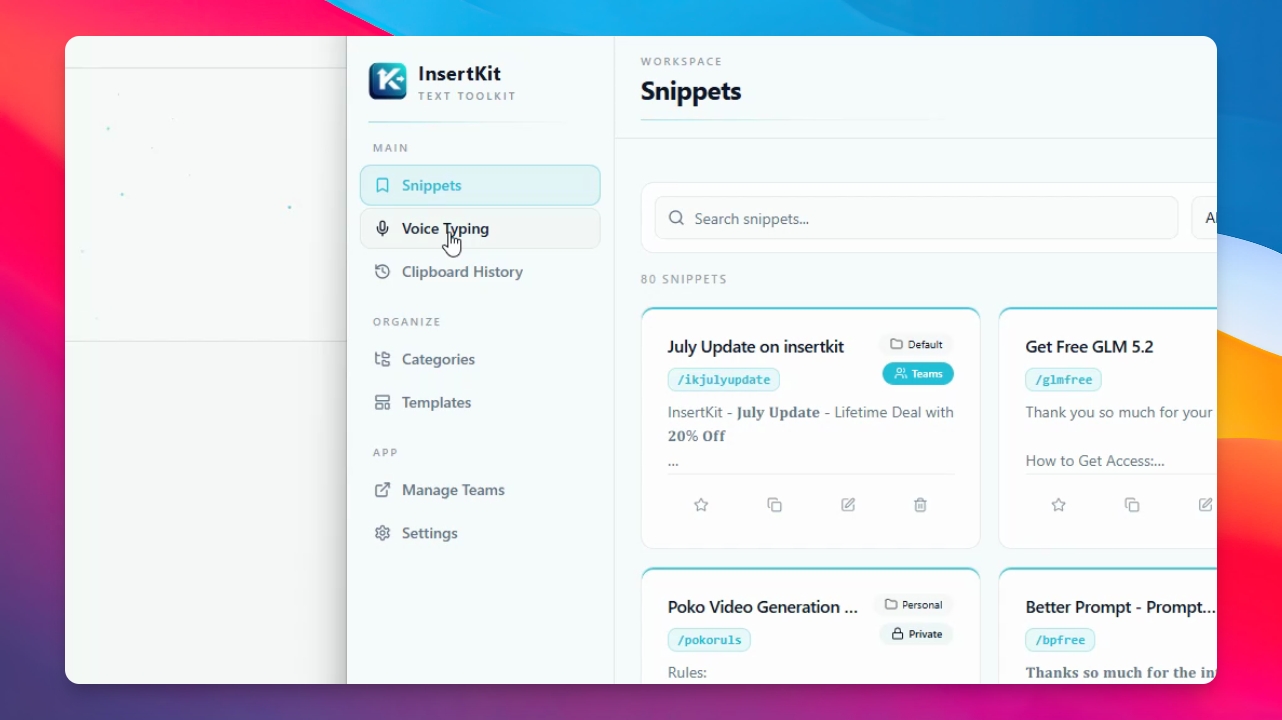
Log in to your account. You will see the main interface after logging in.
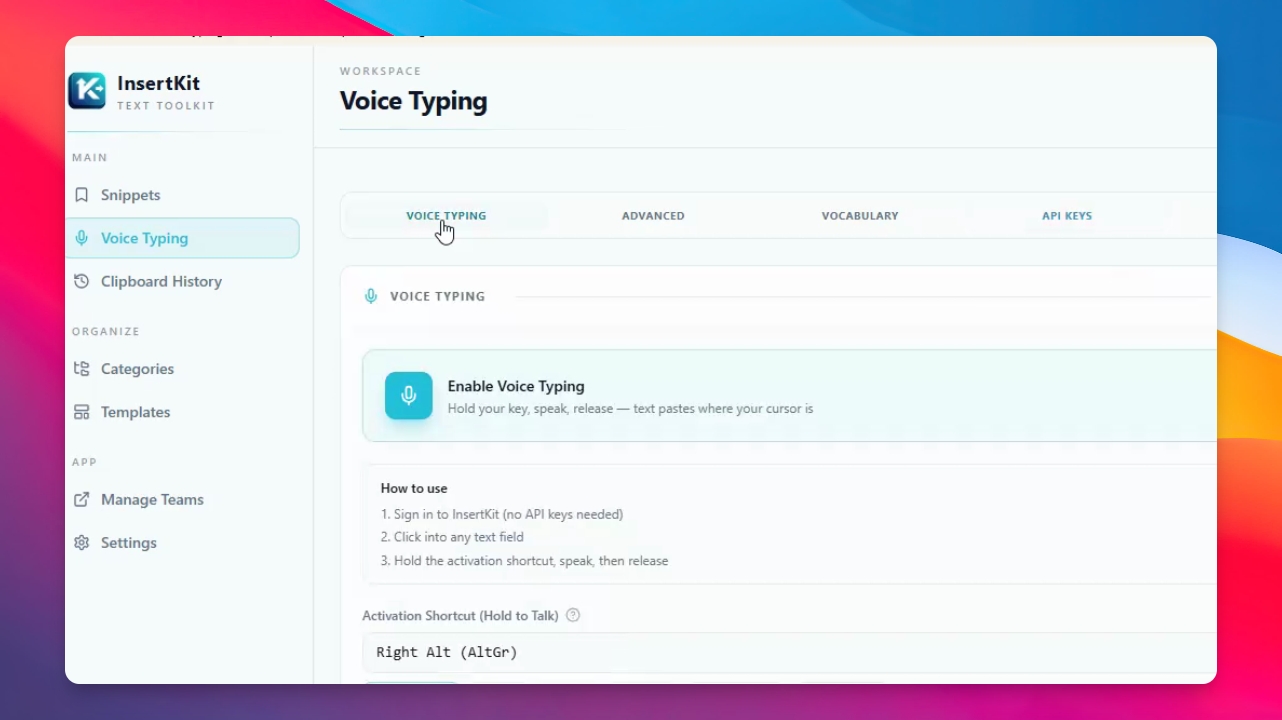
Step 4: Enable Voice Typing
Click the Voice Typing section and enable voice typing. If prompted, allow microphone access by clicking Allow.
Step 5: Use Voice Typing in a Text Box
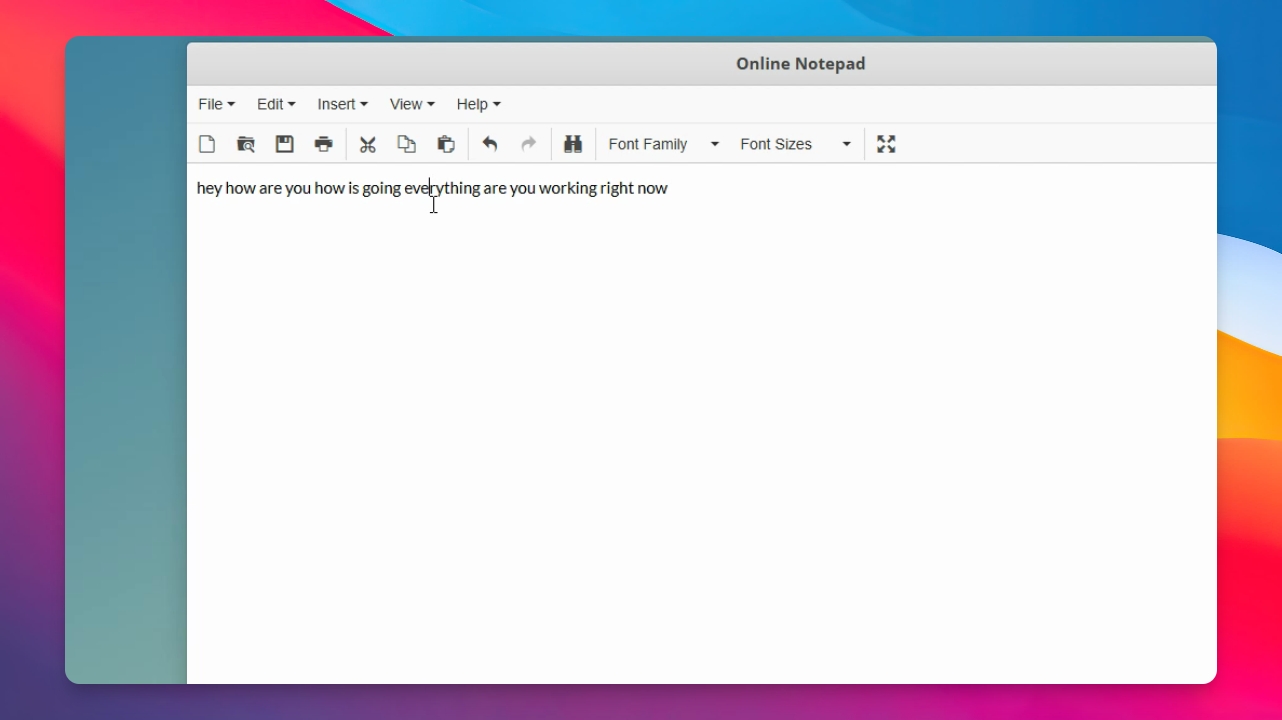
Open Notepad or any text box. In the text box, press the Right Alt key and start speaking. The spoken words will appear as text.
Step 6: Set Up a Third-Party API Key
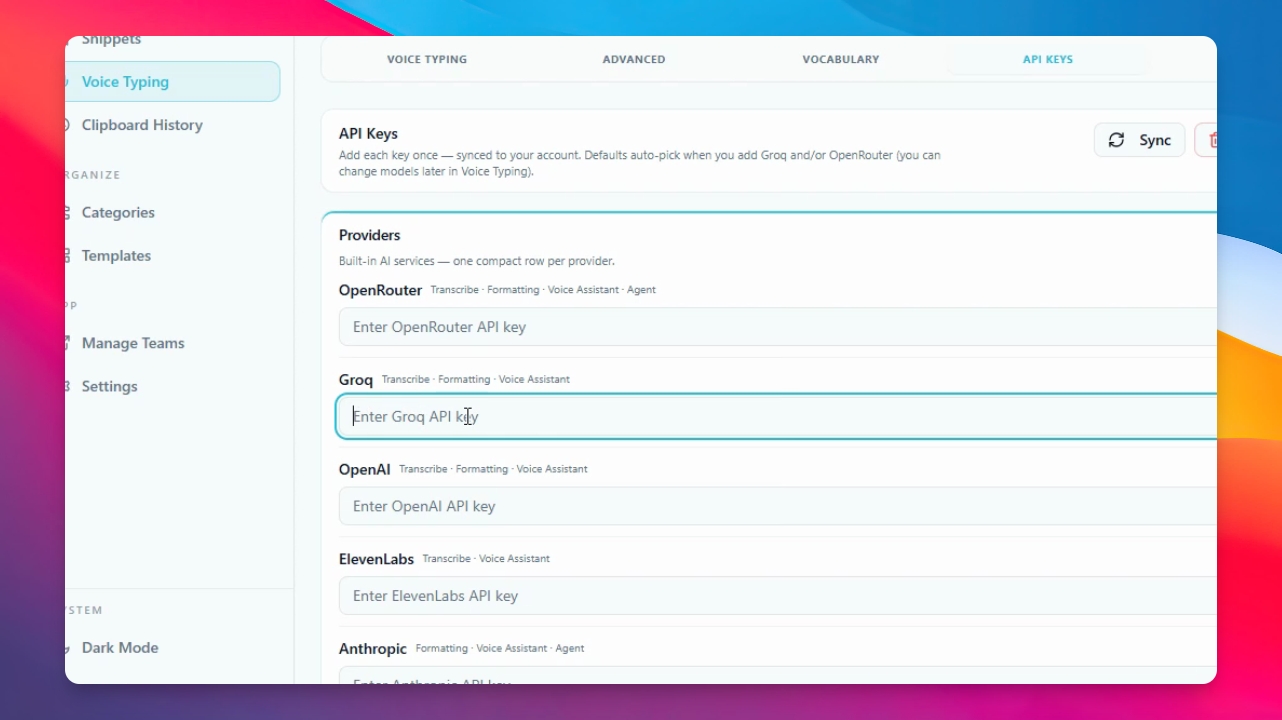
Open the desktop app again, go to Voice Typing, and navigate to the API Key section. Click API Key and provide your API key.
Step 7: Get a Free API Key from Proc.com
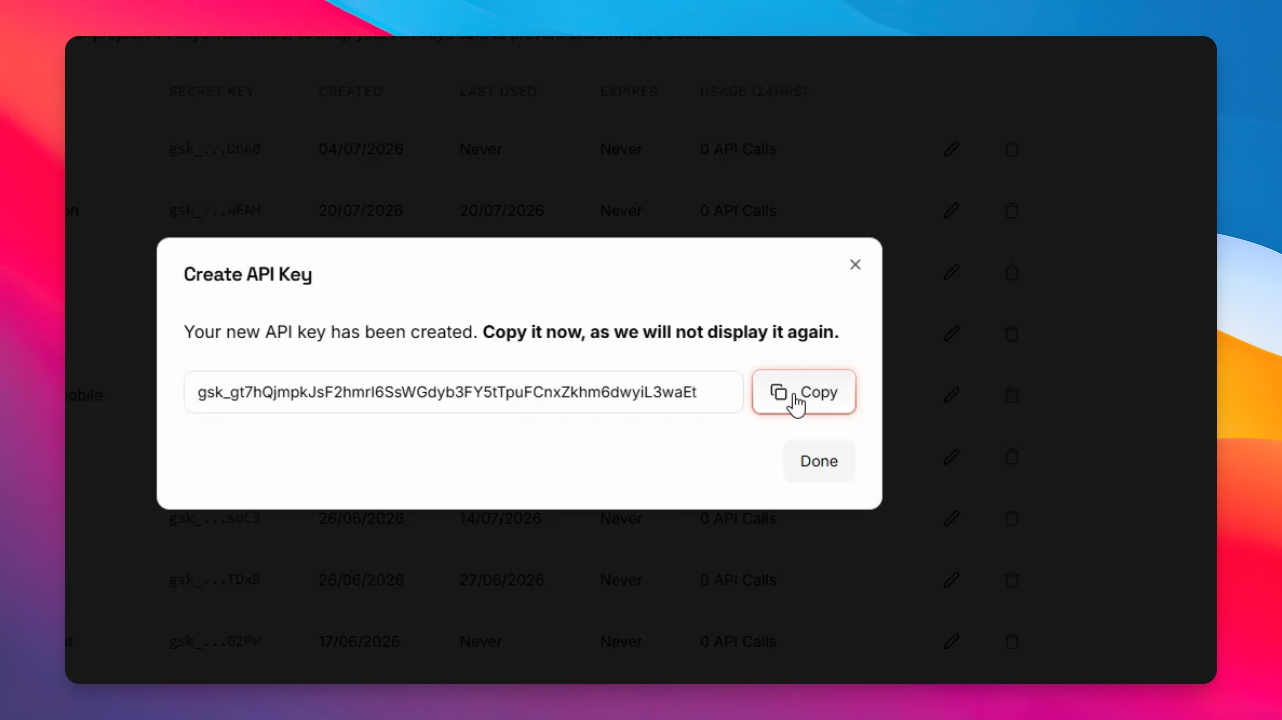
Go to proc.com and create a free account. After creating your account, log in to your dashboard, click API Key, then click Create API Key and enter a name for your key. Click Submit to generate your API key.
Step 8: Add the API Key to the App
Copy your API key, return to the desktop app, paste the API key, and click Save.
Step 9: Test Voice Typing with API
Click Voice Typing to check if the GROK model is connected. You can also go to the Advanced section to verify the connection.
Step 10: Start Speaking Using Right Alt Key
Press the Right Alt key and start speaking. Your speech will be transcribed quickly using the connected model.
Thank you for following along. In the next video, you will learn about advanced settings and other features.