
In this guide, you'll learn how to configure and use the advanced settings in InsertKit, including voice typing, language selection, shortcuts, providers, and voice snippets. Let's look at the steps:
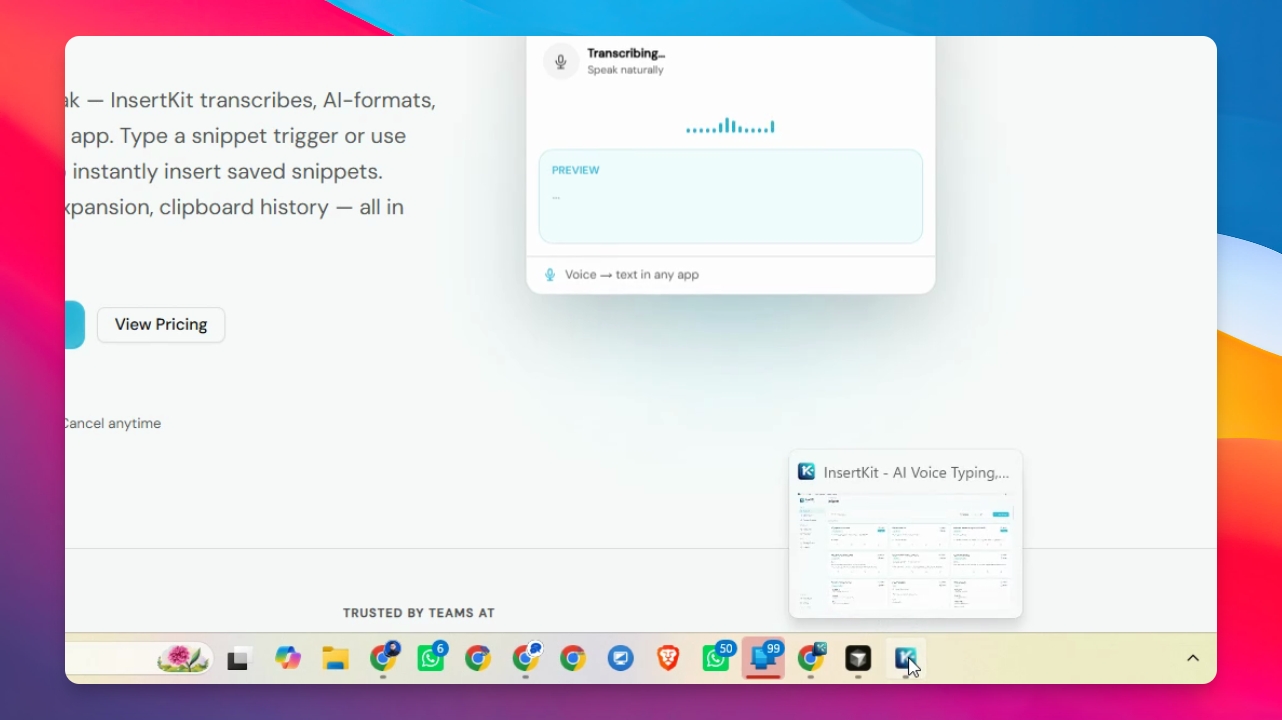
Step 1: Open the Desktop App
Start by opening your InsertKit desktop application.
Step 2: Access Voice Typing
Click on voice typing in the app to open the voice typing section.
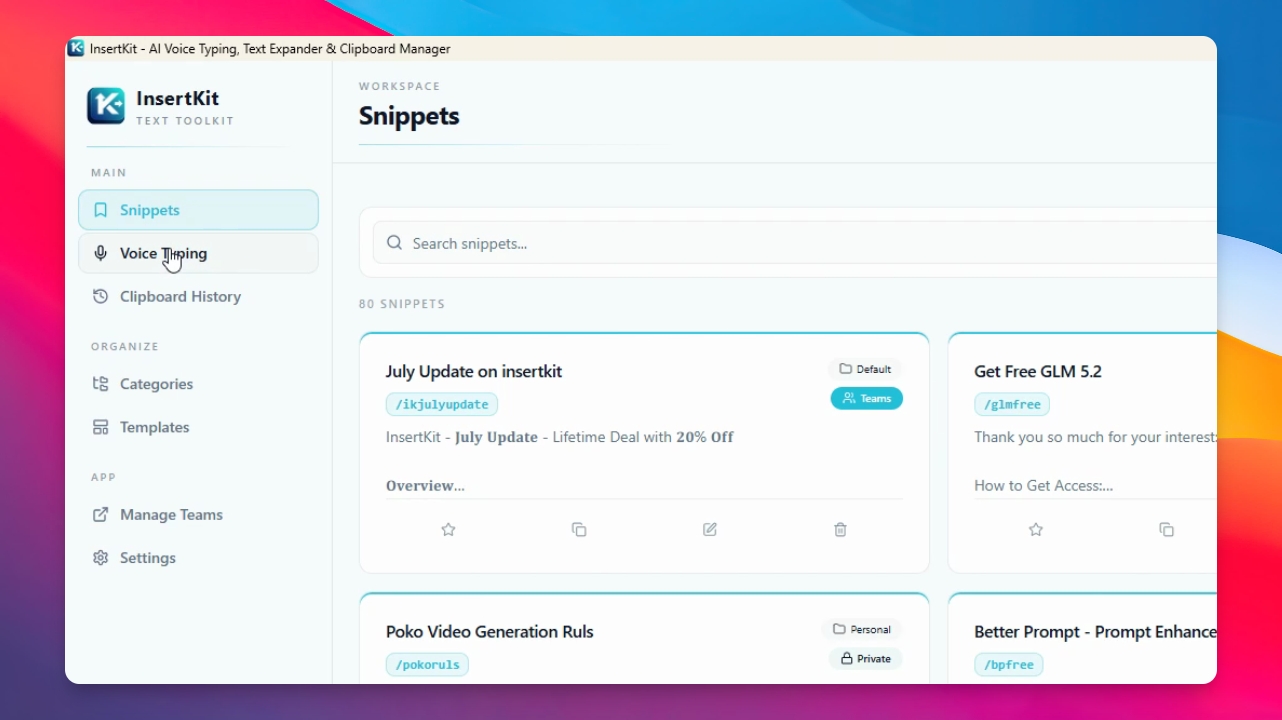
In the voice typing section, you will see several options for configuring your experience.
Step 3: Select Your Language
Choose your preferred language for voice typing. By default, auto detect is enabled.
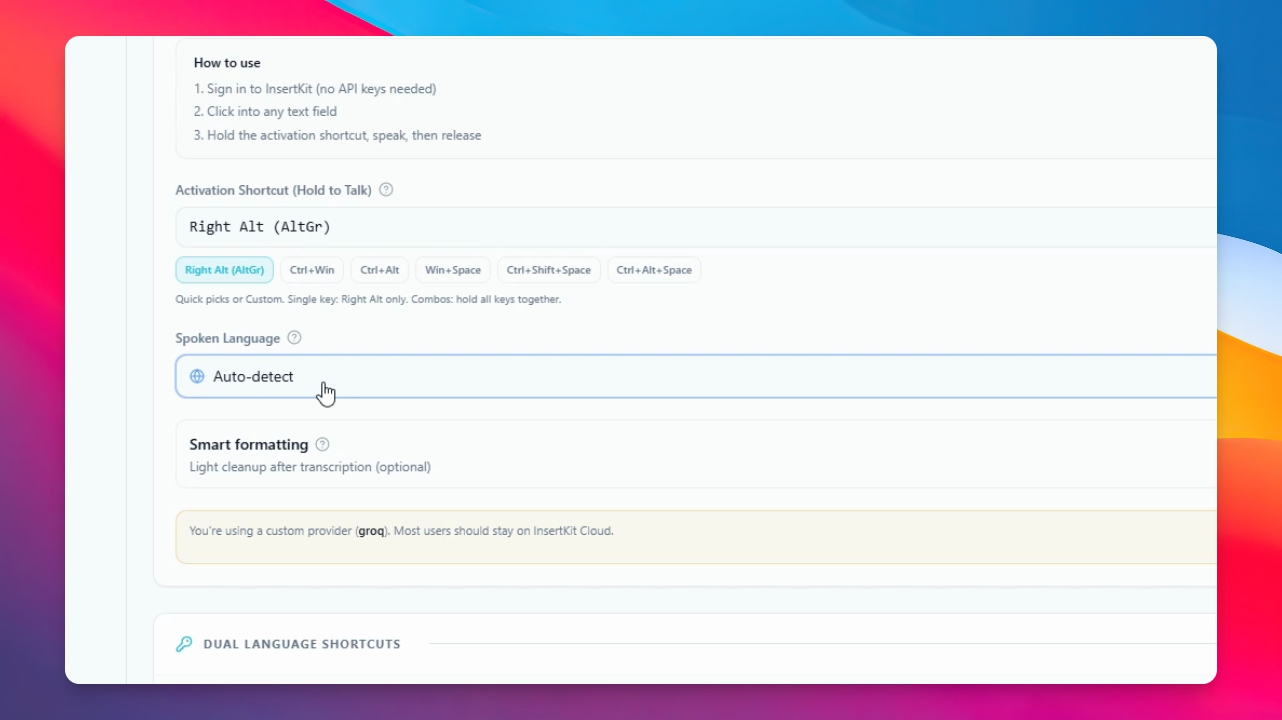
Step 4: Enable Smart Formatting
Enable smart formatting to automatically rewrite your script into polished text.
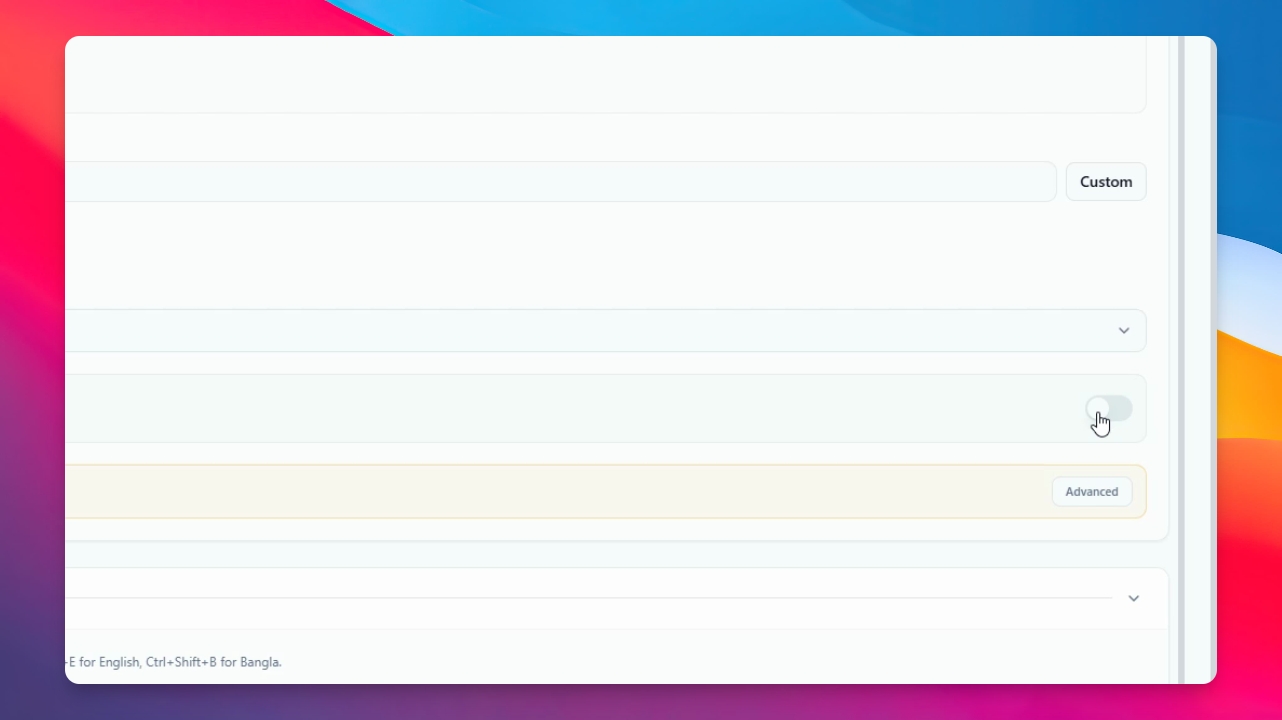
Step 5: Enable Dual Language Shortcut
Enable the dual language shortcut feature to use multiple languages with different shortcuts.
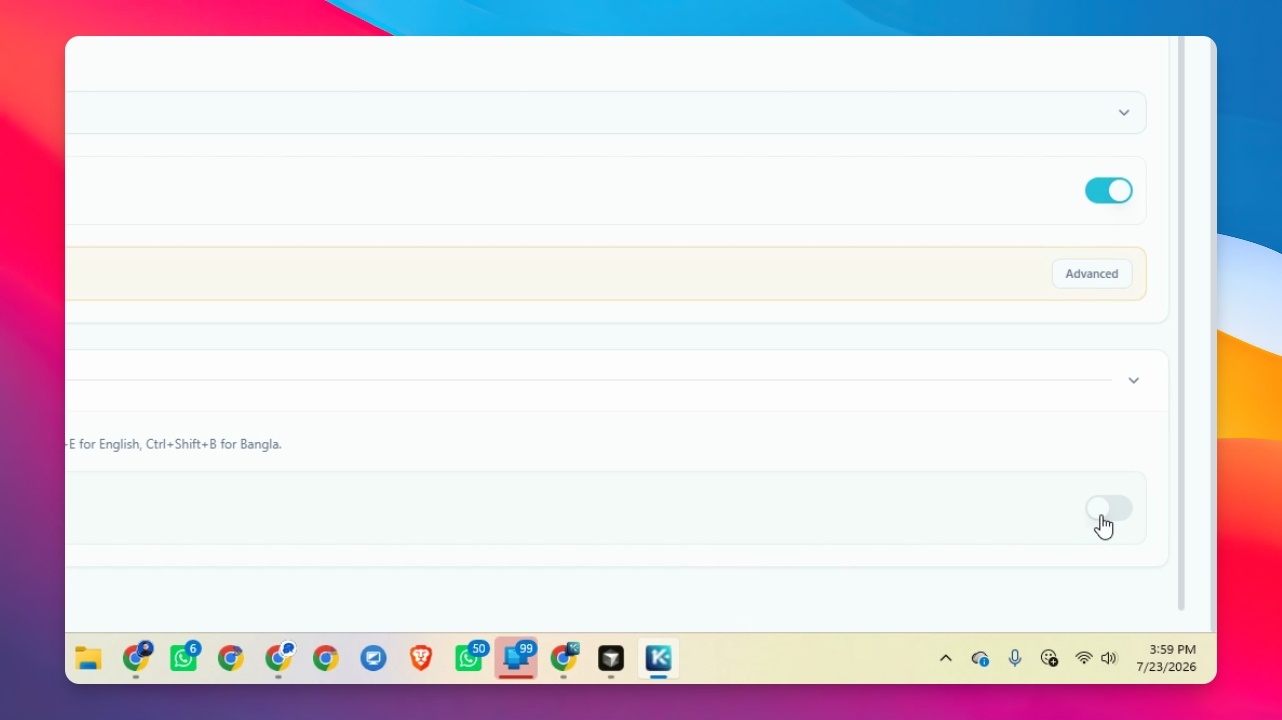
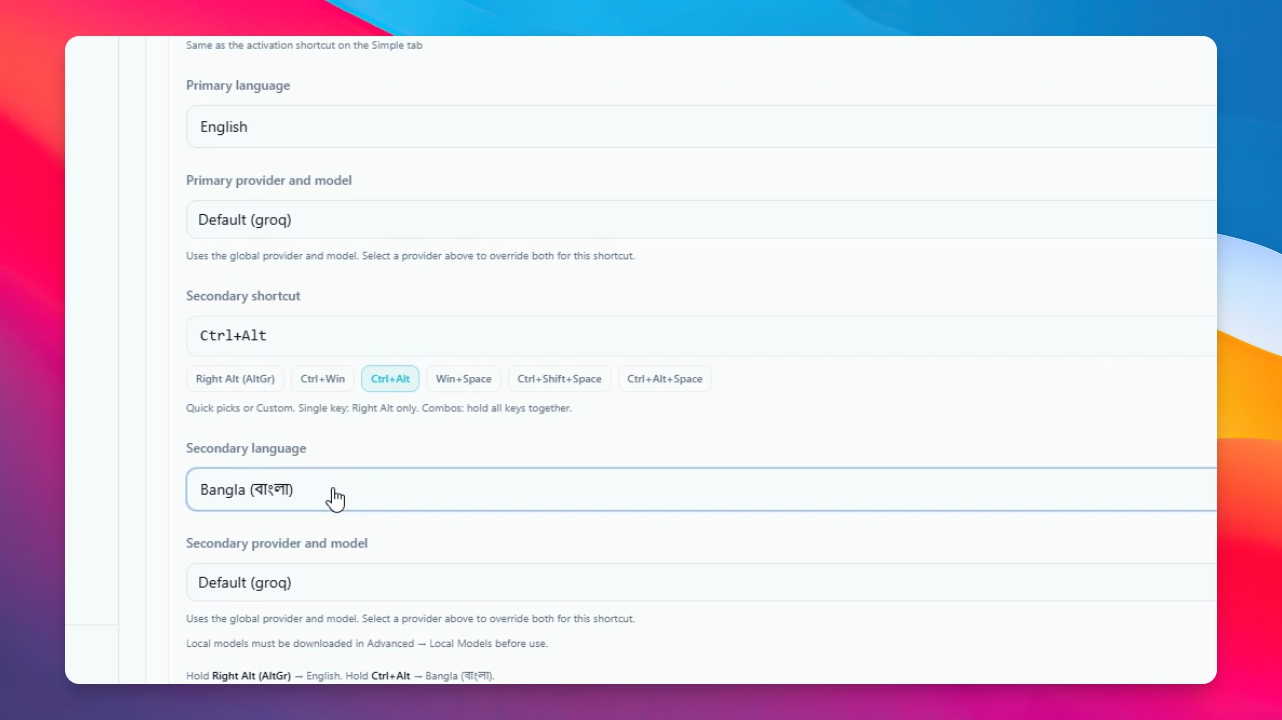
The primary shortcut is Right Alt for English with the grok model. The secondary shortcut is Control + Windows. You can customize these shortcuts as needed.
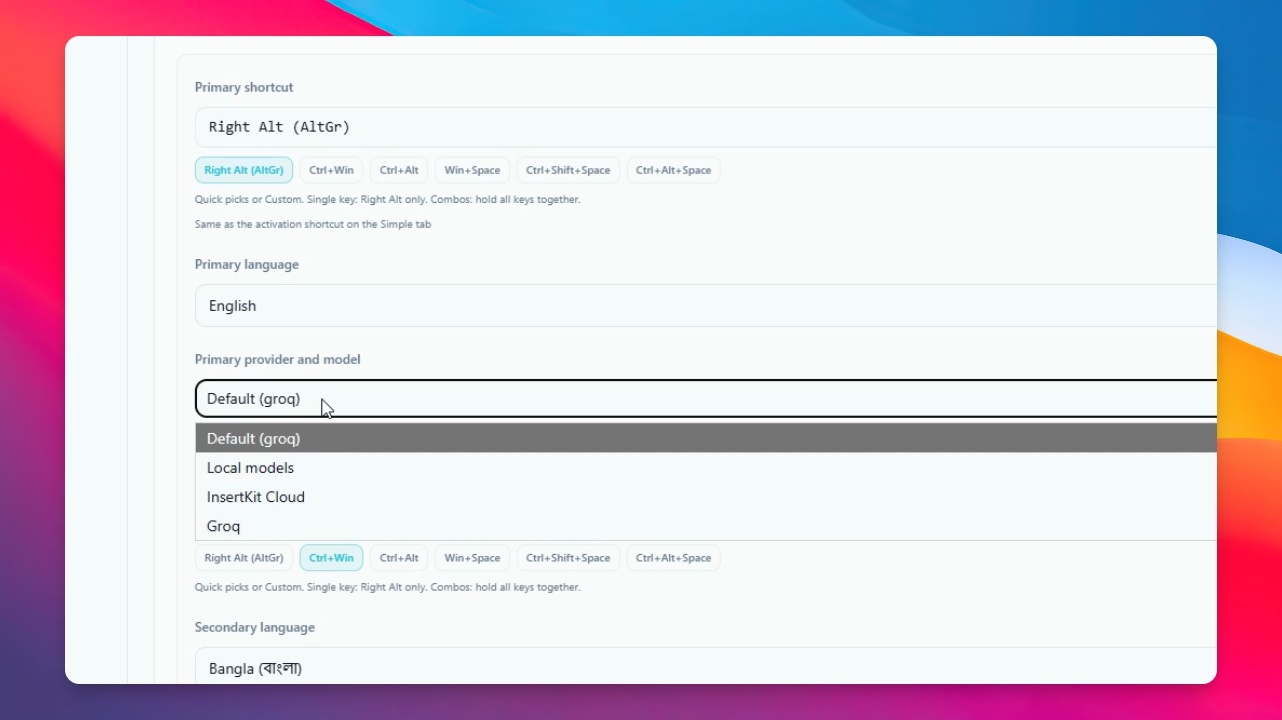
Step 6: Customize Shortcuts
Click custom and select your desired shortcut combination. For example, you can set Control + Alt and click Save to apply the new shortcut.
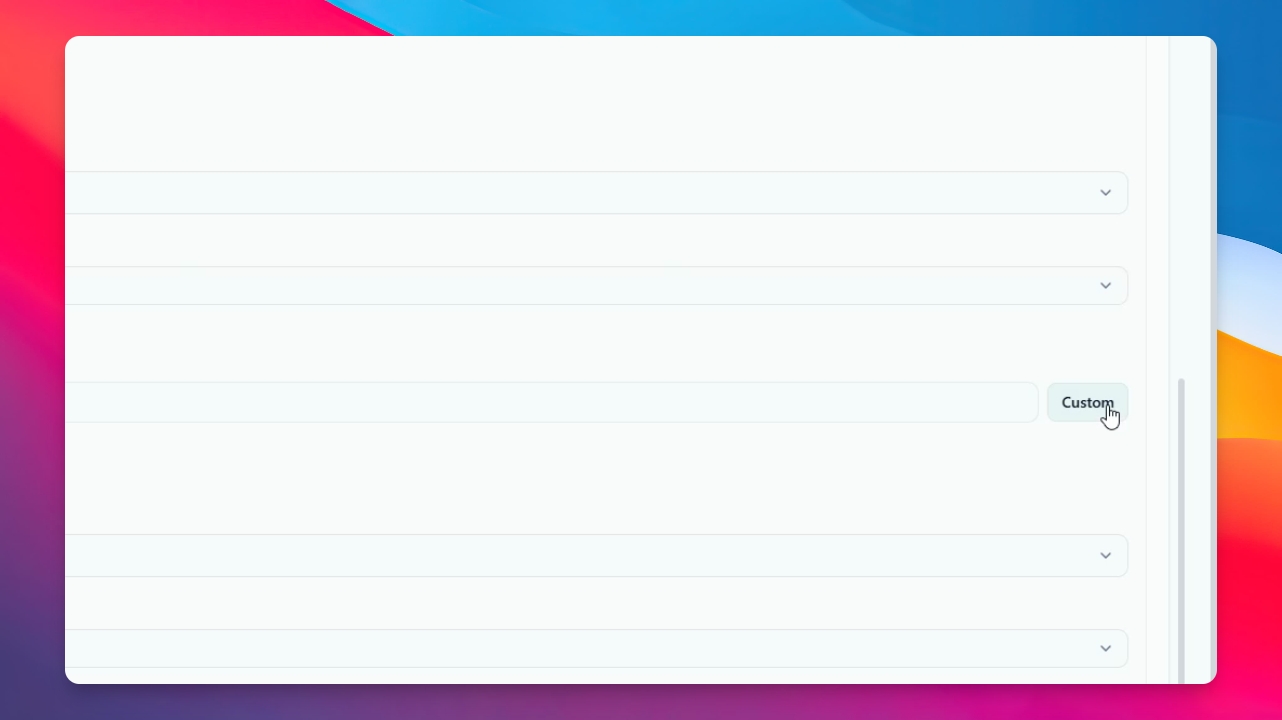
Once saved, your new shortcut will be active.
You can also choose your secondary language and model here. For example, use Right Alt for English and Control + Right Alt for your secondary language, such as Bangla (Bengali).
Step 7: Open Advanced Settings
Open the advanced settings by clicking advanced in the app.
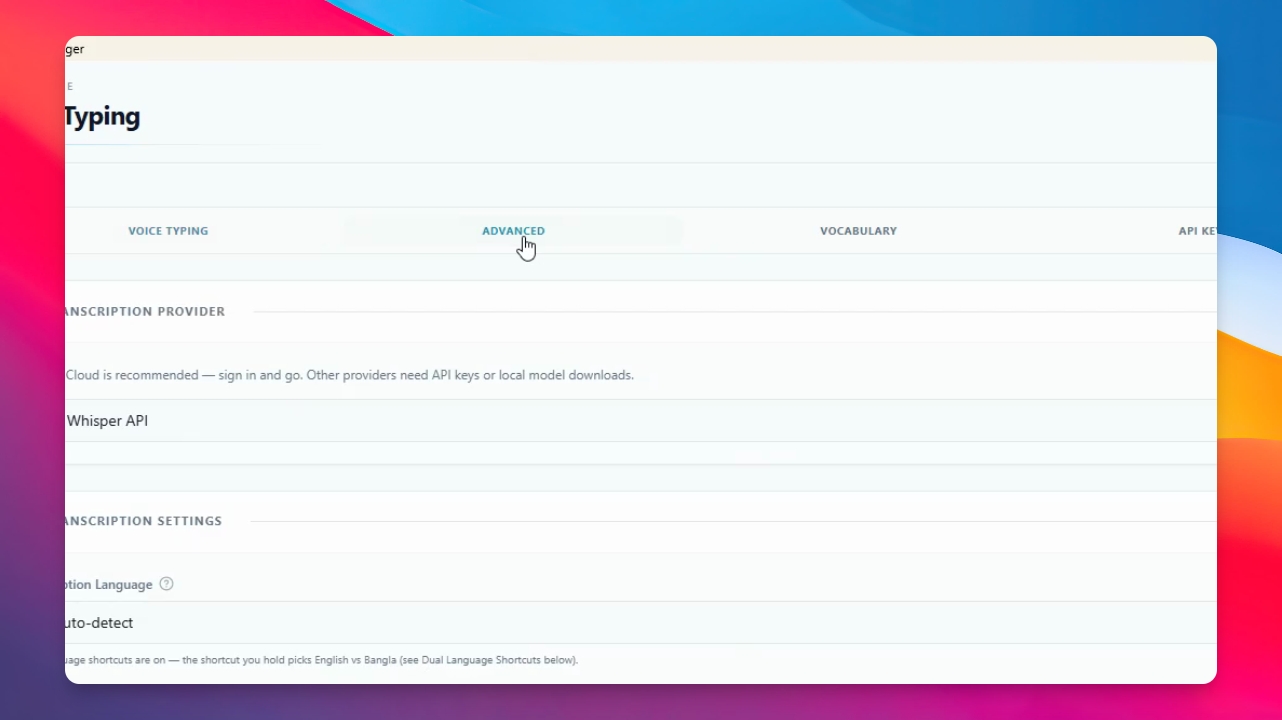
All advanced settings are now visible. Here you can select your provider, set up API keys, choose models, enable custom prompts, and more.
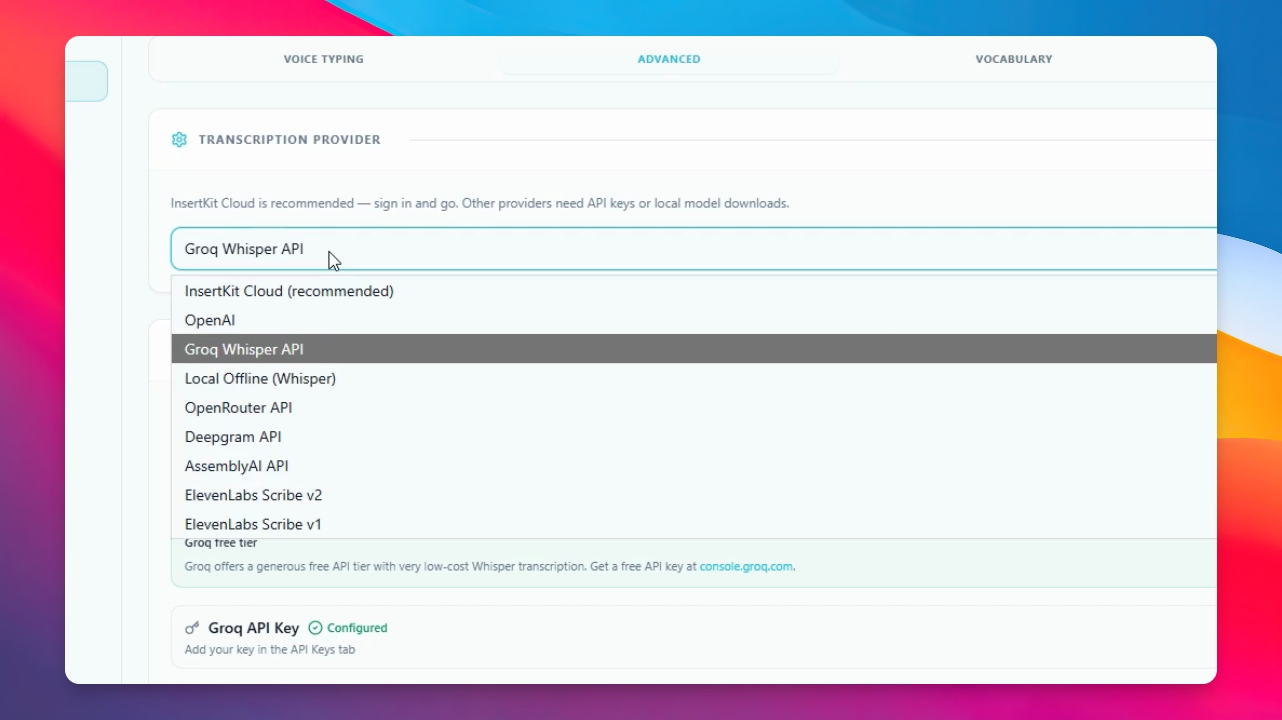
Step 8: Enable Custom Prompt and Voice Snippet
Enable custom prompt to use your own formatting prompt for output. You can also enable voice snippet to insert saved snippets using your voice.
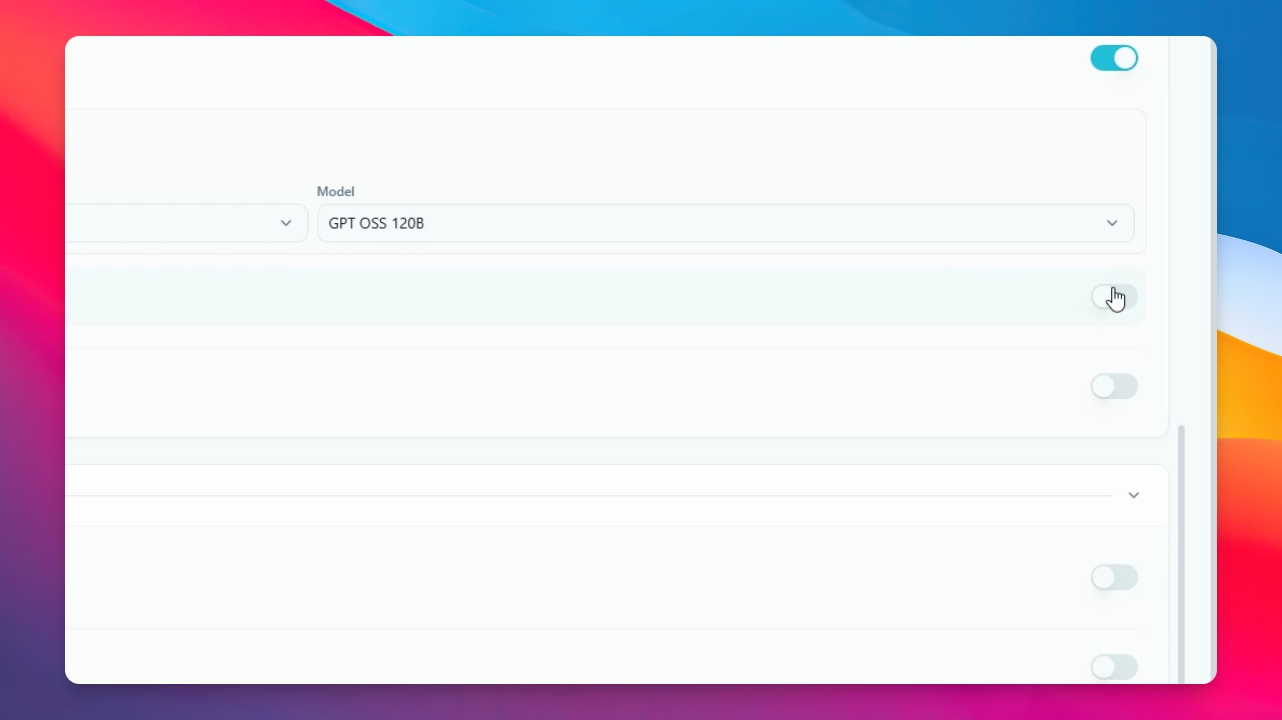
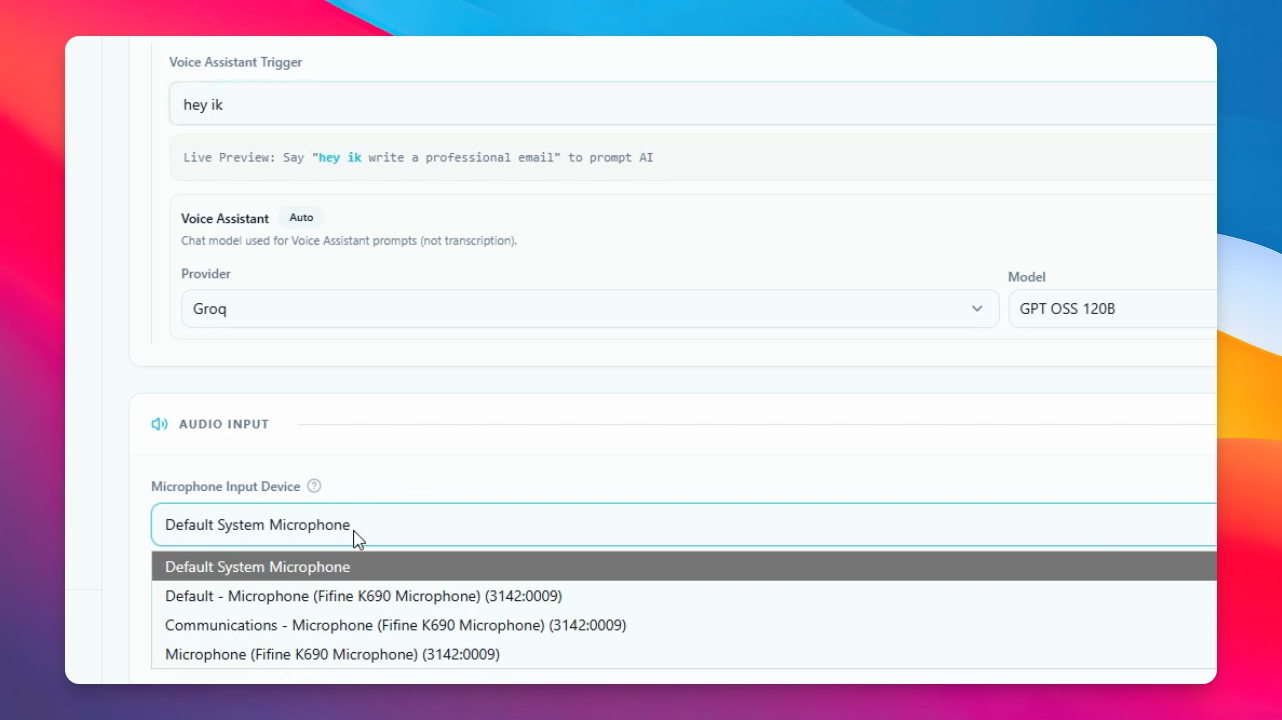
You can change the trigger for these features and access the voice assistant. Enable the voice assistant, and customize its provider, model, and trigger as needed.
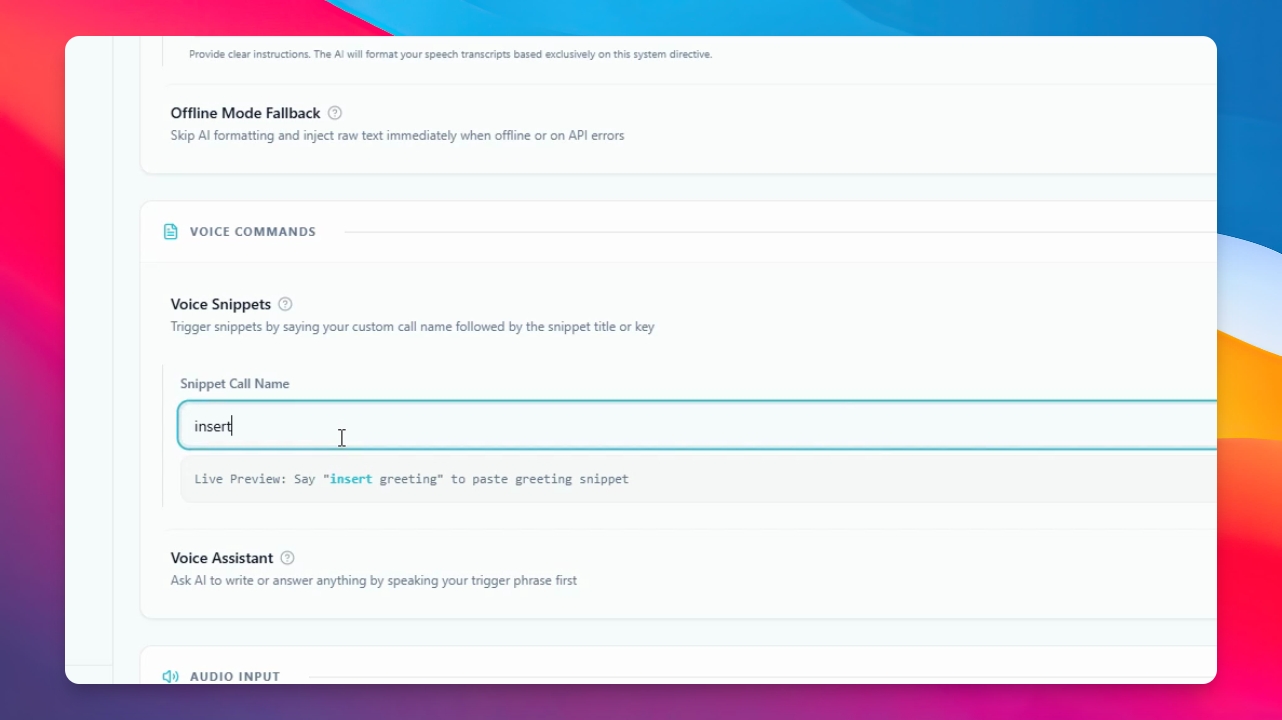
In the last section, select your microphone. You can view the available microphones here.
Step 9: Test Voice Typing and Snippets
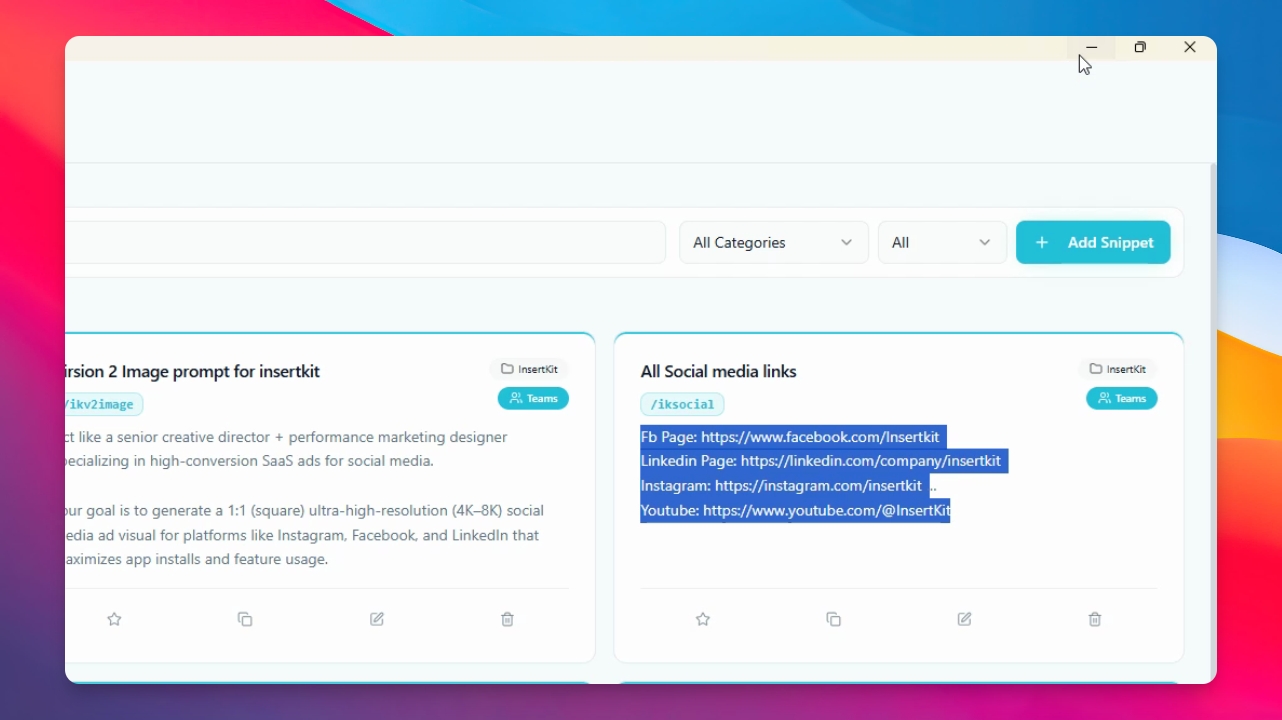
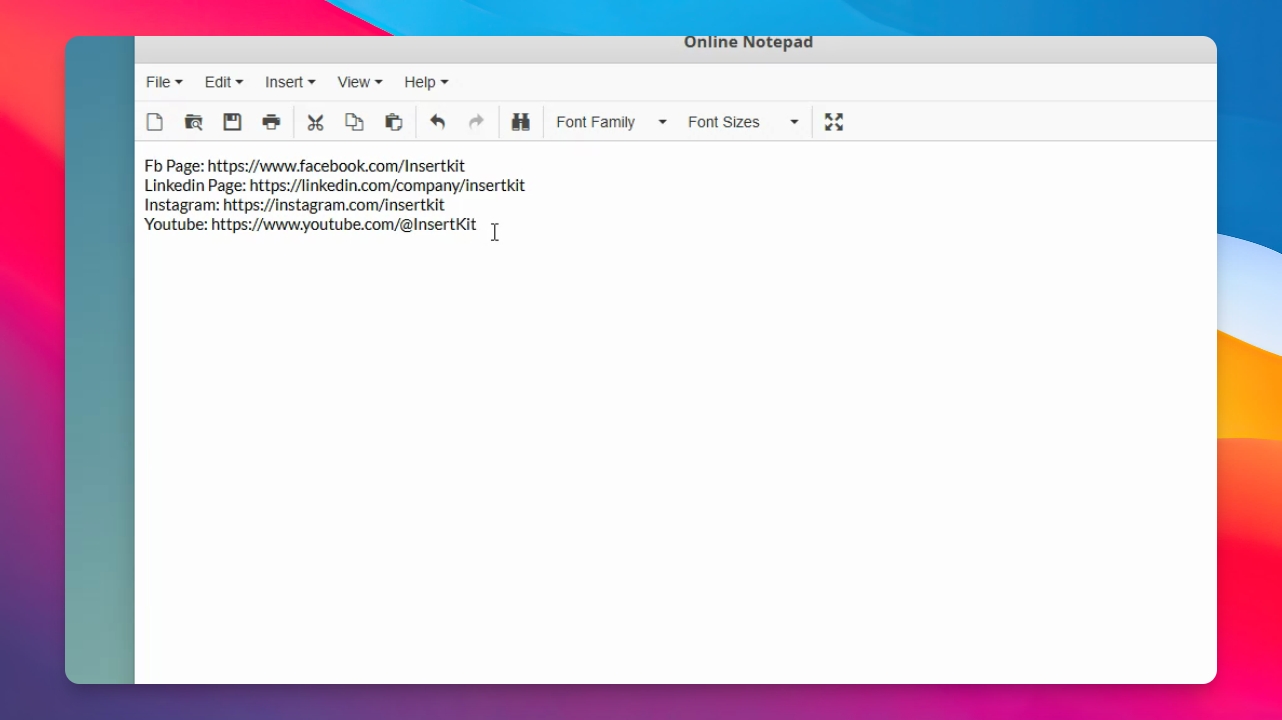
Open a text area where you want to type, such as Notepad. Press the Right Alt key and say your command, like the snippet title. For example, say insert all social media links to insert your saved snippet.
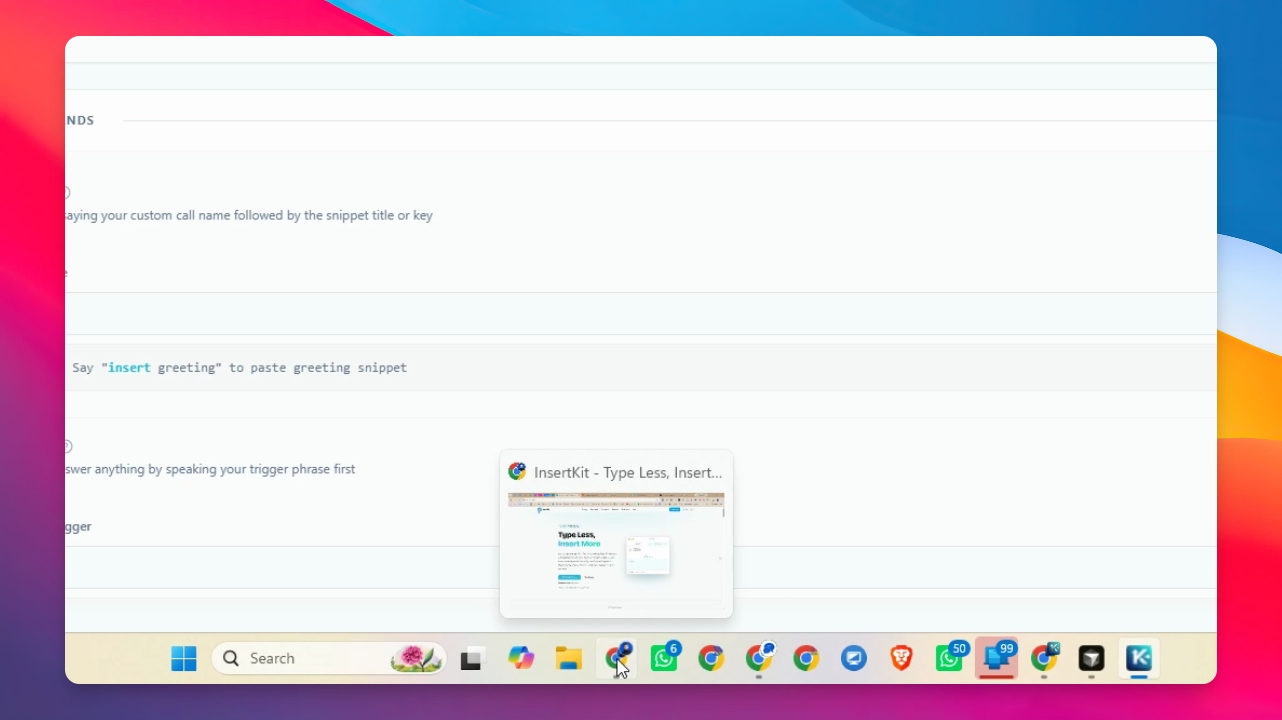
Your snippet will be inserted automatically if it is saved in your desktop app.
Step 10: Verify Saved Snippets
To check your saved snippets, open the desktop app, click snippet, and search for your snippet title. You should see your saved snippet listed.
You've now learned how to use InsertKit's advanced settings, including voice typing, shortcuts, providers, and voice snippets.