This guide shows how to create a dynamic snippet using the desktop app. Let's look at the steps:
Step 1: Add a New Shortcut
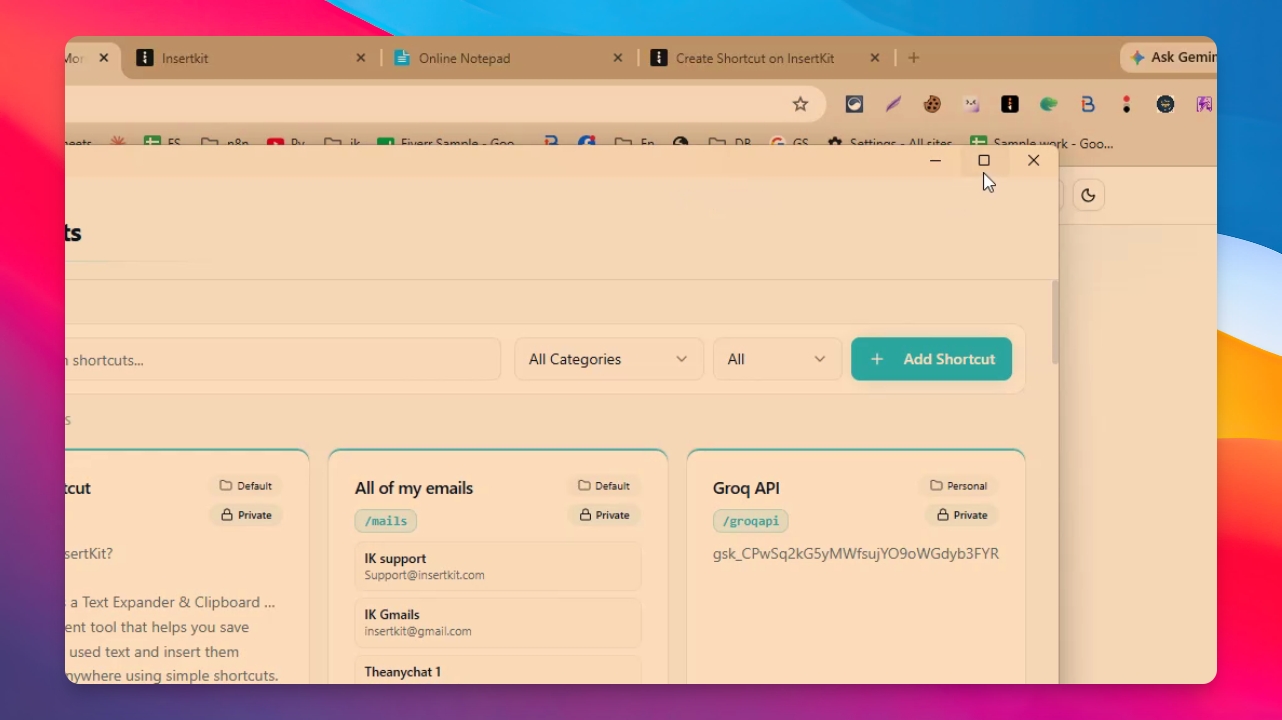
In the desktop app, click Add Shortcut to start creating a new snippet.
Step 2: Set Trigger and Title
Type your trigger word, such as doi for a dynamic template. Add a title for your snippet if desired.
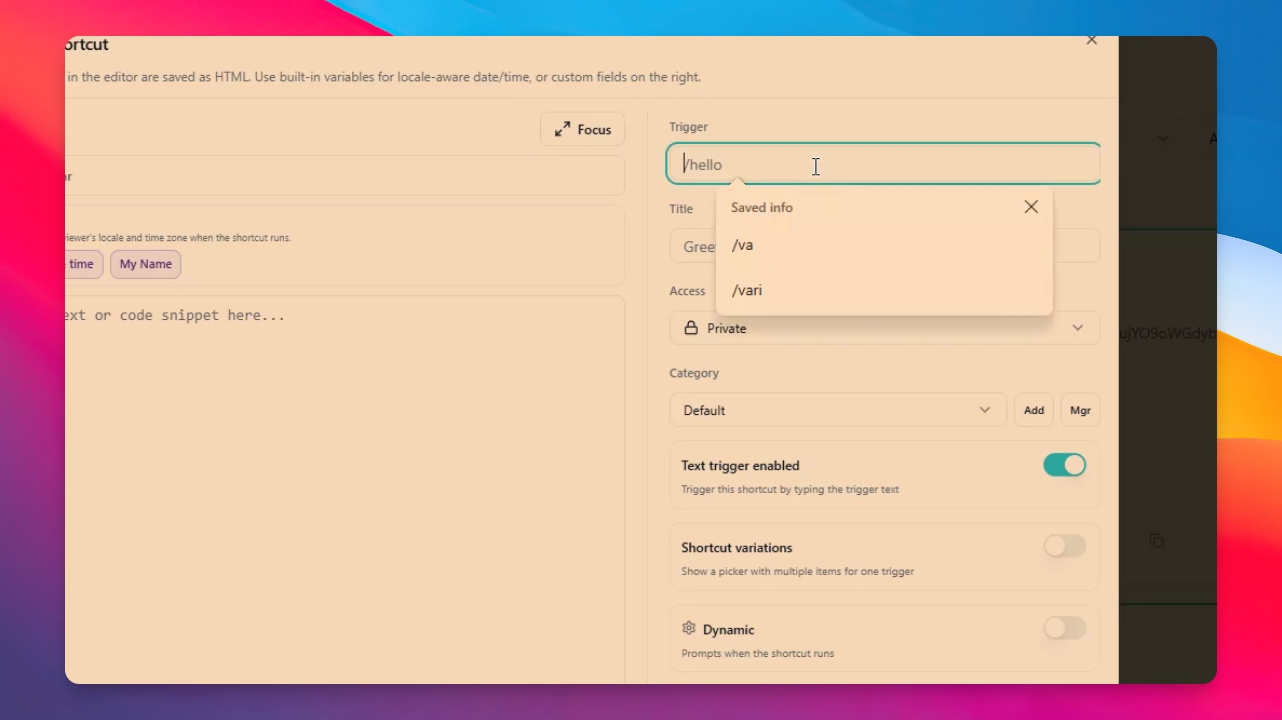
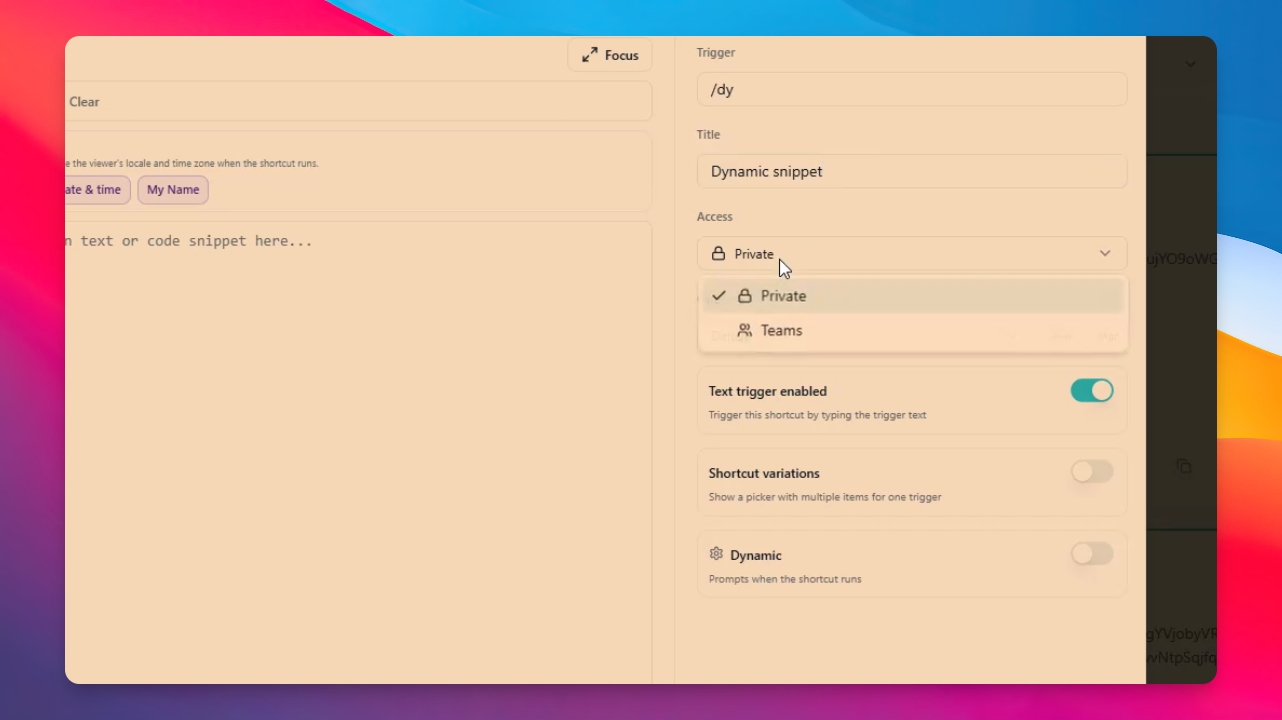
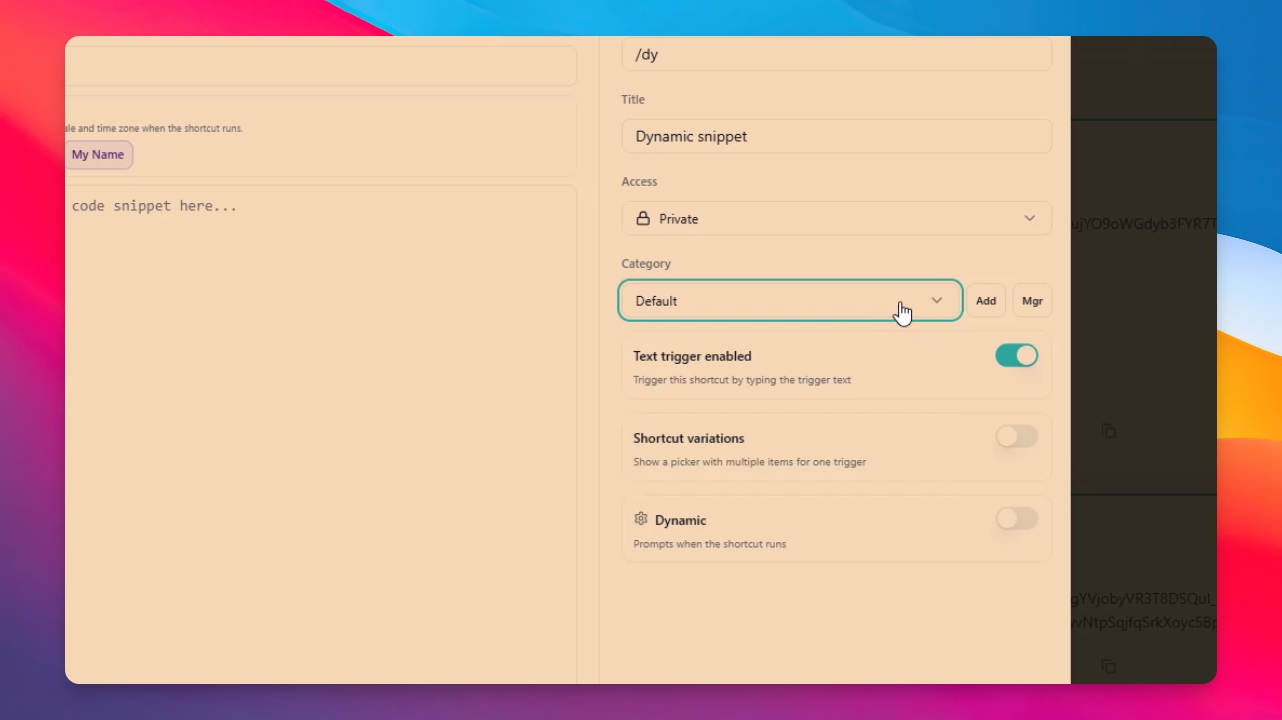
Step 3: Choose Access Level
Set the access level for your snippet. Select Private for personal use or Team to share with team members.
Step 4: Manage Categories
Select or add categories for your snippet. You can also manage categories by renaming or deleting them as needed.
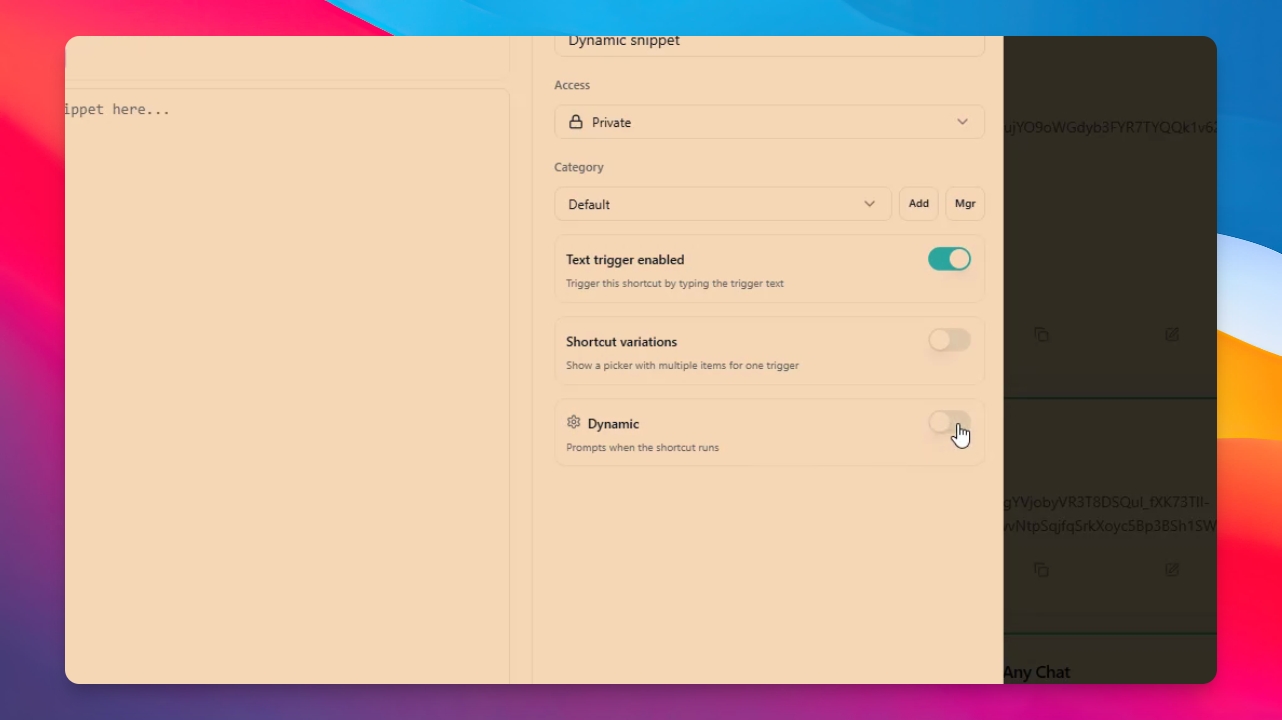
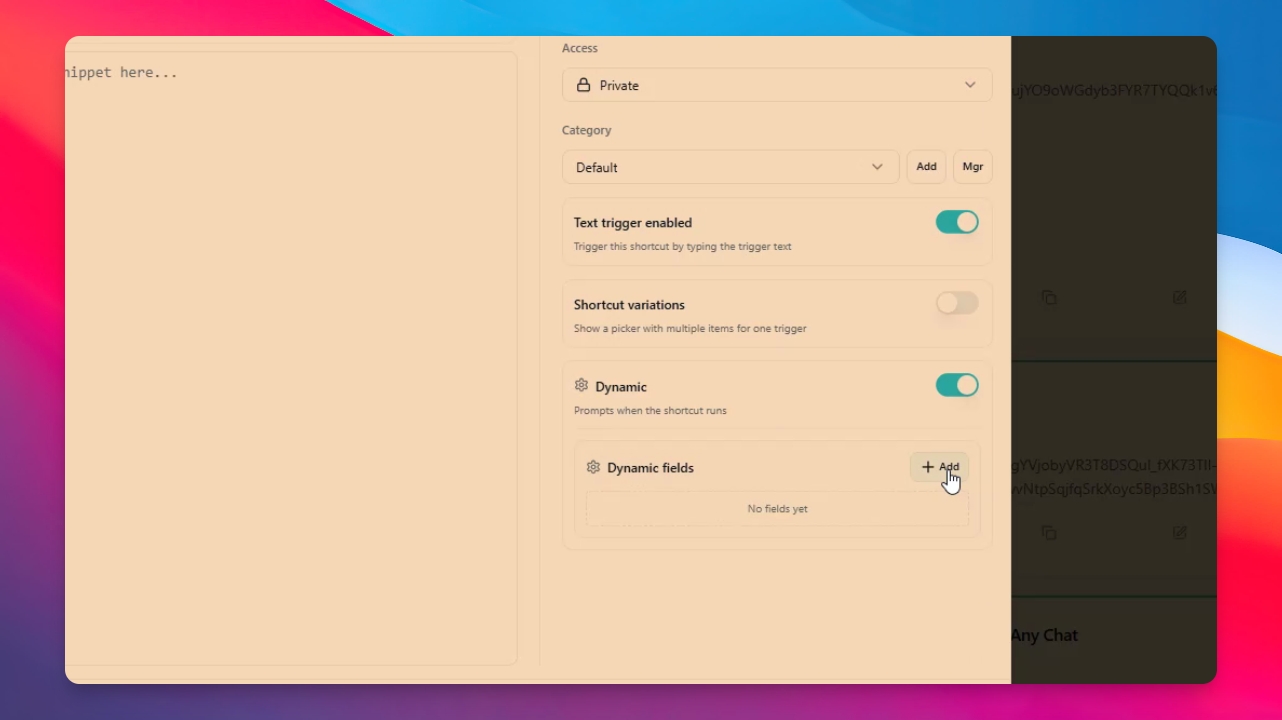
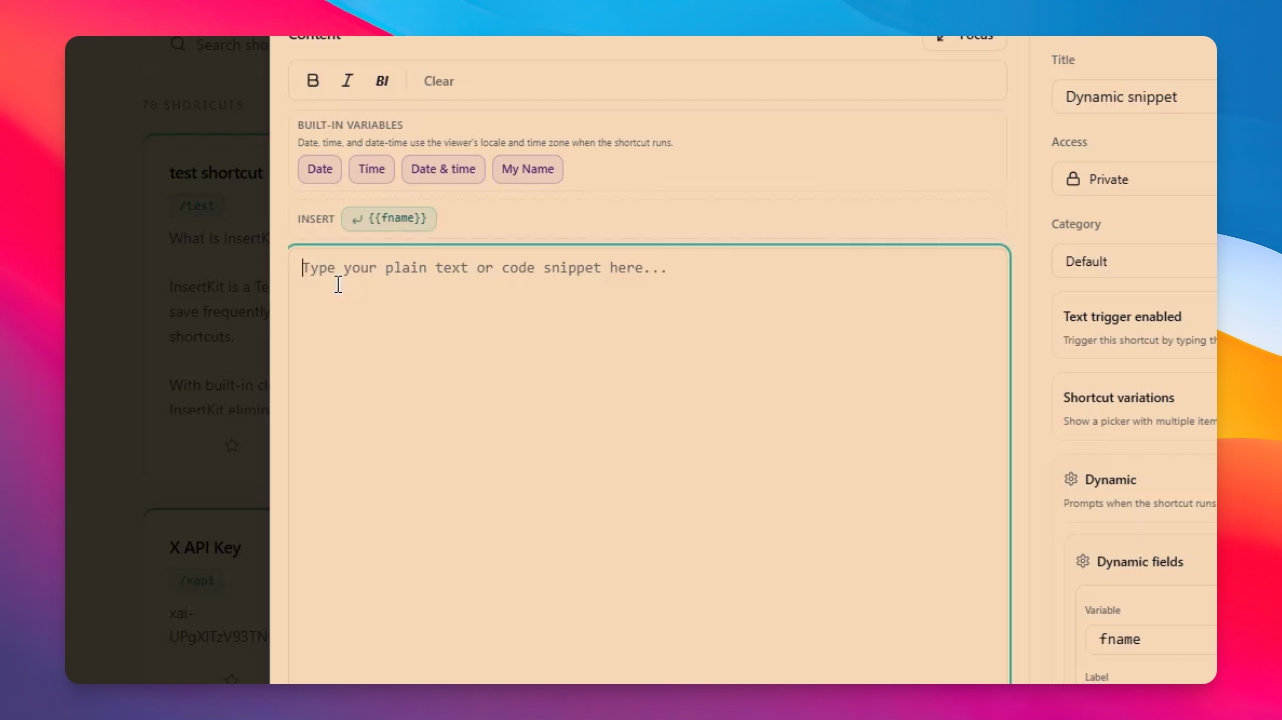
Step 5: Enable Dynamic Template
Enable the Dynamic option to create a dynamic template. This will display additional options for dynamic fields.
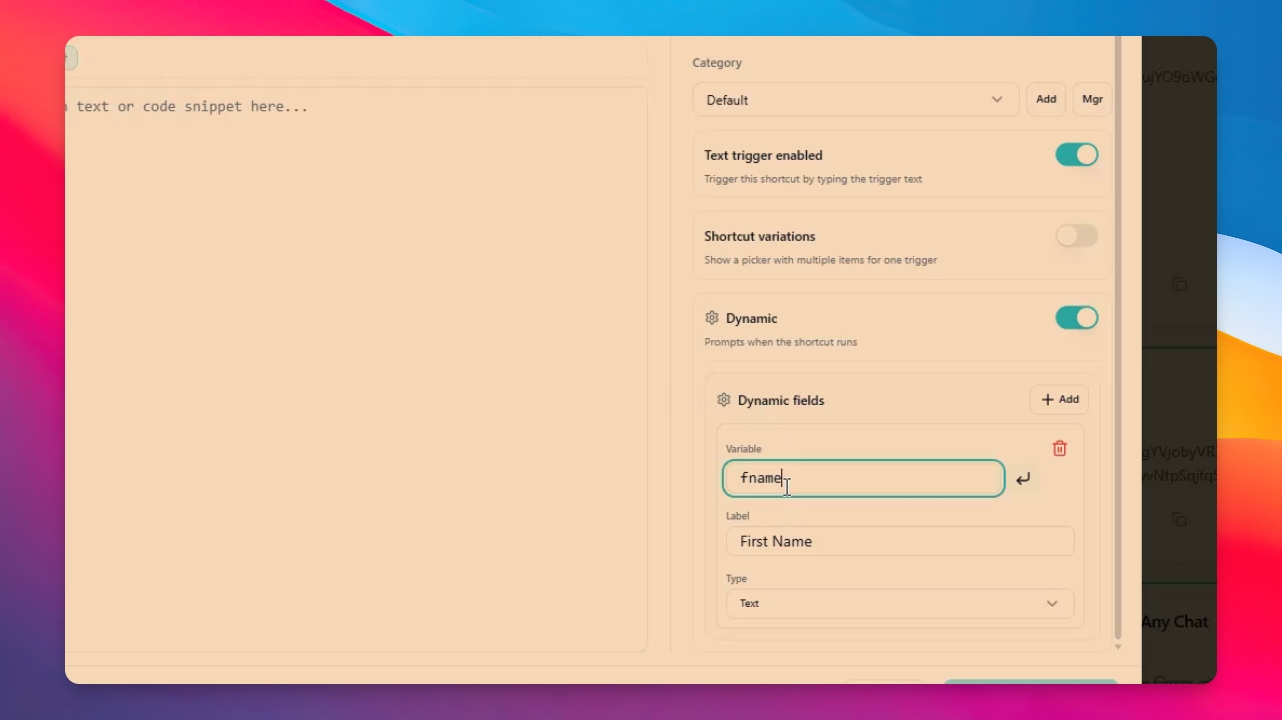
Step 6: Add a Dynamic Field
Add a field such as F name for first name. Set the label to First Name. Choose the field type: Text or Drop Down. For this example, select Text.
Step 7: Use Variables in Your Message
Variables like F name are now available. Insert them into your message by selecting from the available variables. Built-in variables are also accessible.
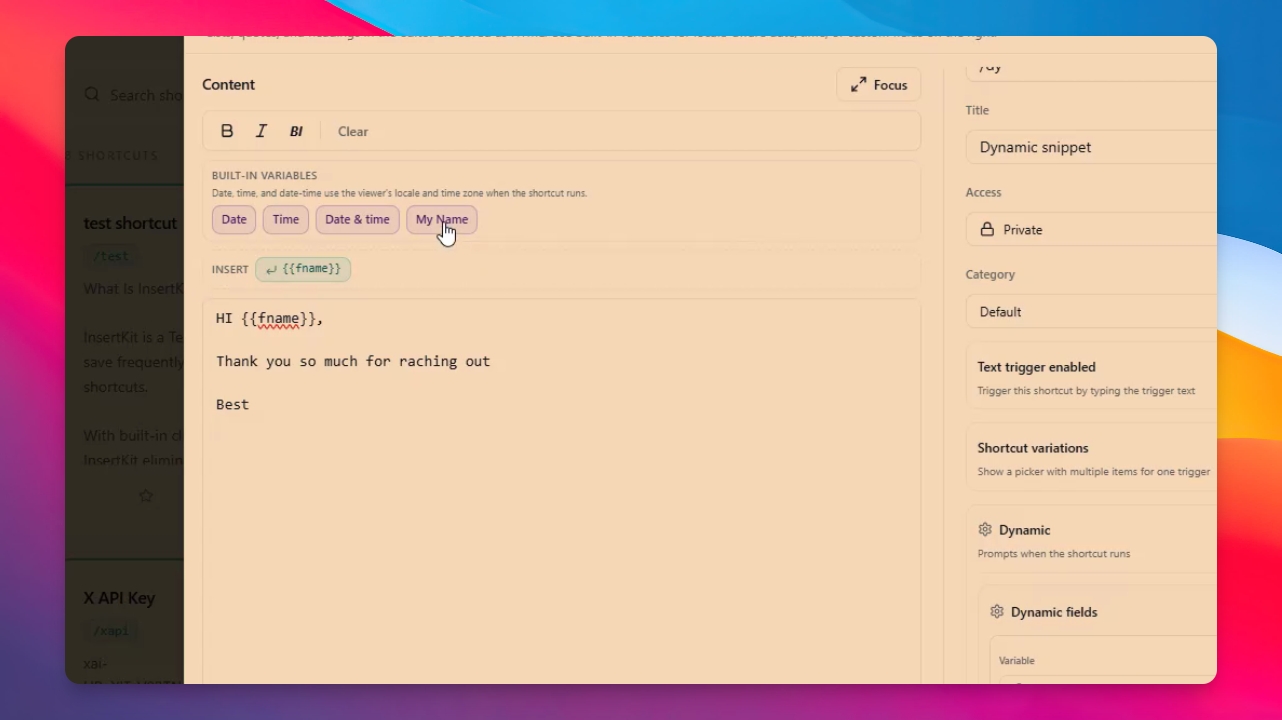
Step 8: Compose Your Message
Type your message, such as Hi, and use the dynamic variable for the name. Place your cursor where you want the variable, then click the F name variable to insert it. Complete your message as needed.
Step 9: Insert Your Own Name
To add your own name, click the My Name variable. It will automatically insert your name from your Insert Kit account.
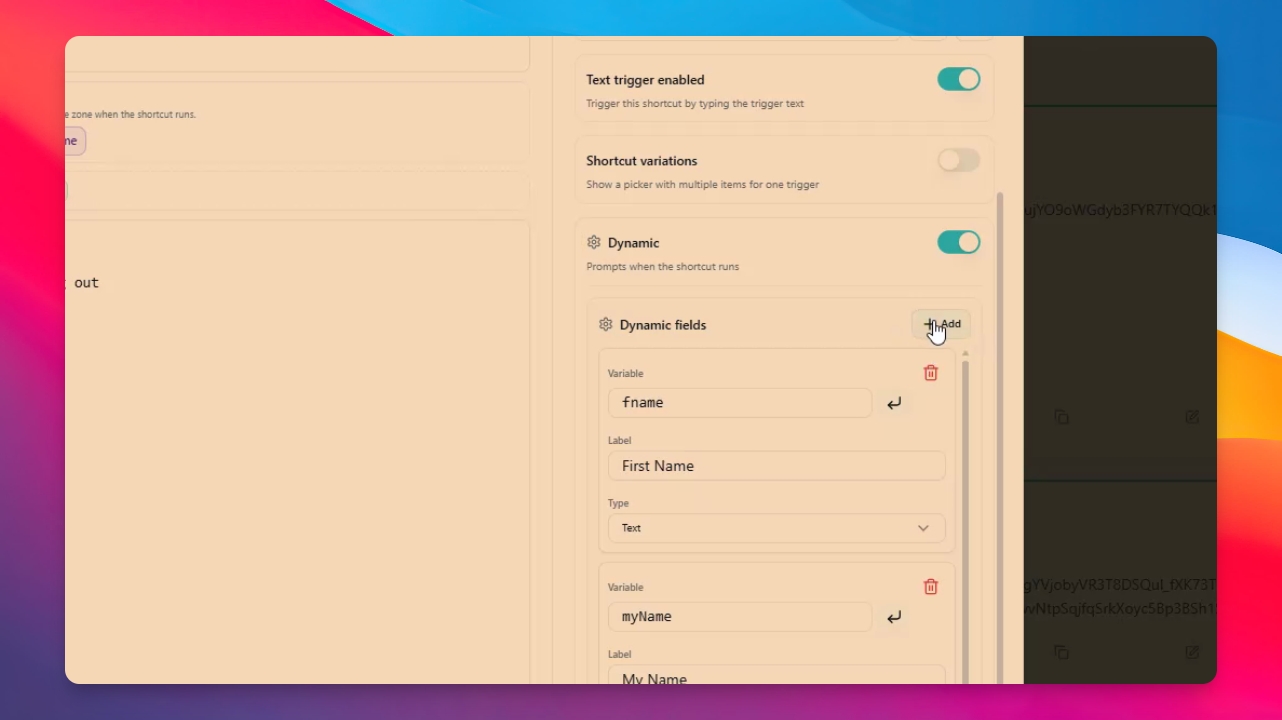
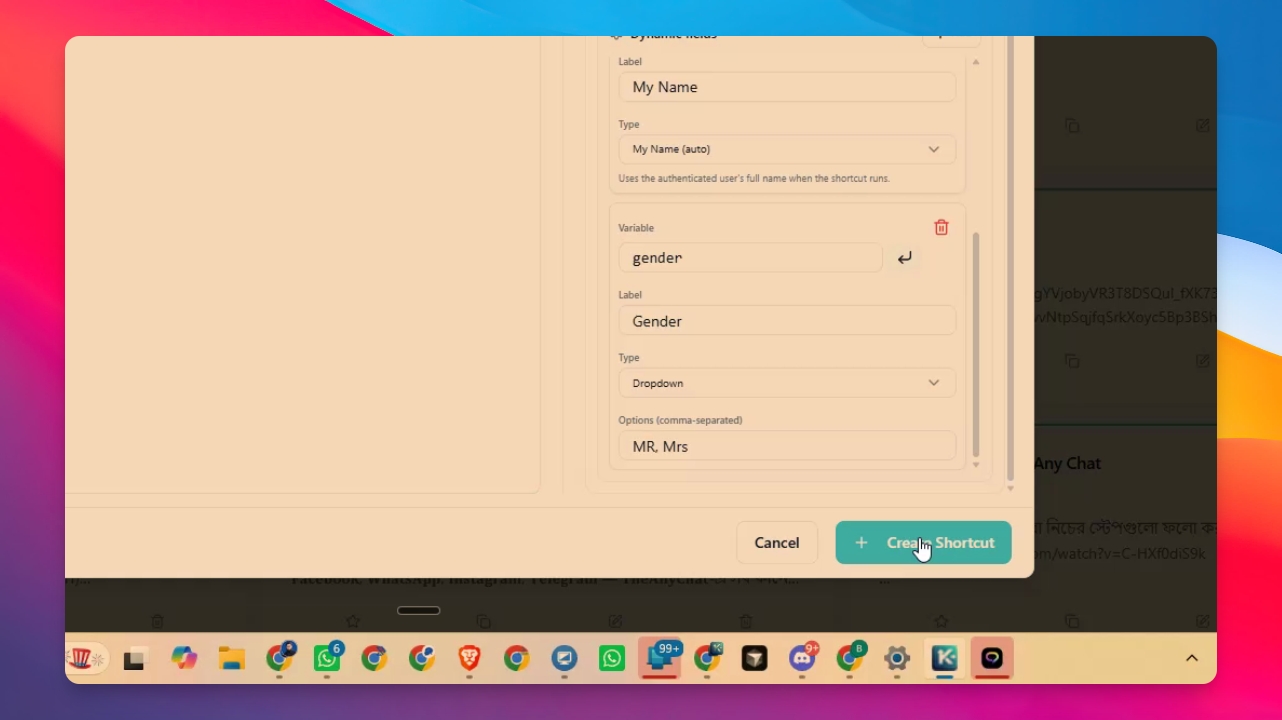
Step 10: Add a Drop Down Field
To create a drop down option (e.g., for gender), click Add, name the variable (such as gender), and set the label. Choose Drop Down as the type. Enter options like Mr. or Mrs., separated by commas.
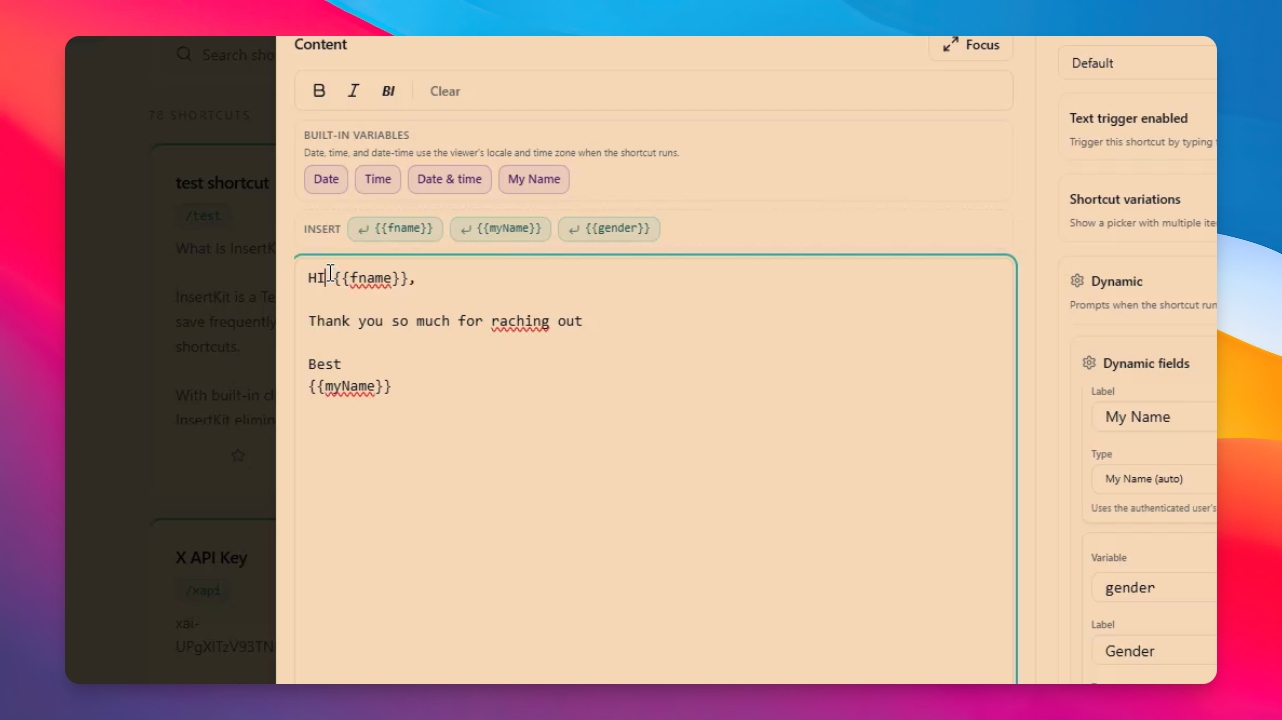
Step 11: Use Drop Down Variable in Message
Insert the drop down variable into your message, such as Hey Mr. First Name or Hey Mrs. First Name. Then create the shortcut.
Step 12: Save the Shortcut
Click Create Shortcut. Your dynamic shortcut is now ready to use.
Step 13: Test the Dynamic Shortcut
Open a text editor like Notepad. Type your shortcut trigger (e.g., /DY). The dynamic options will appear. Enter the required fields, such as first name and your name. Select the gender from the drop down, then click Insert to add the completed message.
Now you know how dynamic templates work. Try experimenting with different options to learn more.