
Let's do it together!
Step 1: Open the App
Open your desktop, mobile, or Mac app to get started.
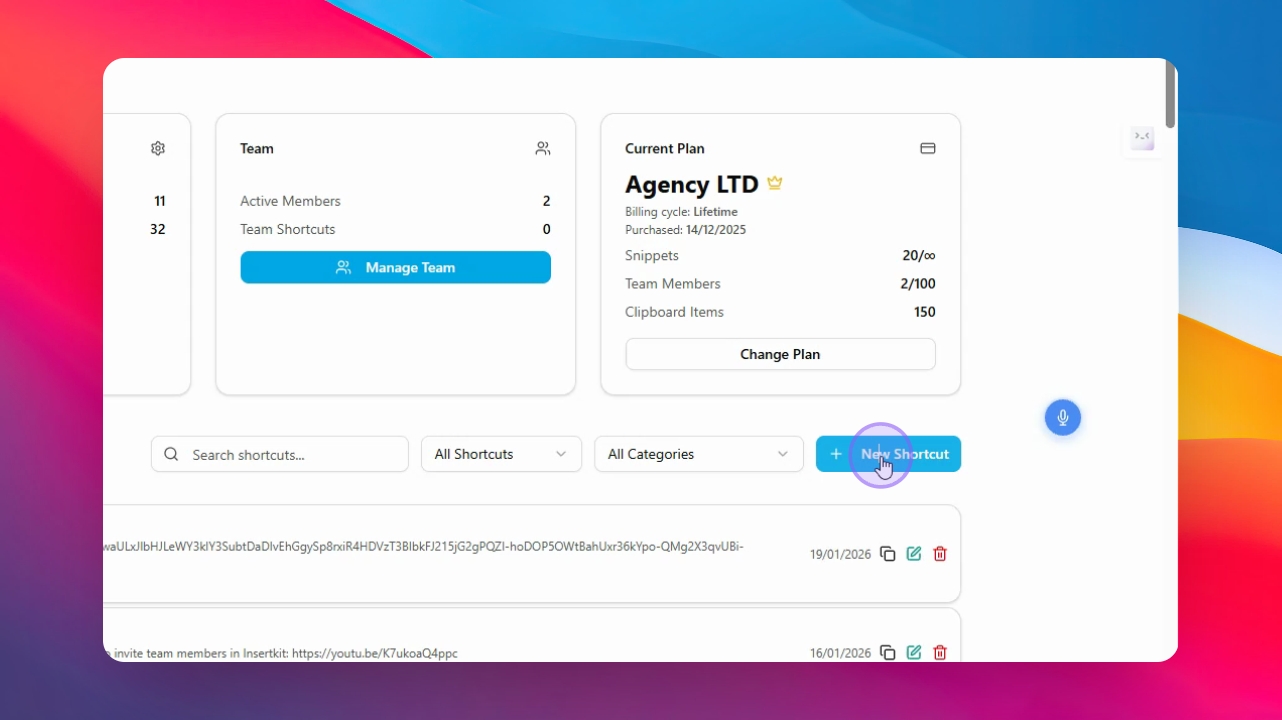
Step 2: Start New Shortcut
Click New Shortcut to create a new shortcut.
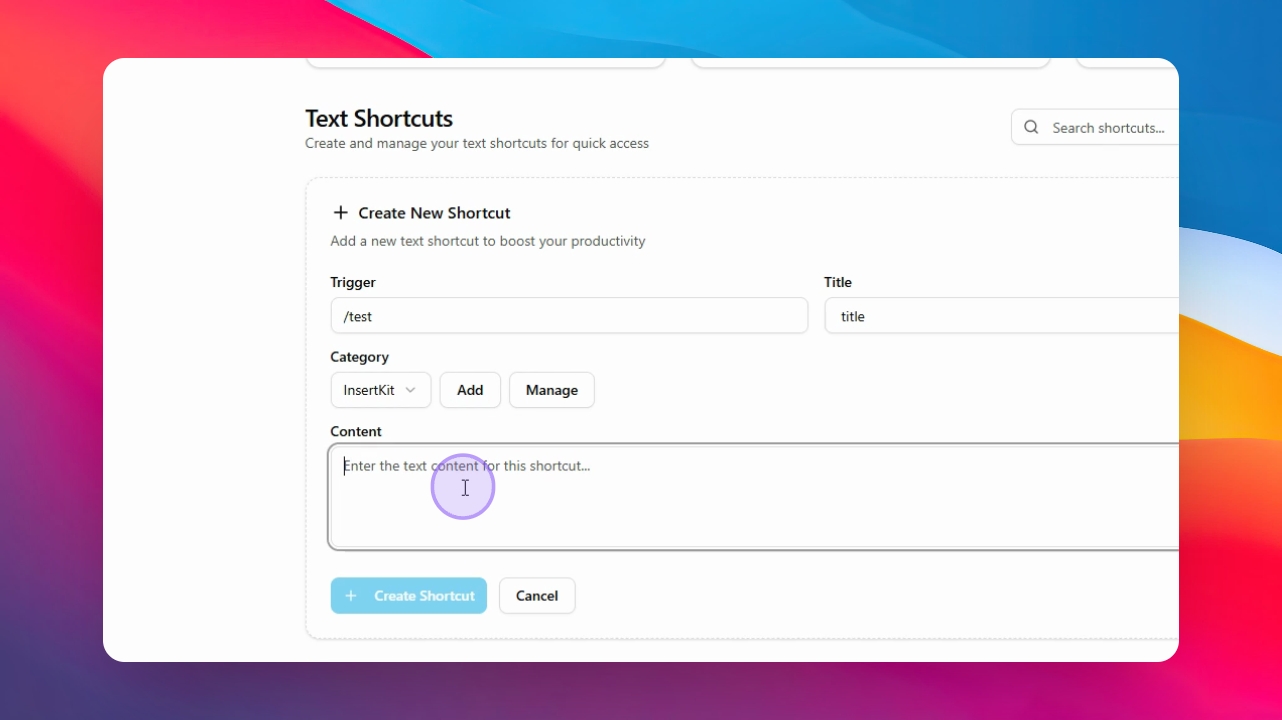
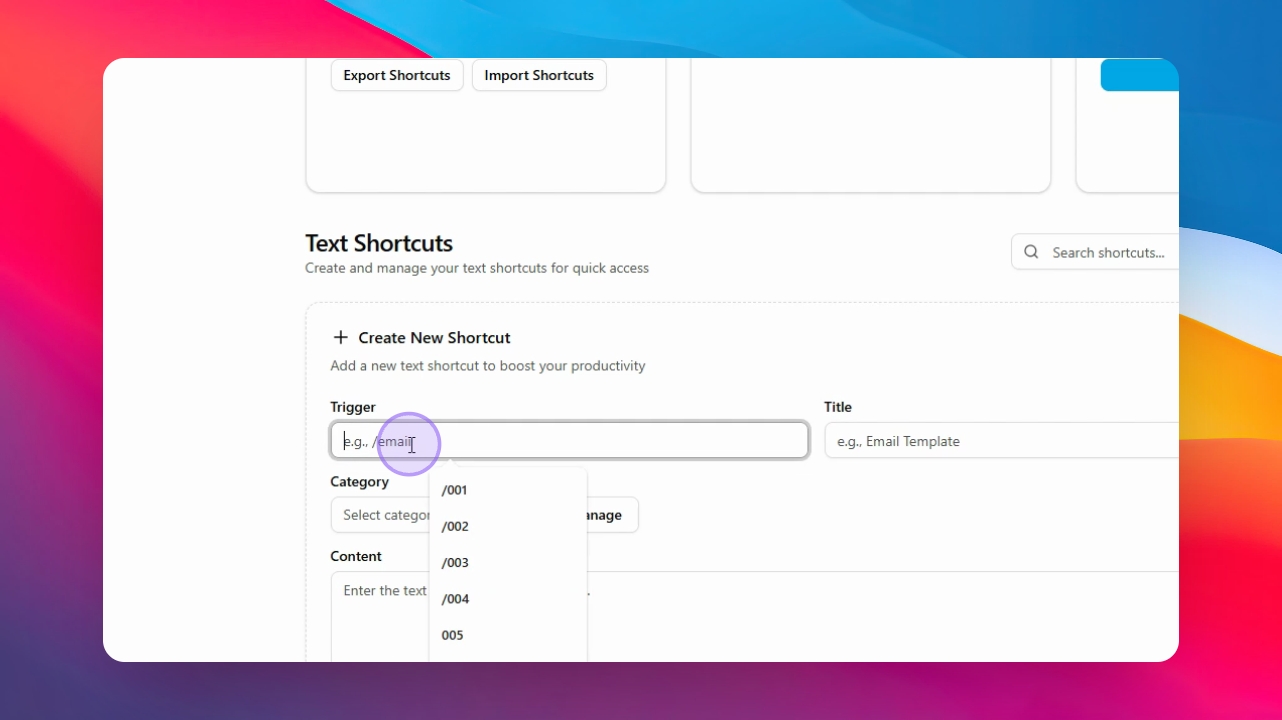
Step 3: Set Trigger
Type your trigger in the designated field, for example test.
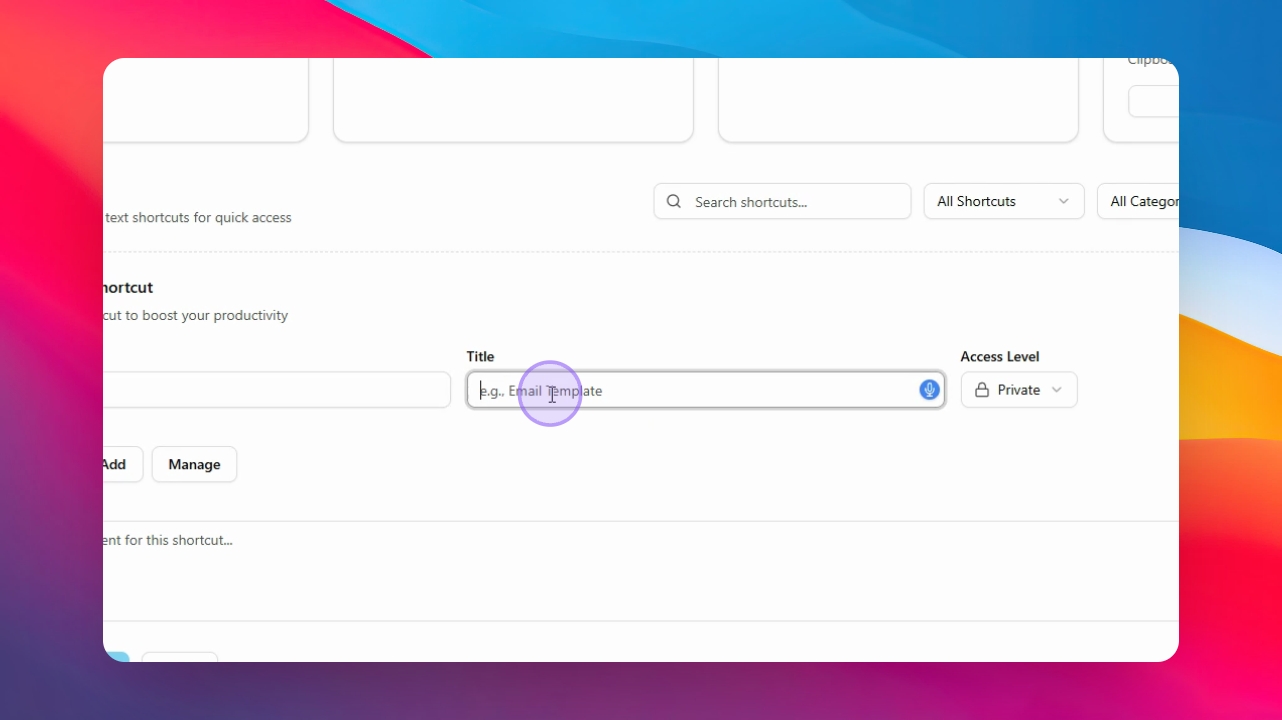
Step 4: Set Title
Input a title for your shortcut in the title field.
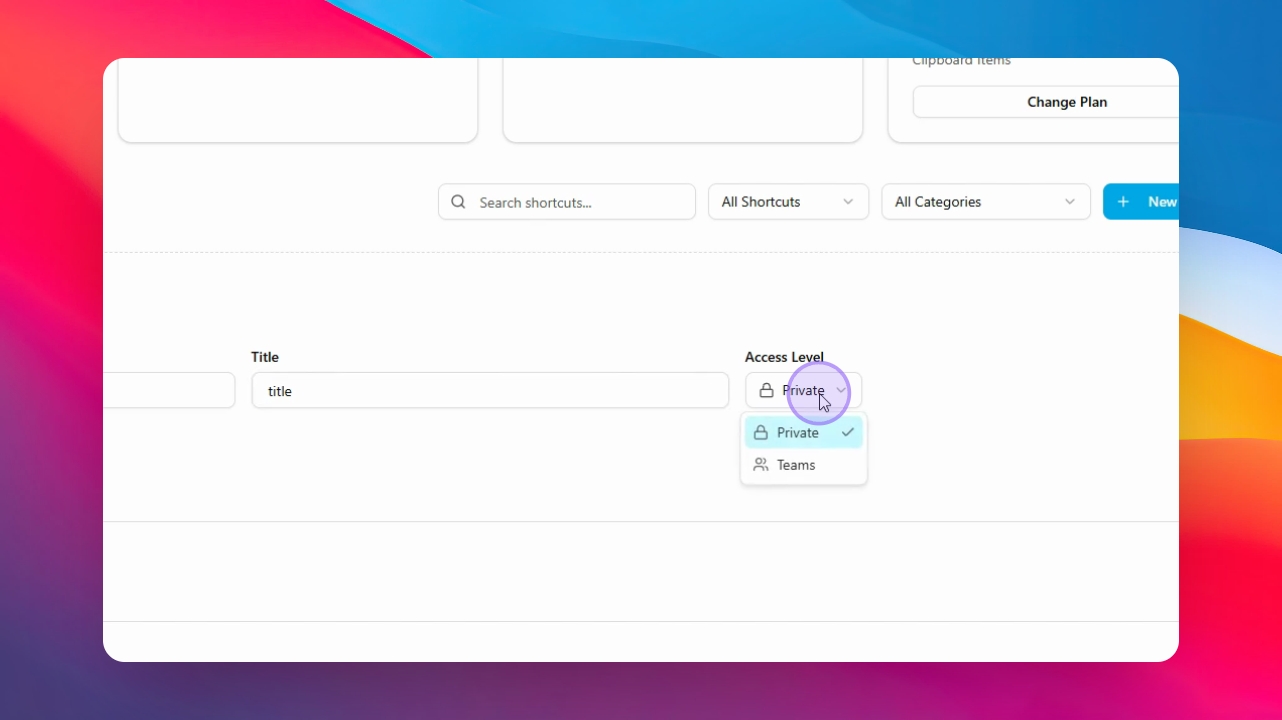
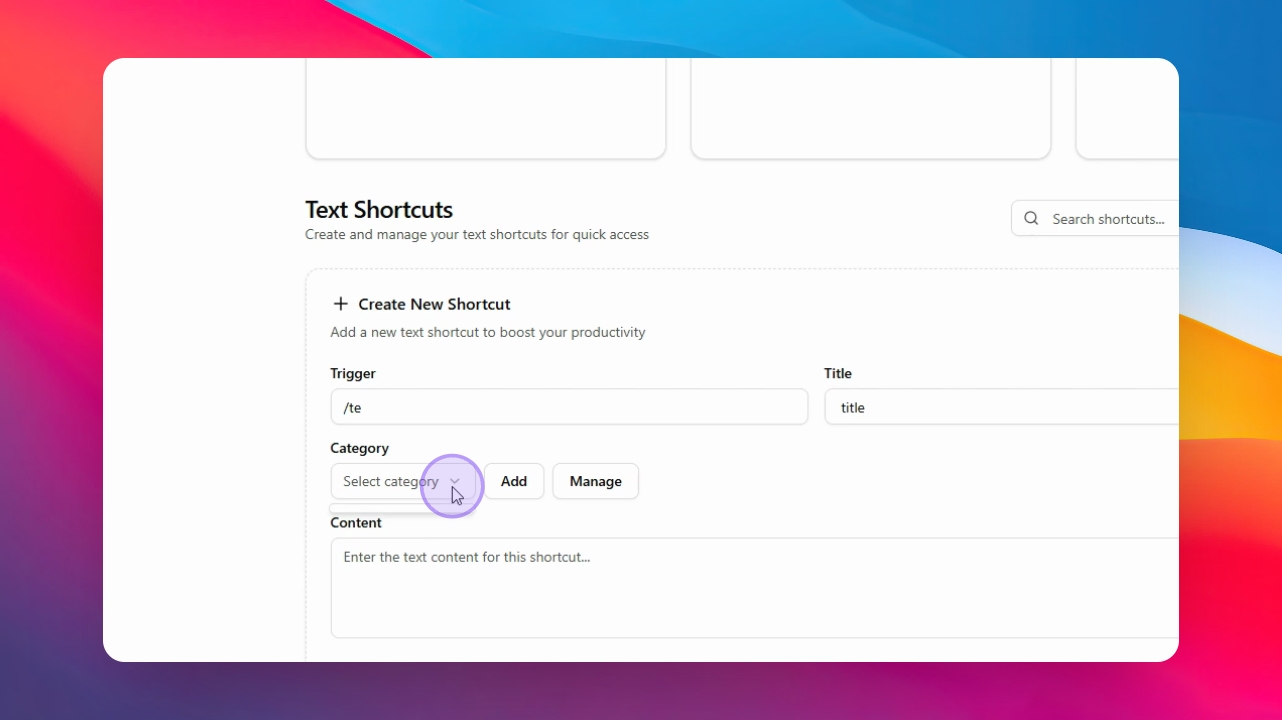
Step 5: Select Access Level
Select the appropriate teams to give access to this shortcut.
Step 6: Add Content
Input the content for the shortcut in the designated area.
Step 7: Create Shortcut
Click on Create Shortcut to finish the process.

Step 8: Confirmation
Confirm that the shortcut has been created successfully.
Step 9: View in Team Member Account
Log into a team member account to see the newly created shortcuts.
Step 10: Access Shortcuts
Team members can view and access available shortcuts.
Step 11: Reload to See Updates
Reload the page to view recently created shortcuts.
Step 12: Team Member Shortcut Creation
Team members can also create shortcuts by clicking New Shortcuts.
Step 13: Set Trigger Type
Select the trigger type and access level for the shortcuts.
Step 14: Manage Categories
Manage and create categories for better organization of shortcuts.
Step 15: Admin Categories
Note that admin categories are currently not visible.
