
This guide will show you how to create a shortcut using the InsertKit web dashboard. Let's look at the steps:
Step 1: Log In and Open Dashboard
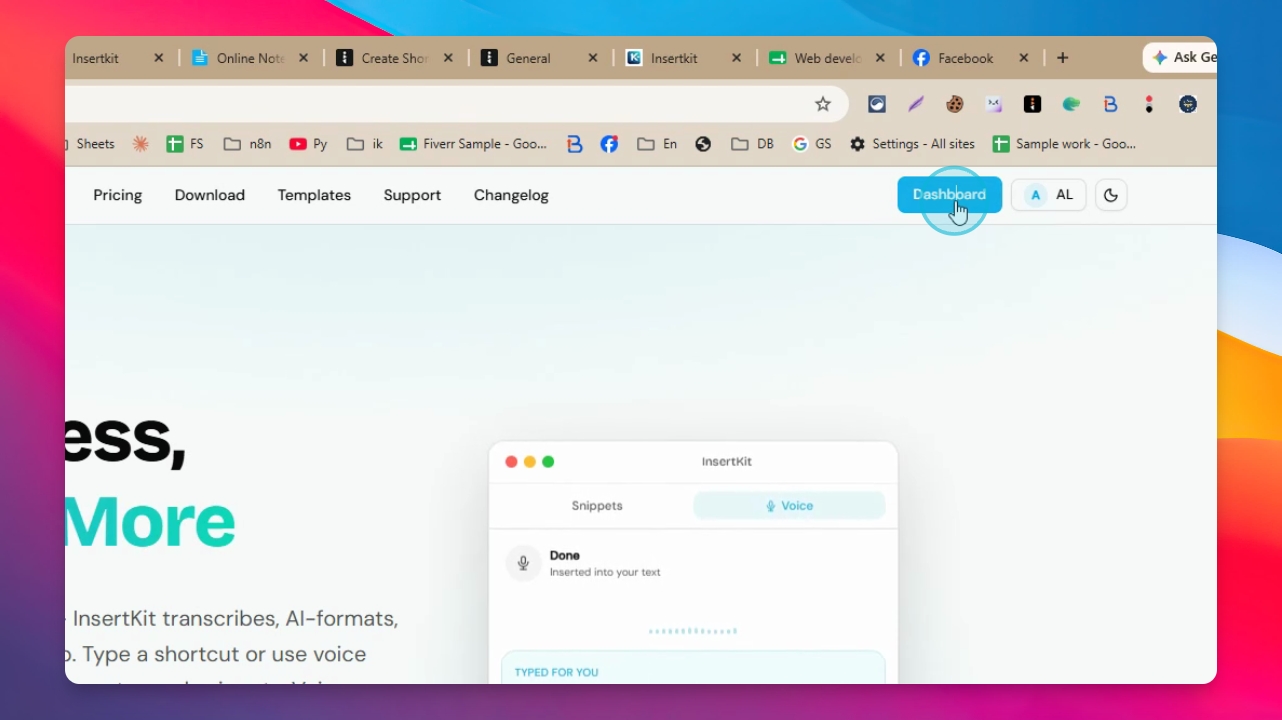
Log in to your Insertkit account and go to the dashboard.
Step 2: Click New Snippet
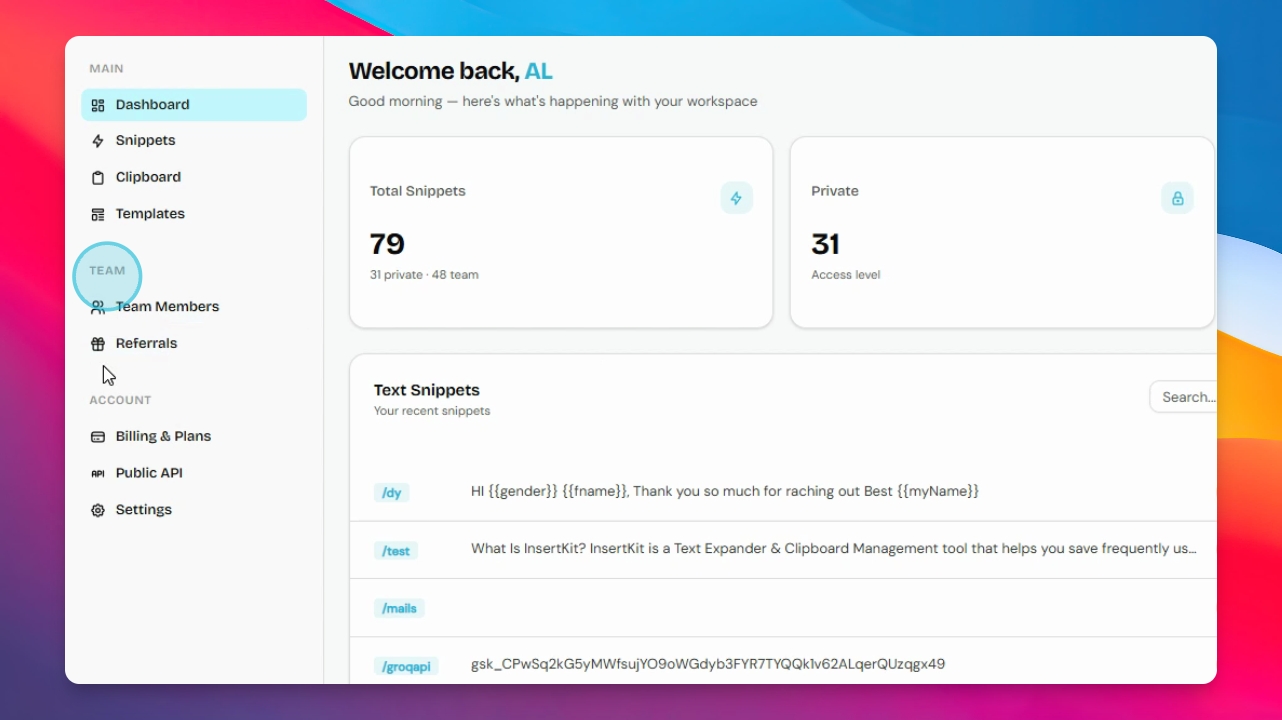
On your dashboard, find and click the New snippet button.
Step 3: Add a Trigger
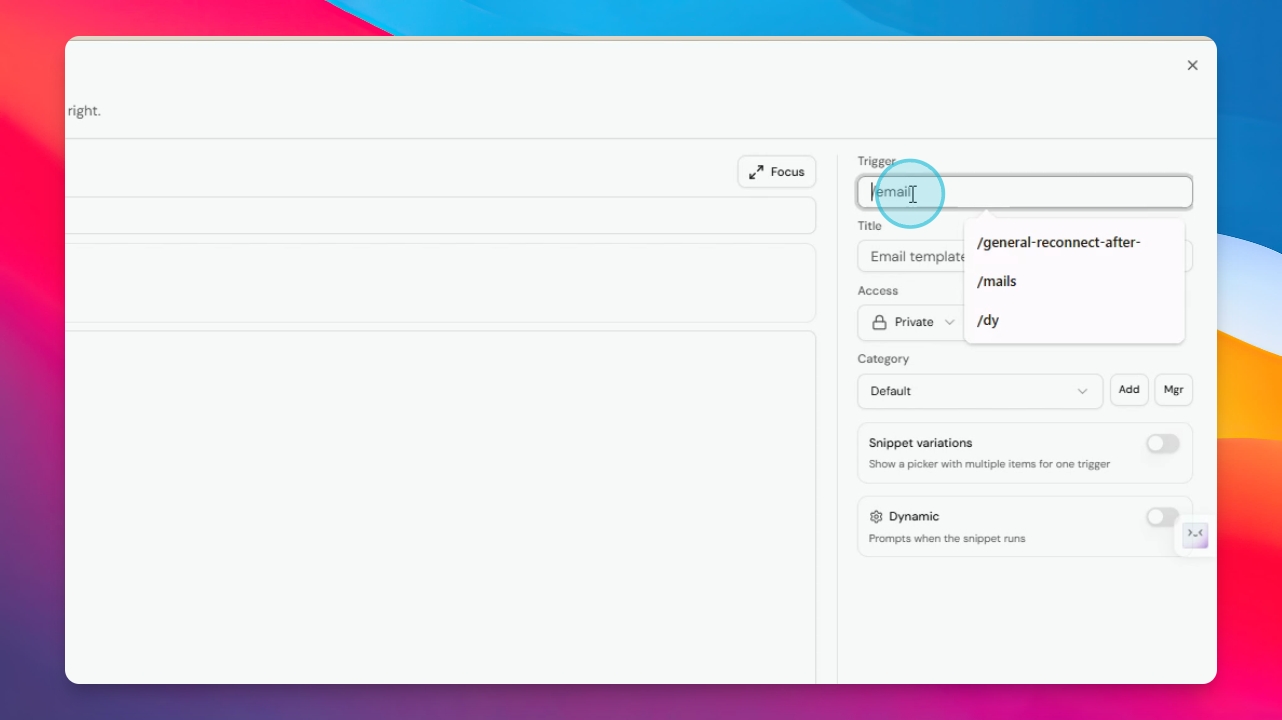
In the new snippet interface, add your trigger. The trigger should start with a slash ( / ). Type your trigger and select a title.
Step 4: Set Access Level and Content
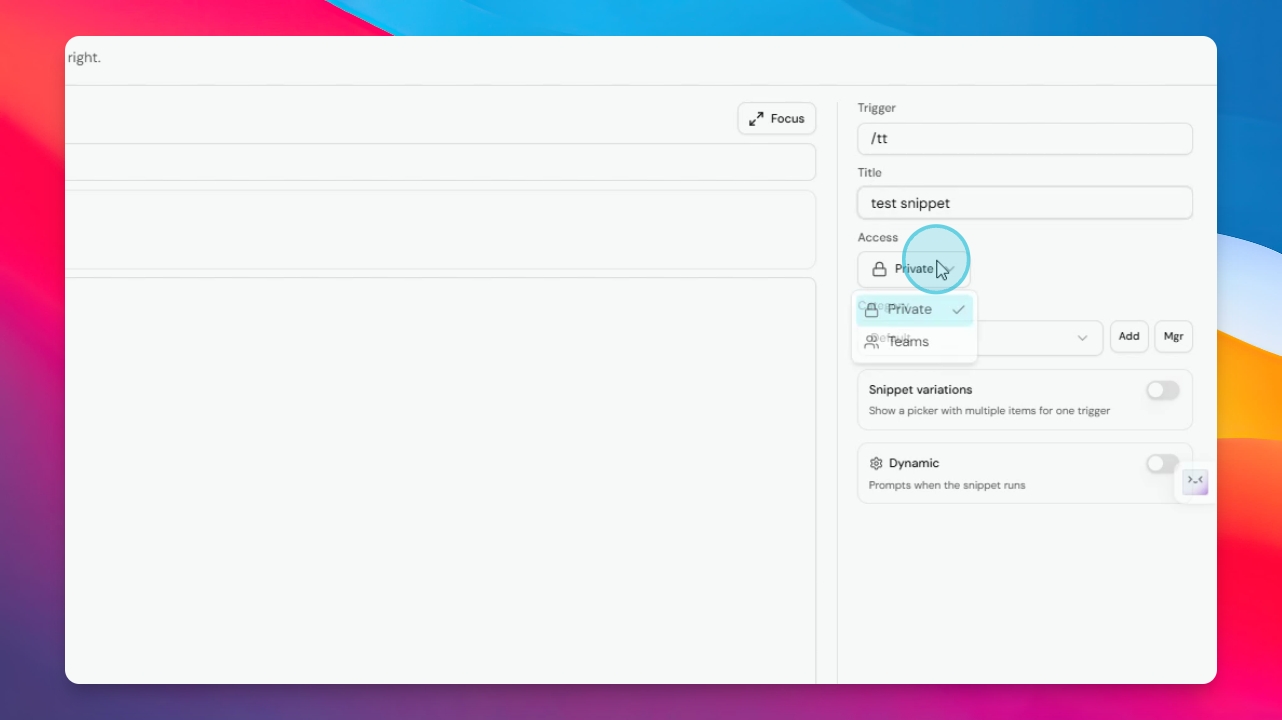
Choose the access level or category from the list, then add your content in the provided area.
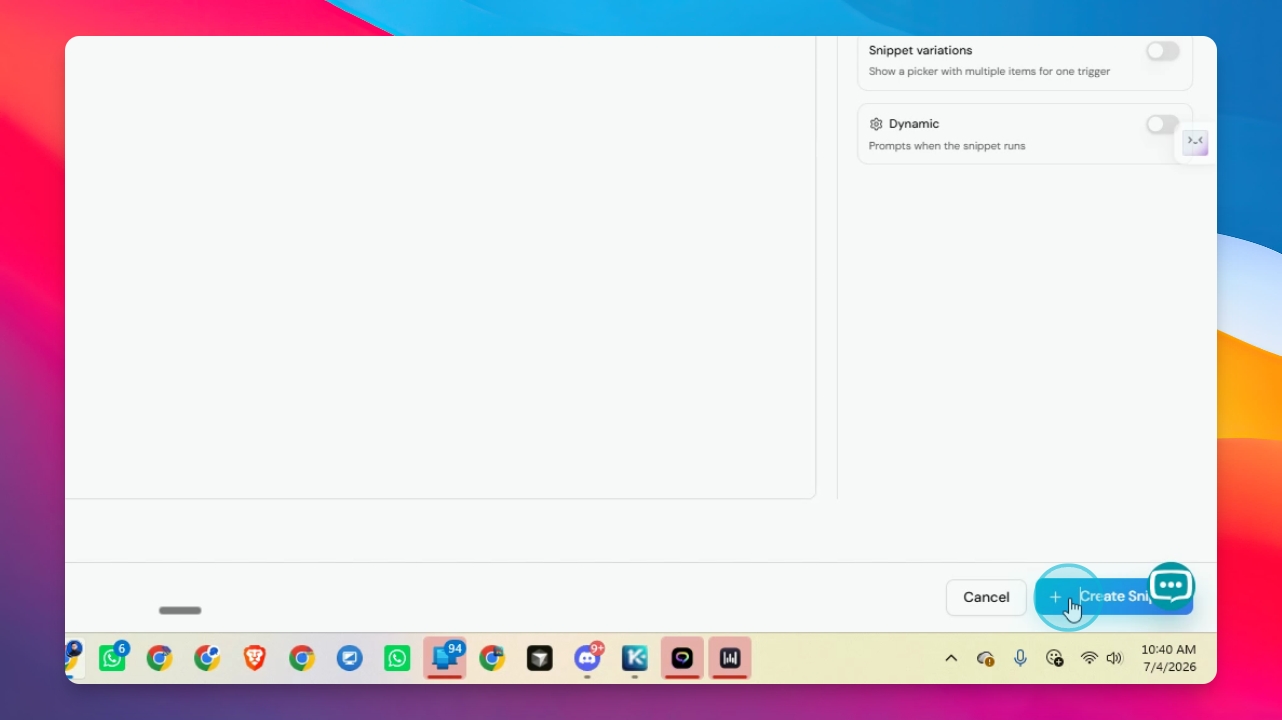
Step 5: Create the Shortcut
Once you have filled in all details, click Create shortcut. Your shortcut will be created.
Step 6: Use Your Shortcut
To use the shortcut, type a slash (/) followed by your trigger in any text box. Your saved text will be inserted automatically.
You can use your shortcuts anywhere, such as Facebook, WhatsApp, Instagram, Gmail, Slack, or any other platform with a text box.
Thank you for following along.